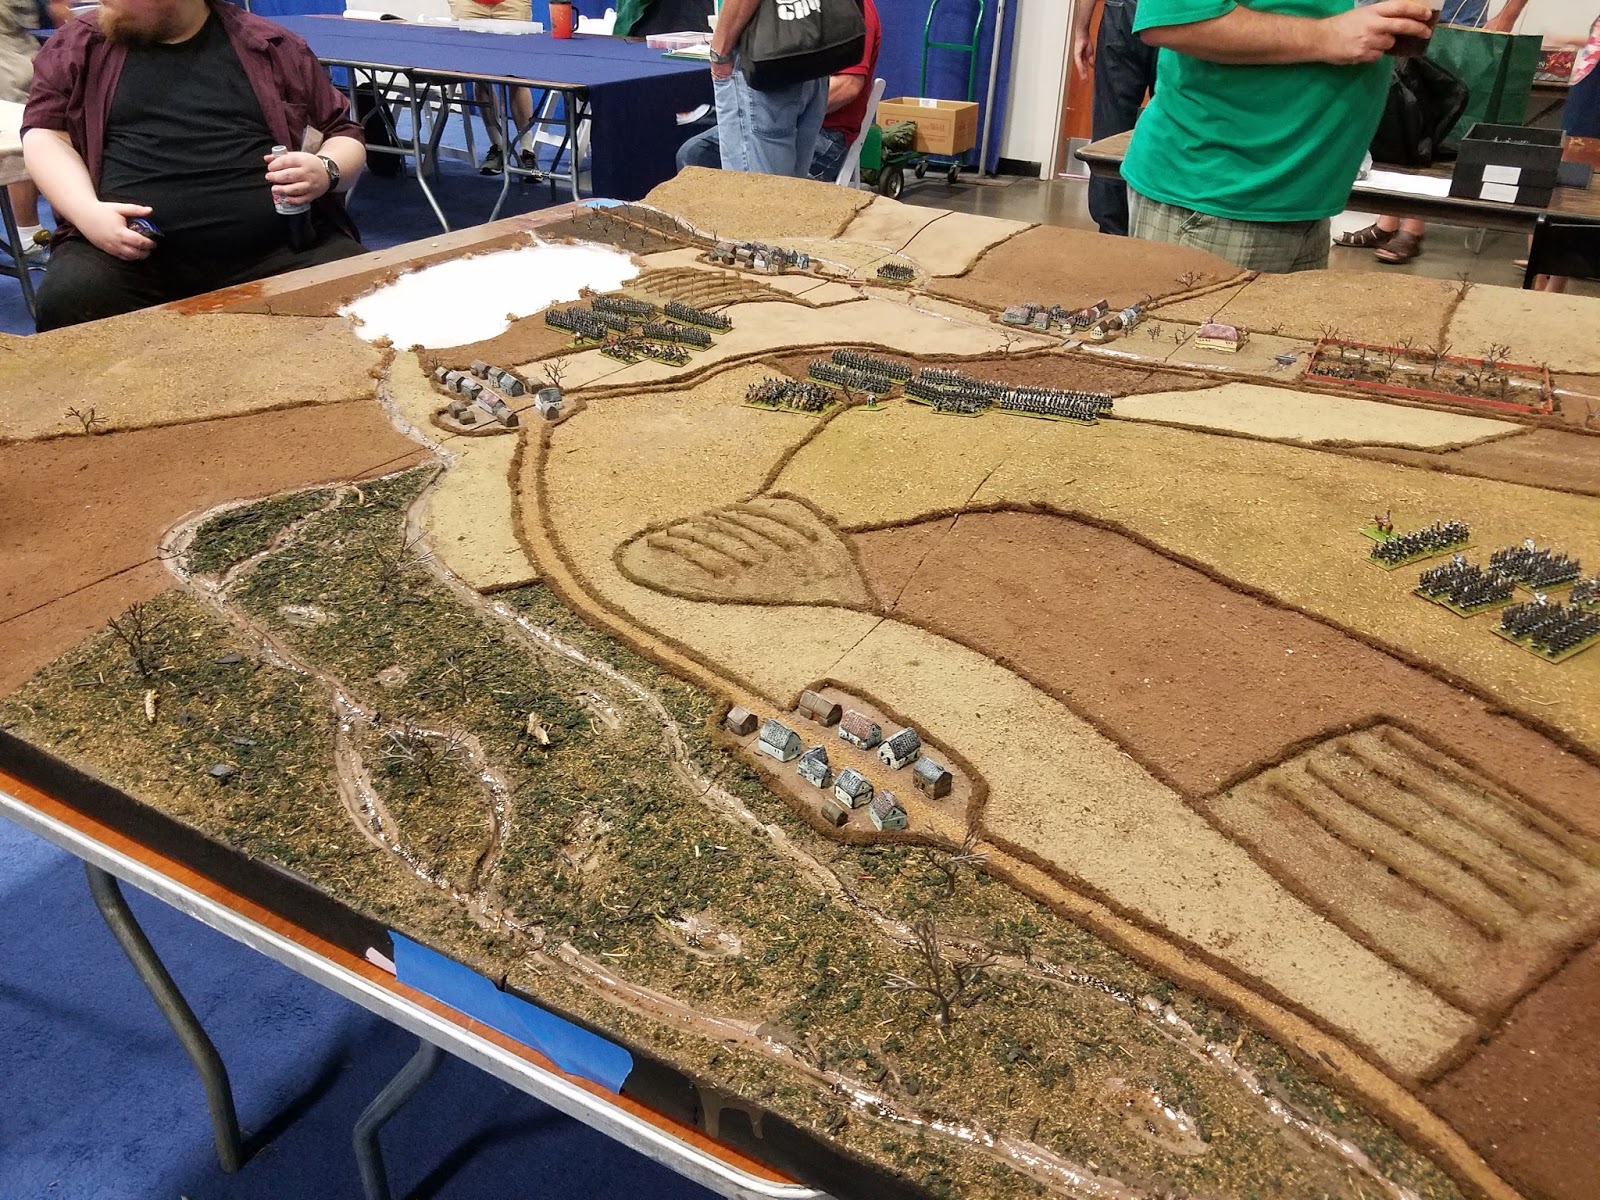
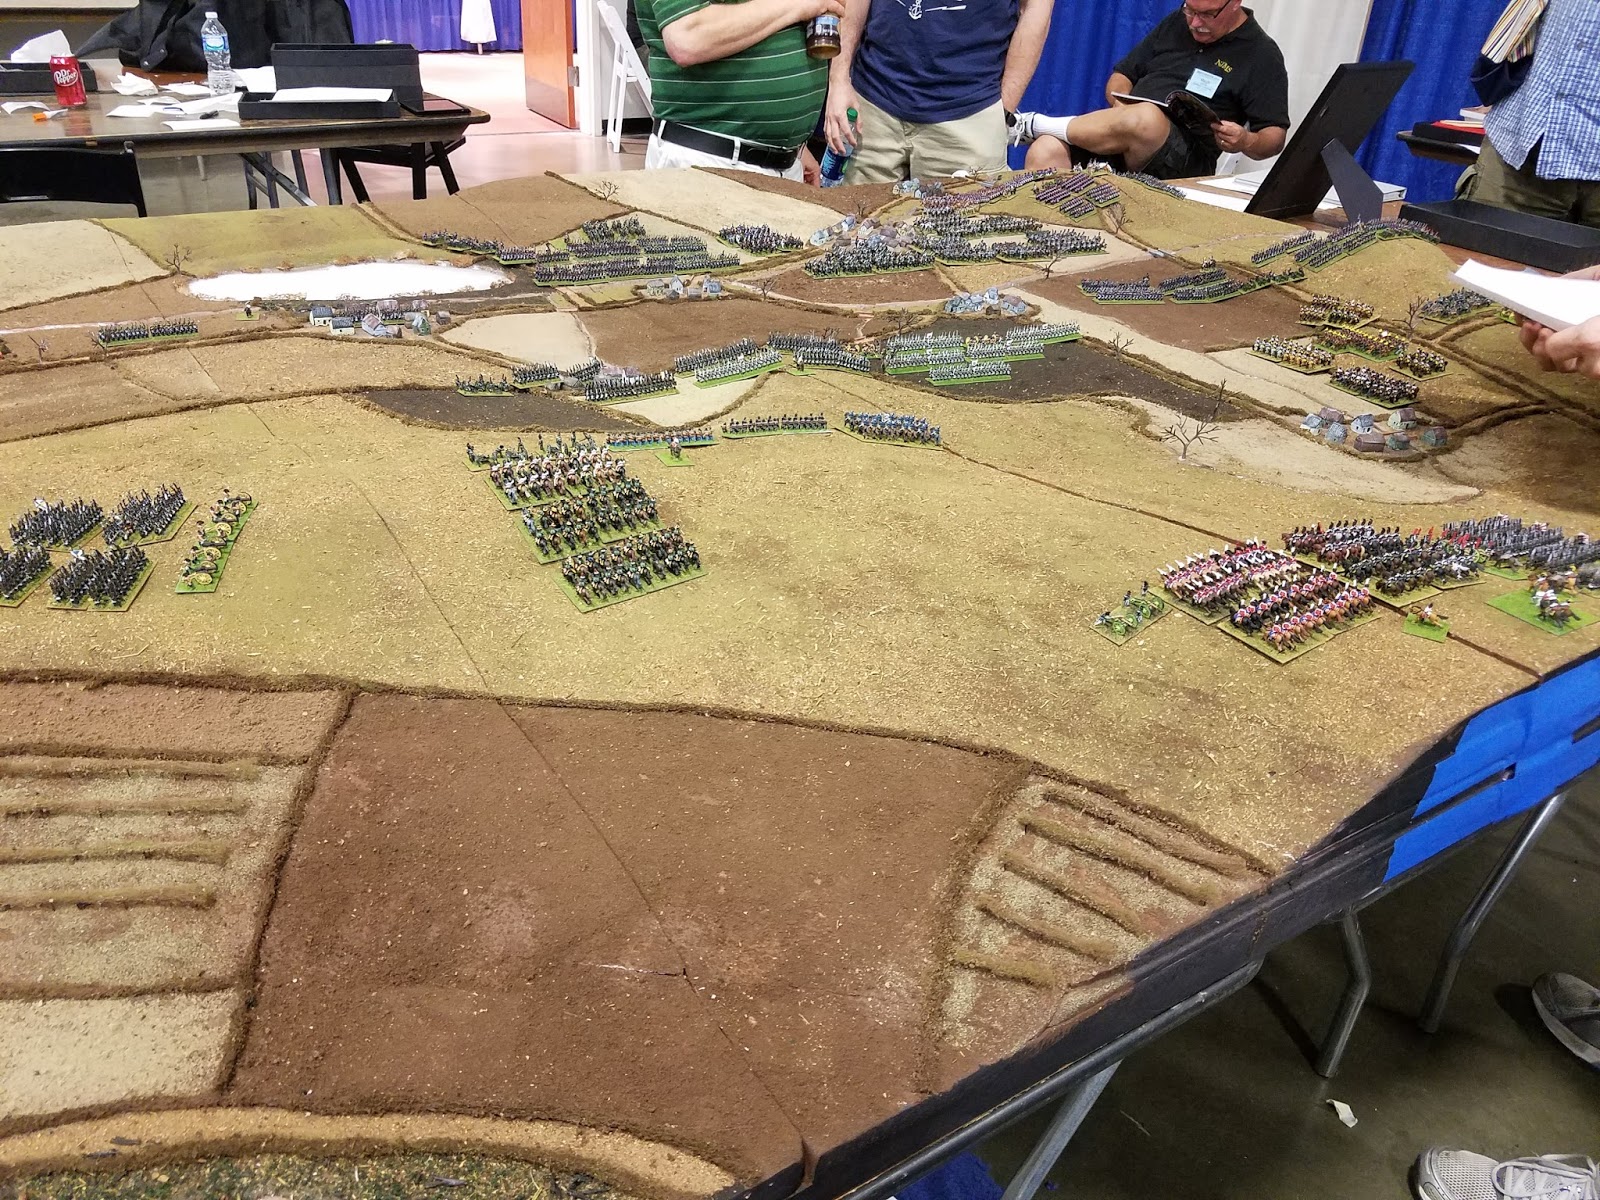
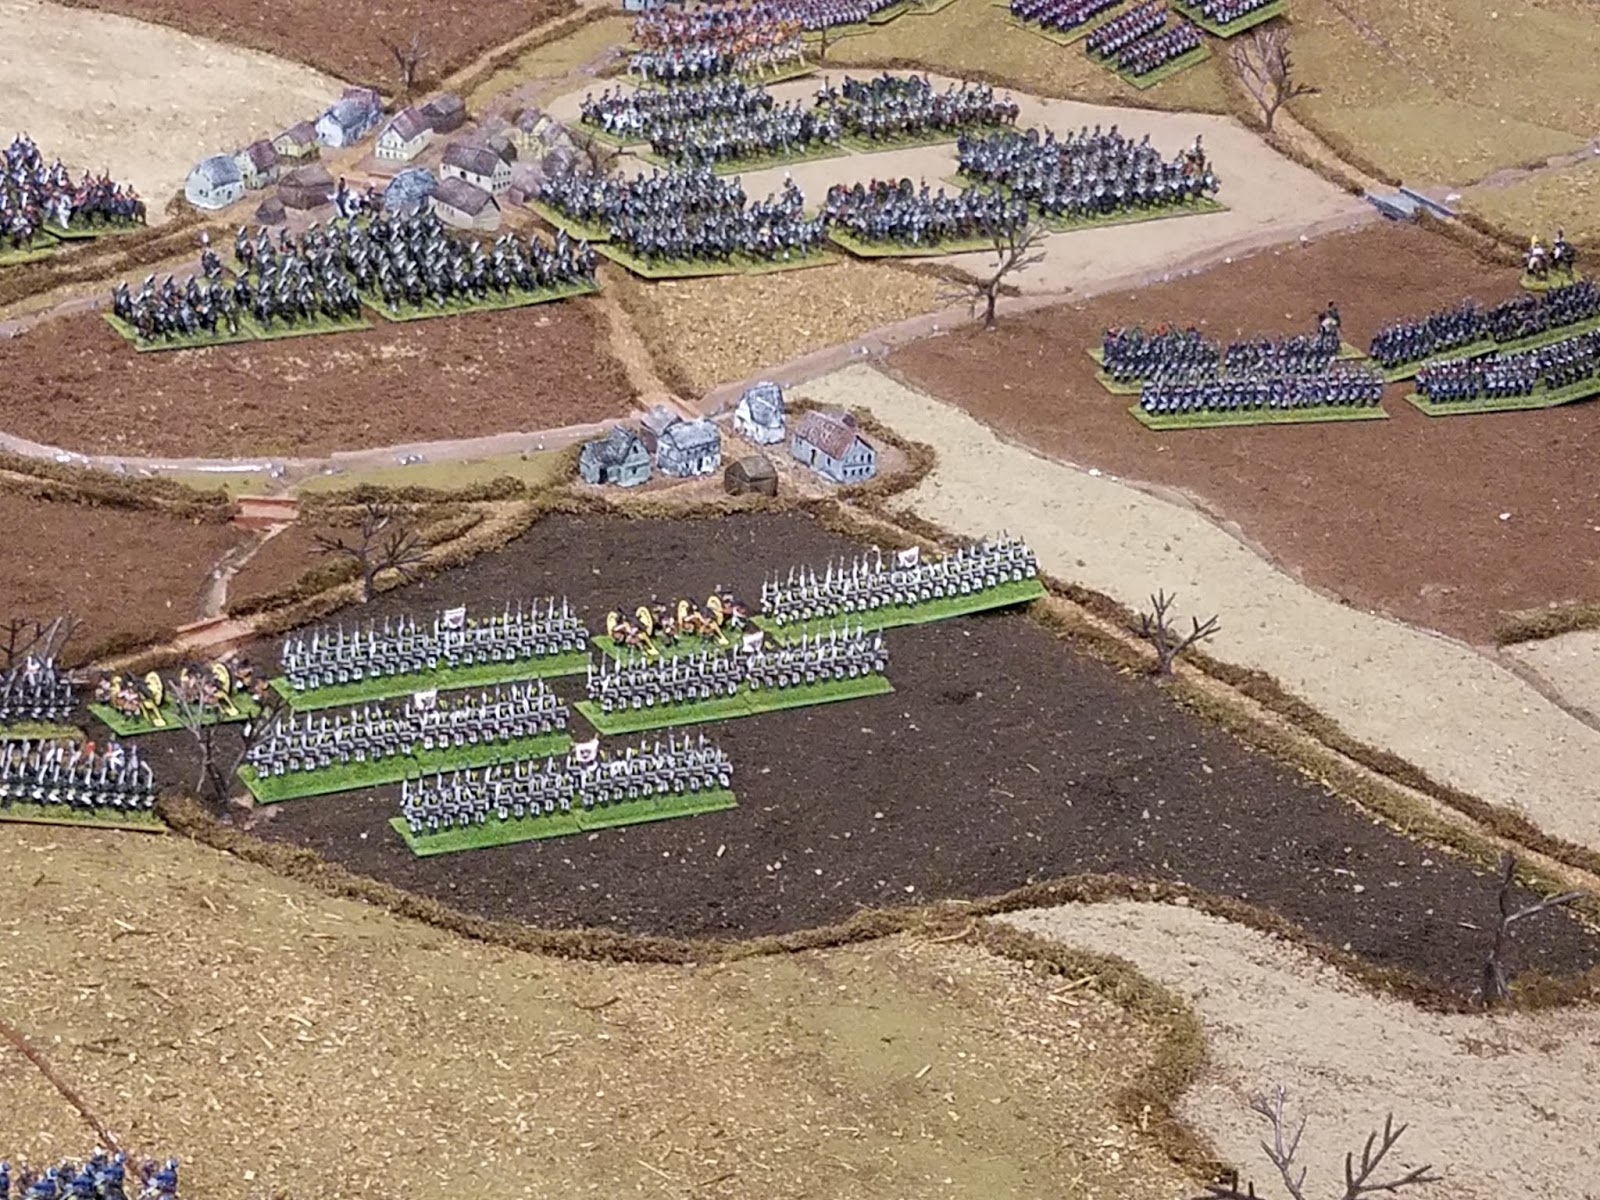
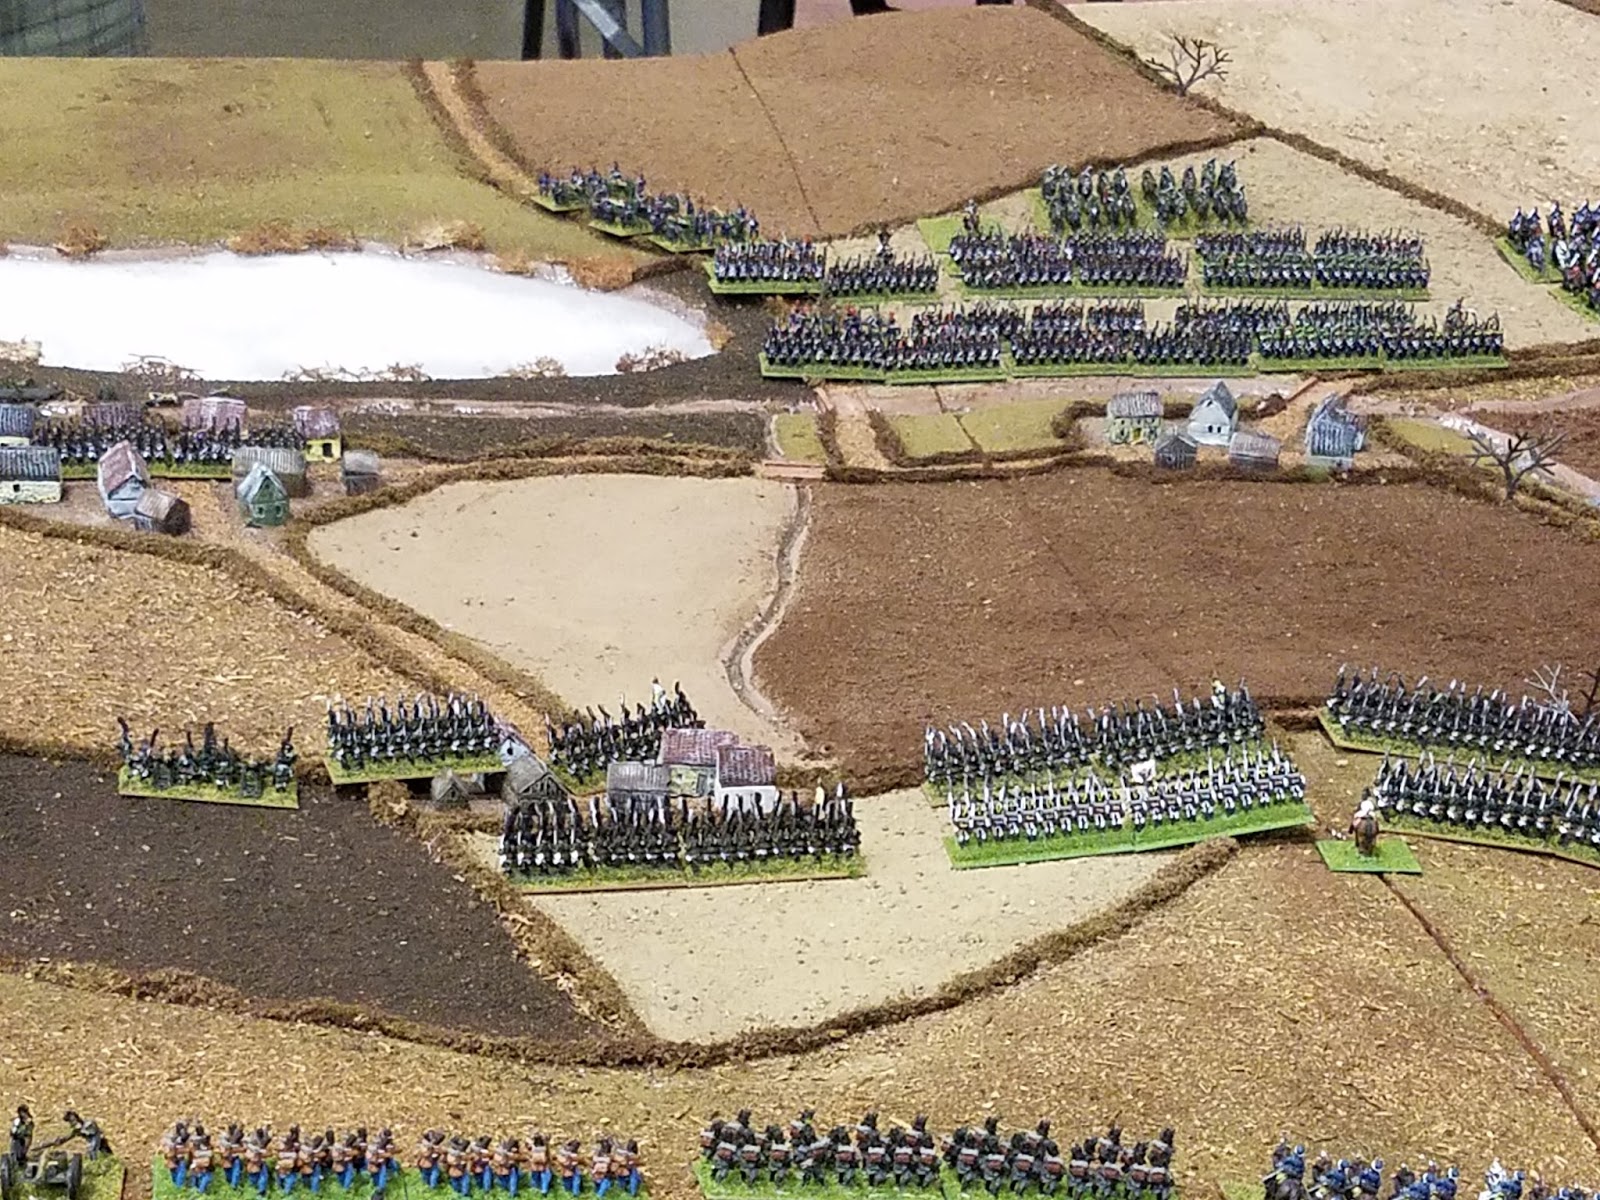
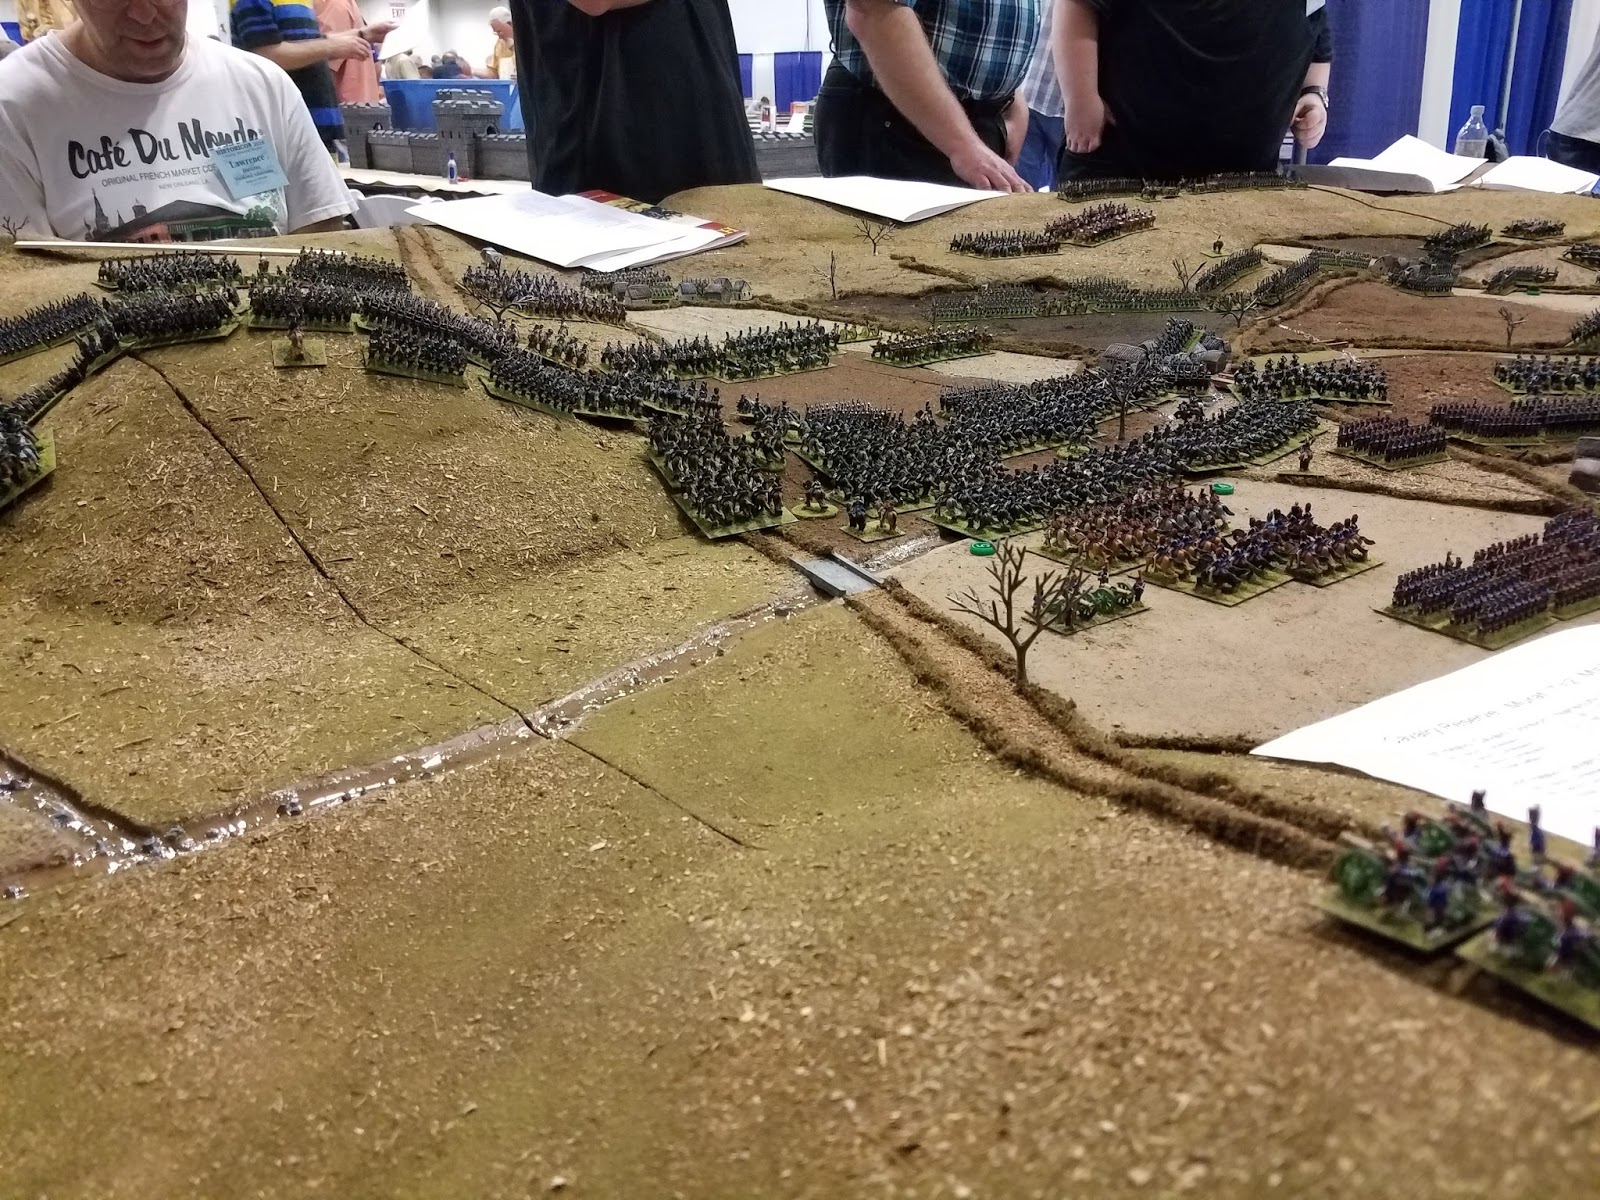
We are still at and making progress. Just not enough. I predict some very late nights in the last weekend before Historicon. We have the table to finish, buildings to cast and paint, and figures to paint and base.
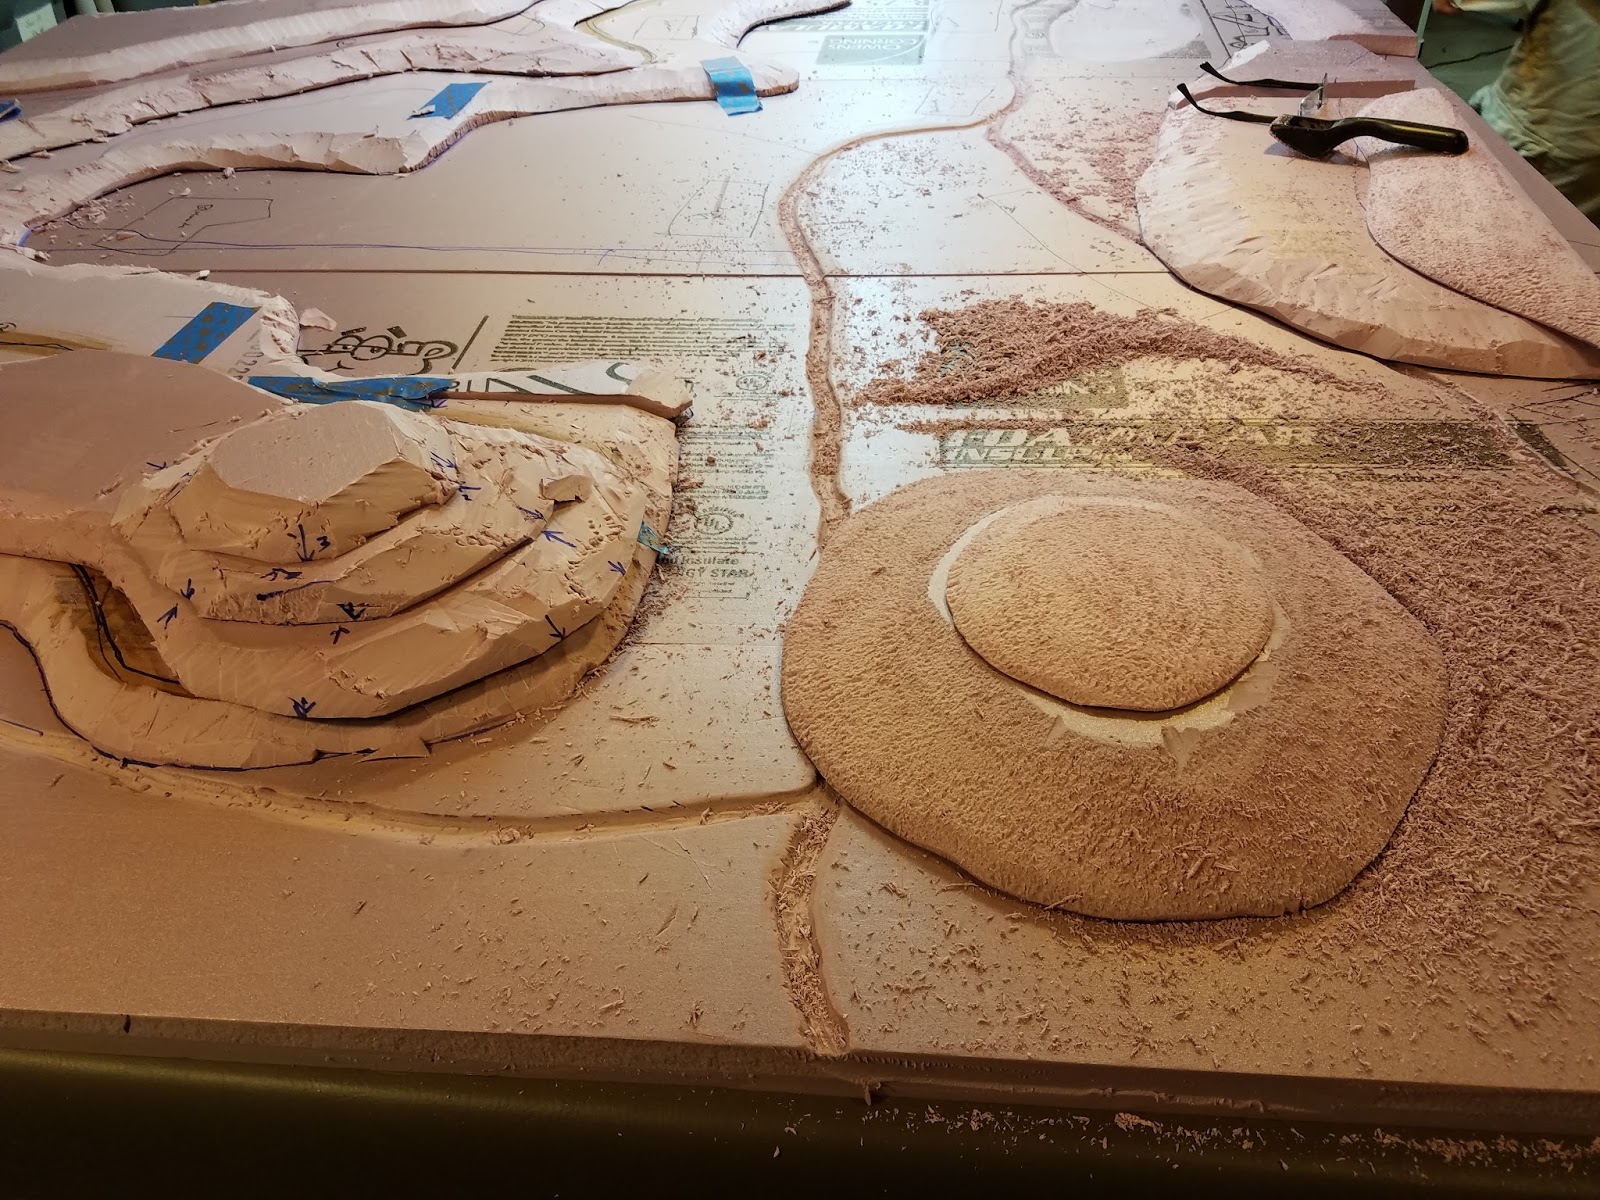
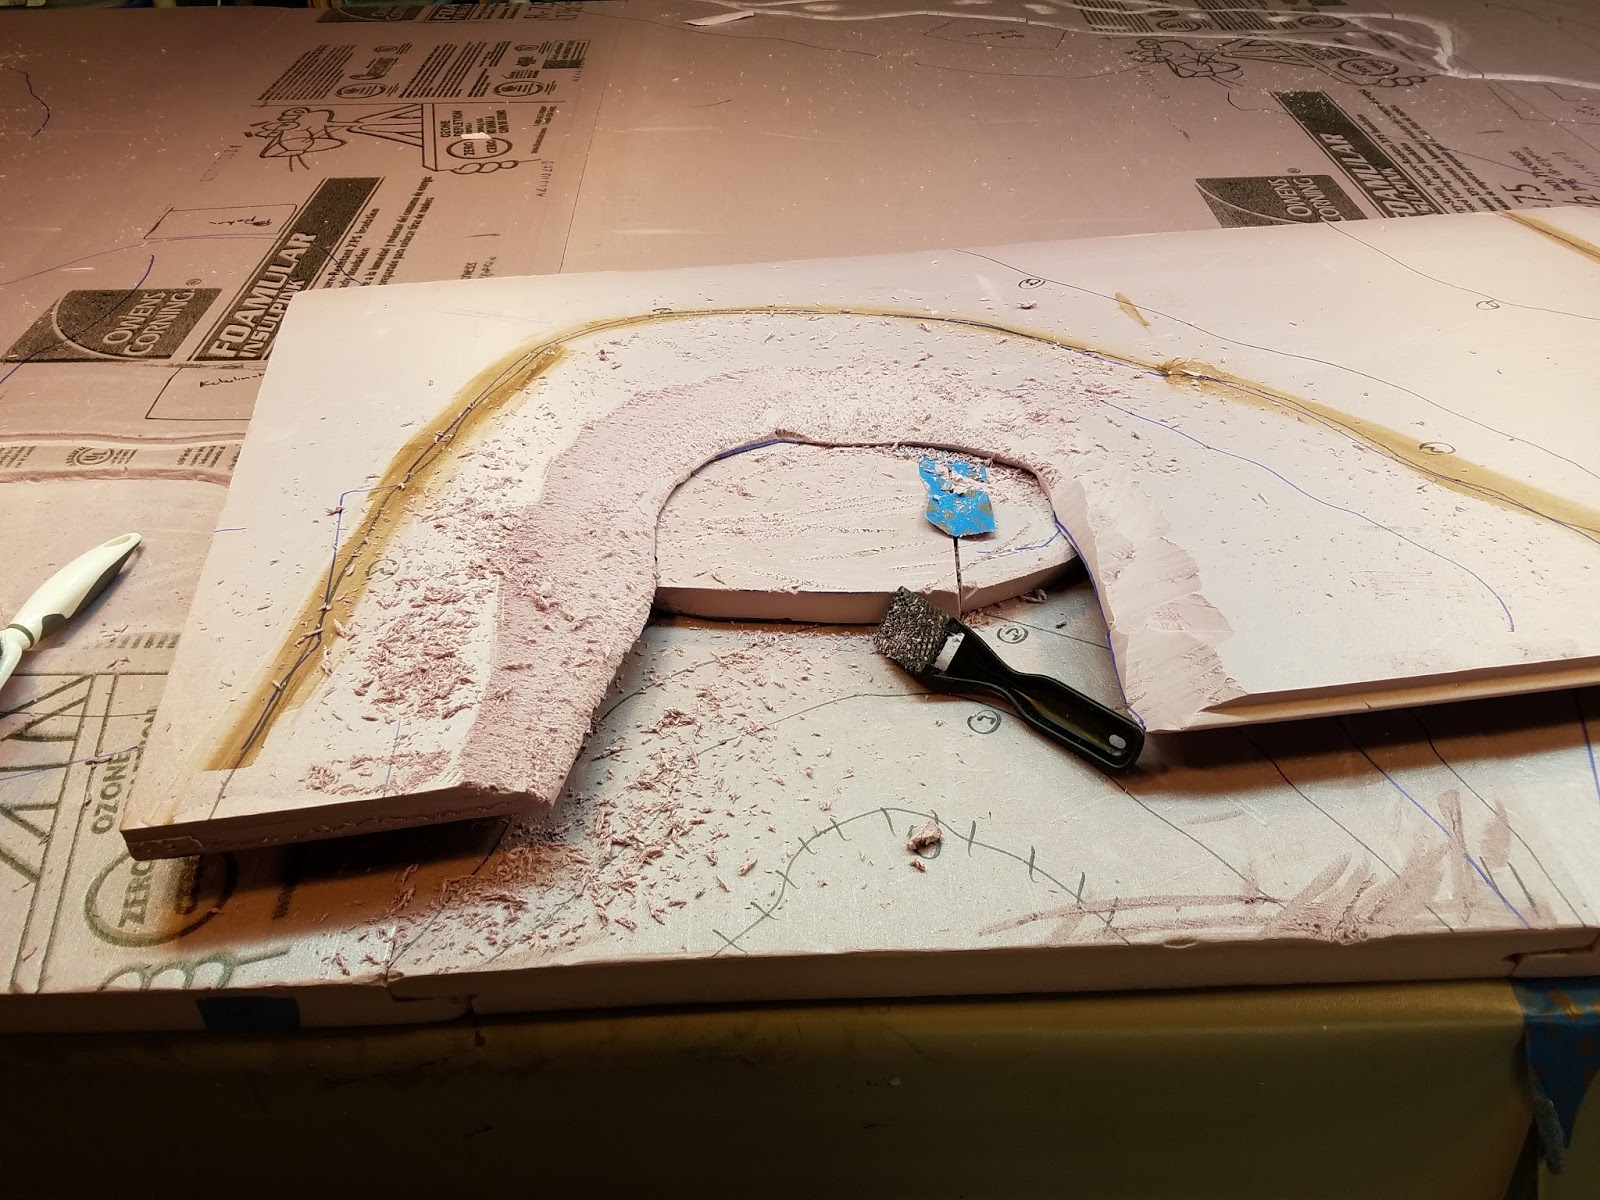
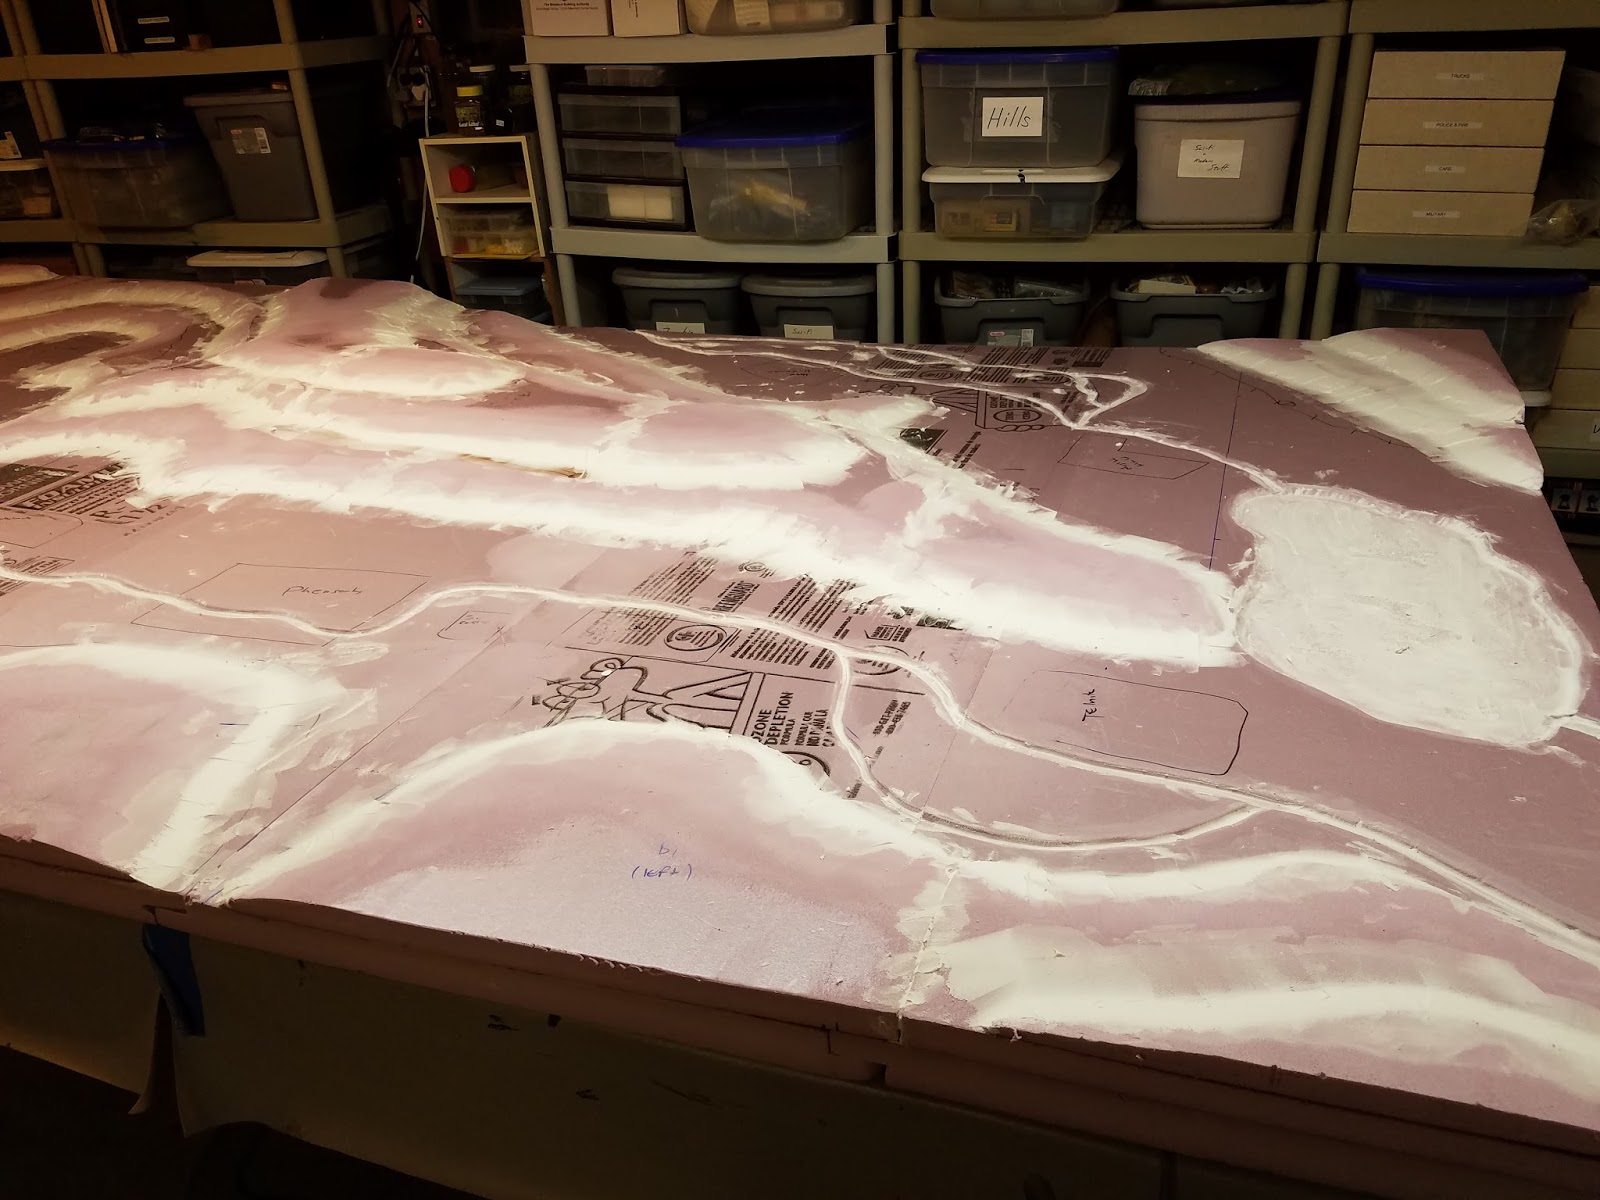
Using a razor knife we carve as much of the slopes as we can. But that only gets us so far.
Next we use a Stanley Sureform to really shape the slopes to what we need.
As you can see it makes quite a mess.
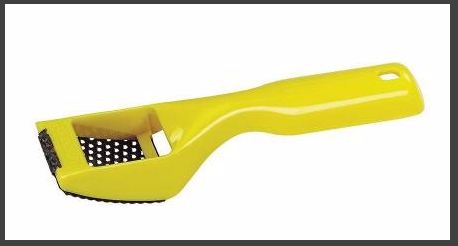
This is the Stanley Sureform. It's like a cheese grater for foam.
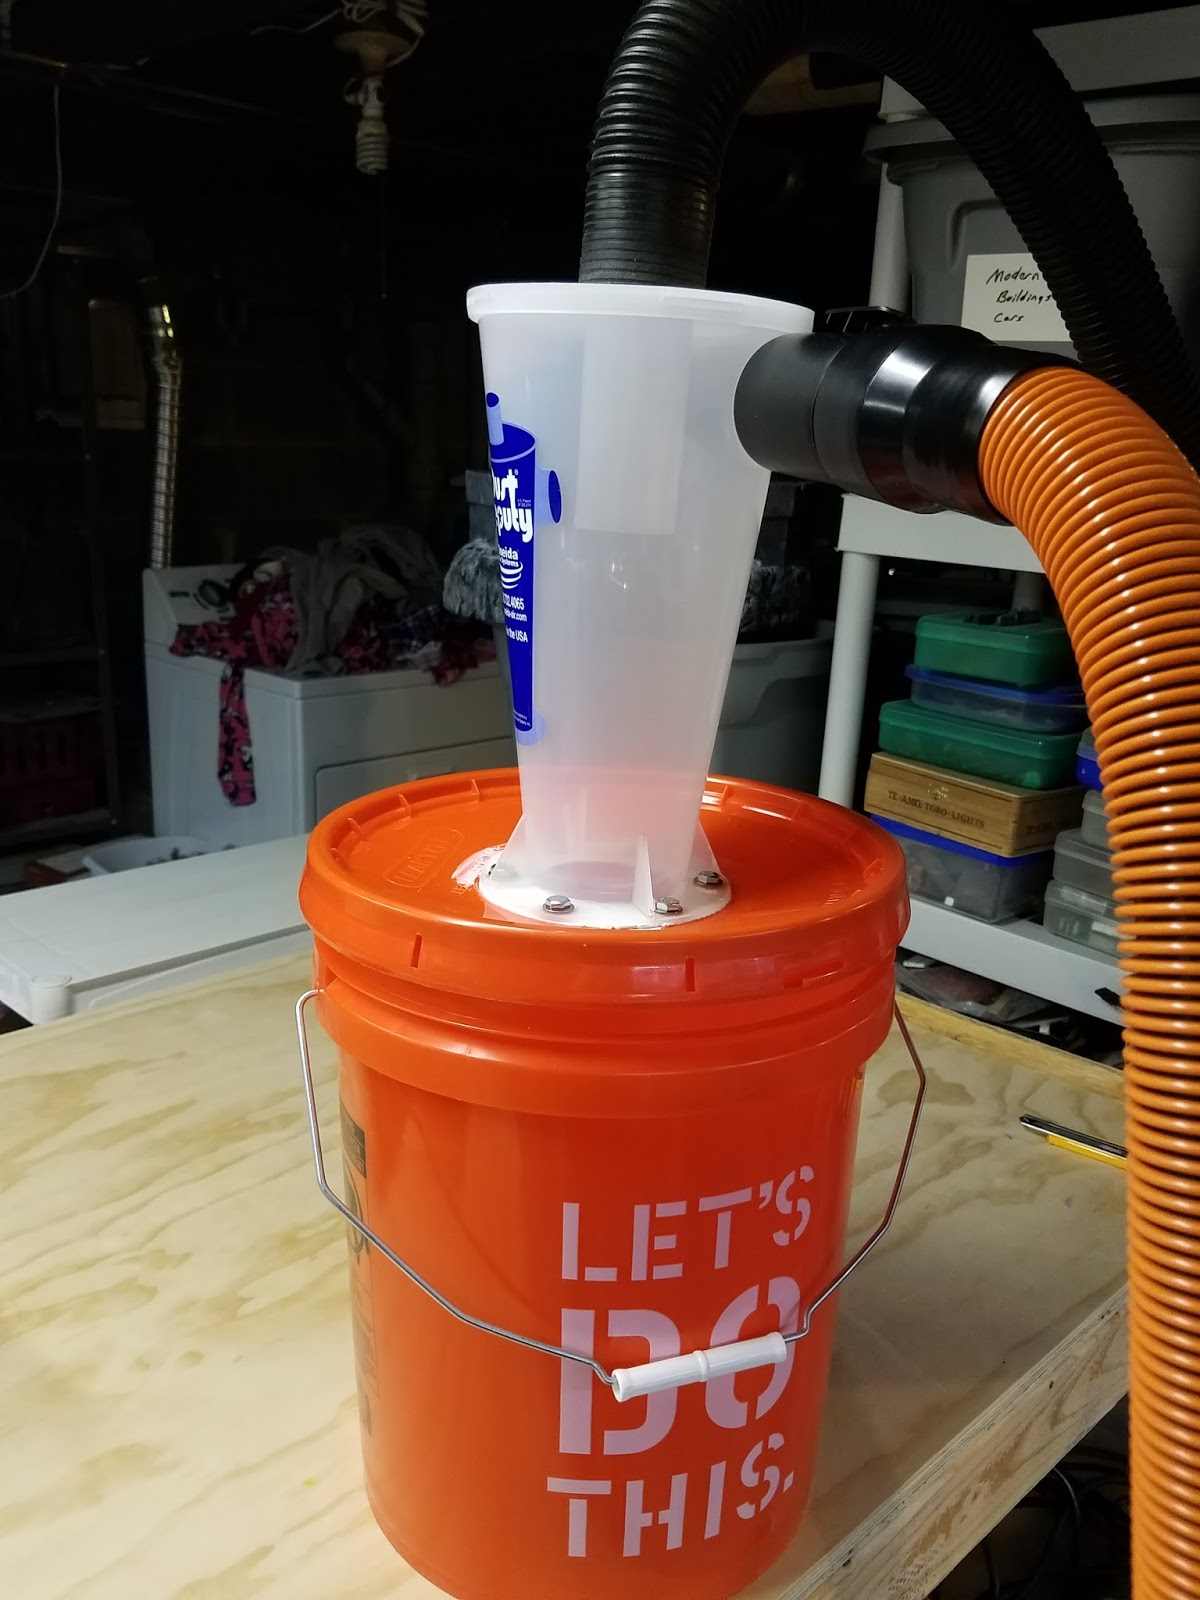
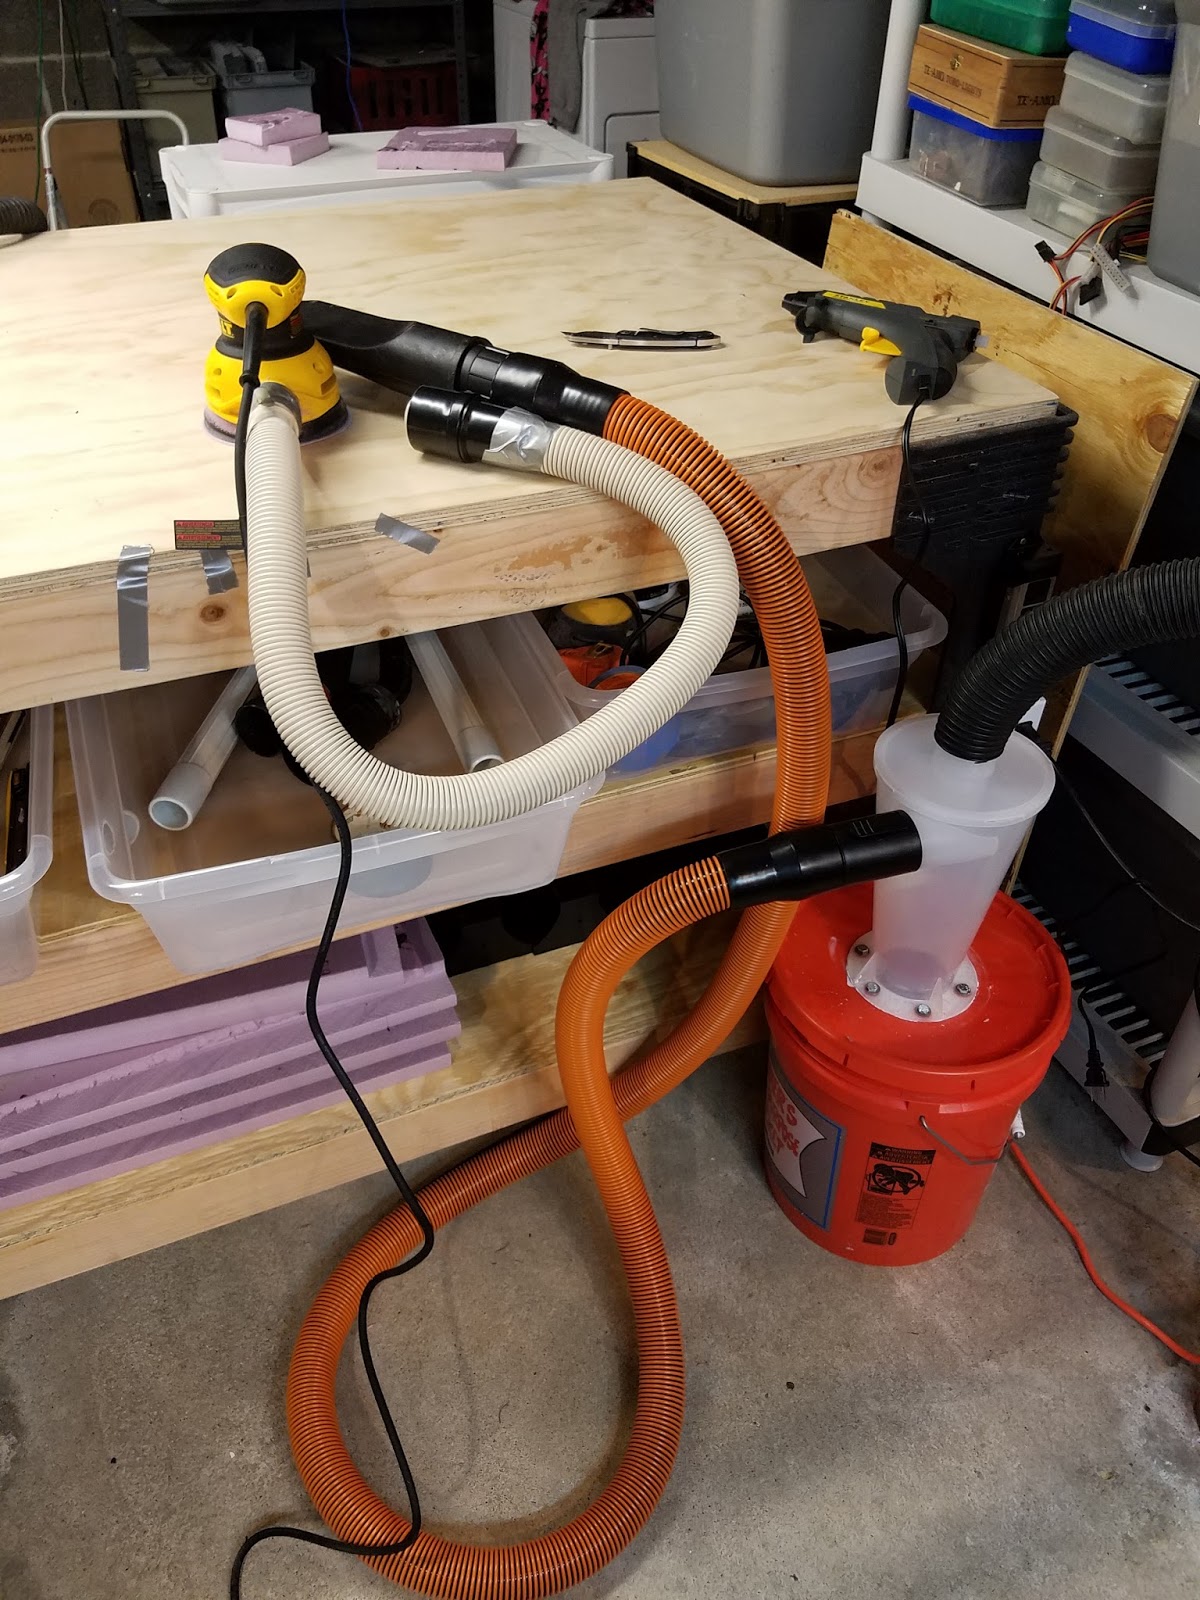
To finish the slopes we use a Random Orbital Sander with a rough Grit. This makes a lot of dust and this dust is nothing to mess around with. So to deal with the dust this is what I did. I bought this Dust Deputy Cyclone separator. It attaches to a shop vac and spins the dust out of the air to settle in the bucket. That way less dust gets to the shop vac and less dust to clog the air filter.
The other end attaches to the sander so I am vacuuming up dust as I sand. Duct tape is your friend here.
My new Sander.
We are very serious about the dust as it is toxic. So we always wear dust filters and I have fans blowing across the table and another fan in the window sucking air out of the basement.
Here is my sanding in action.
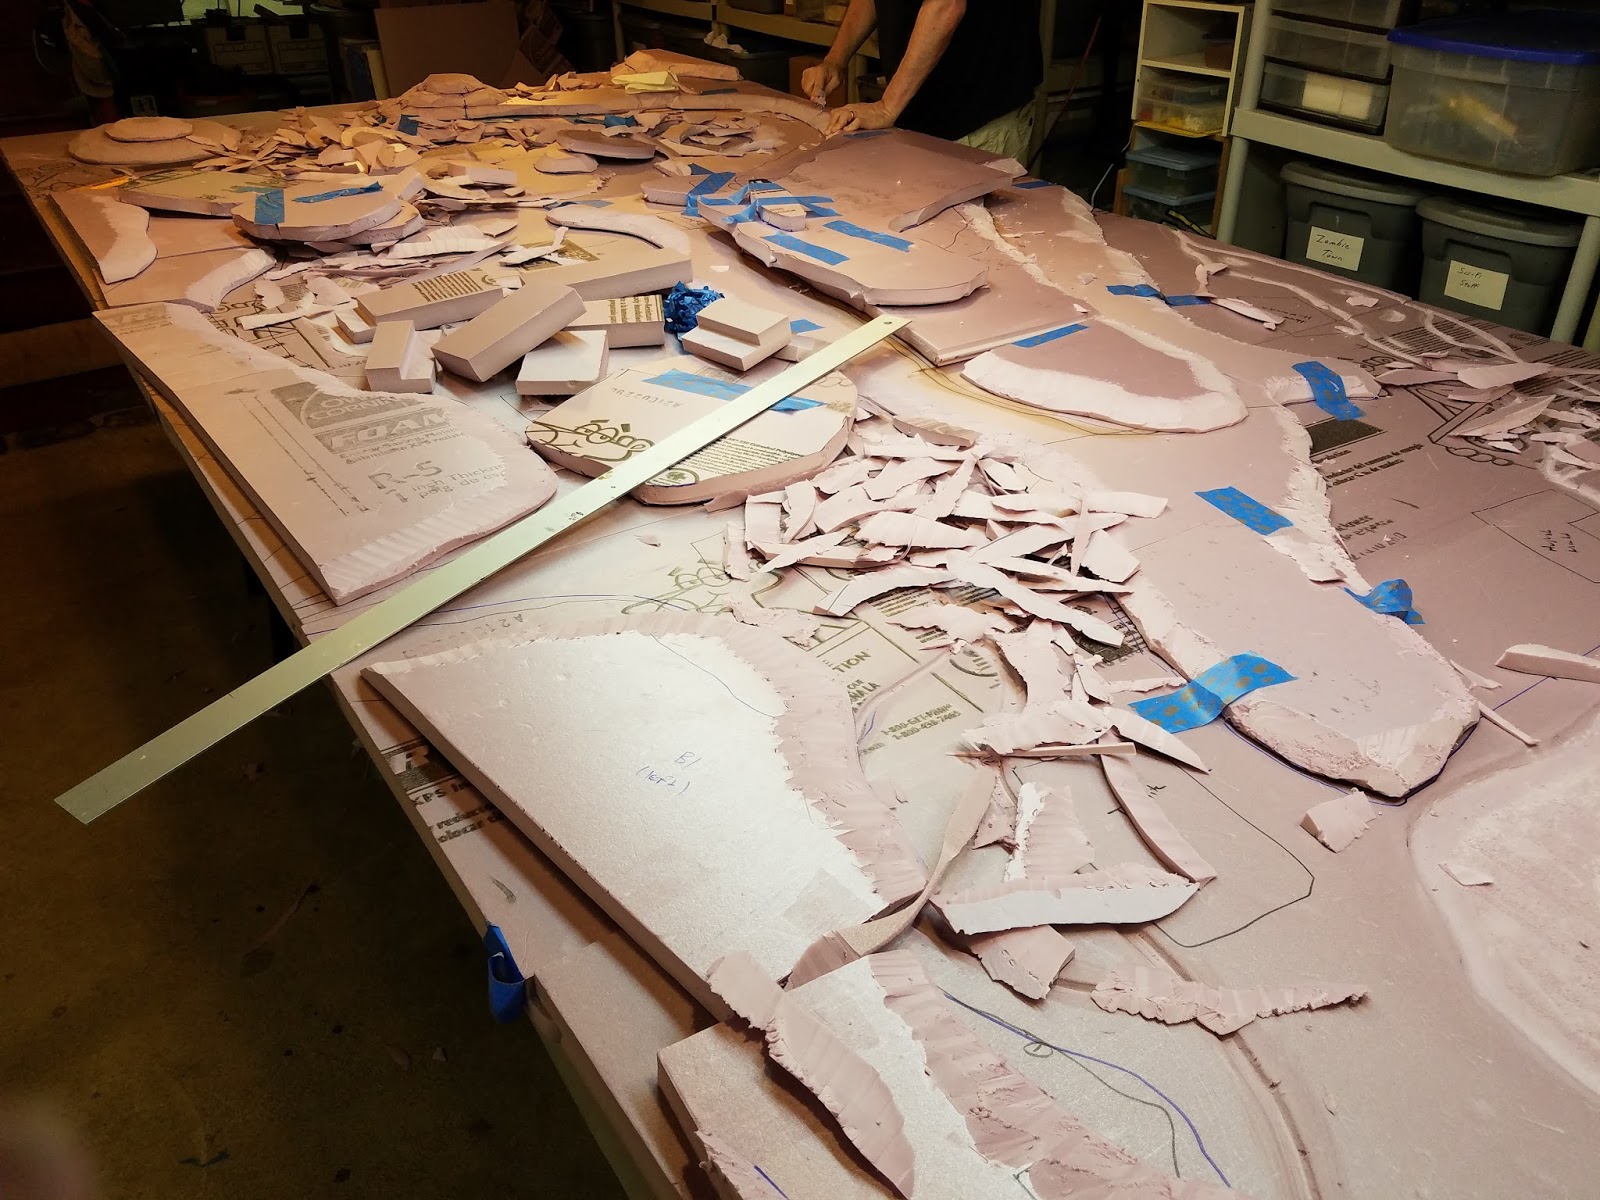
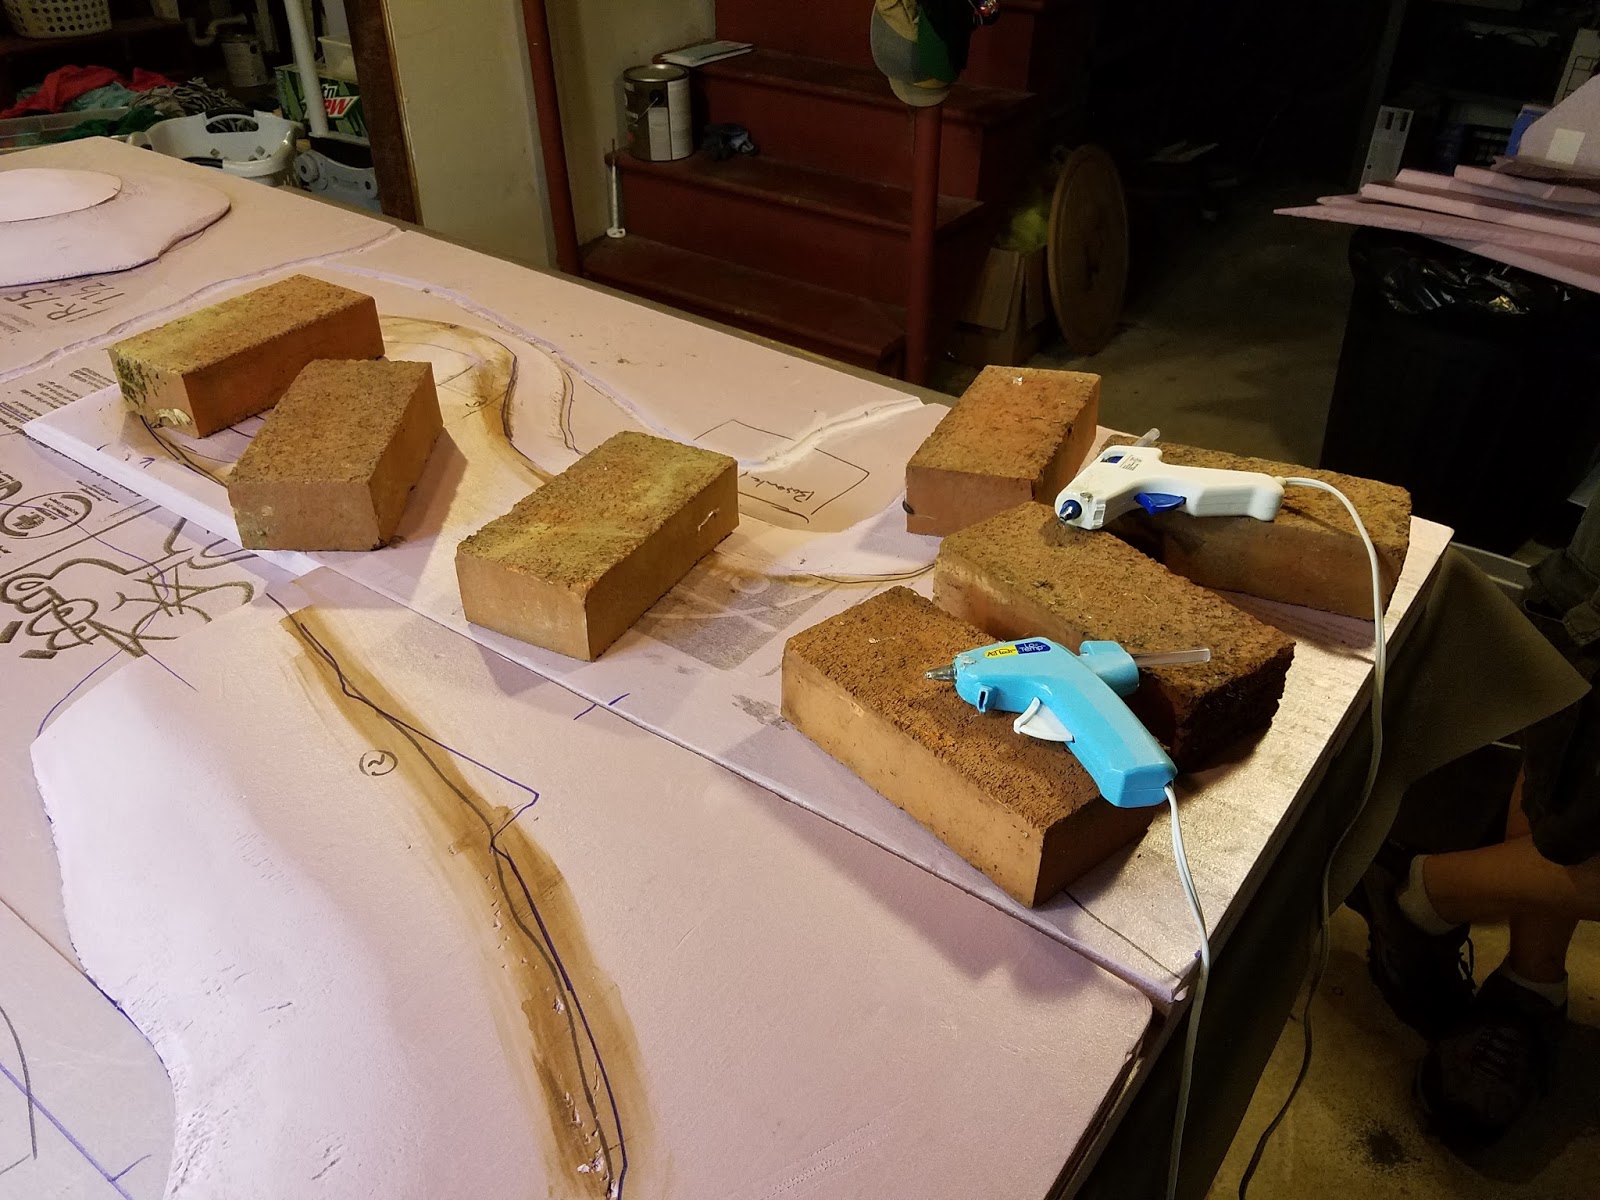
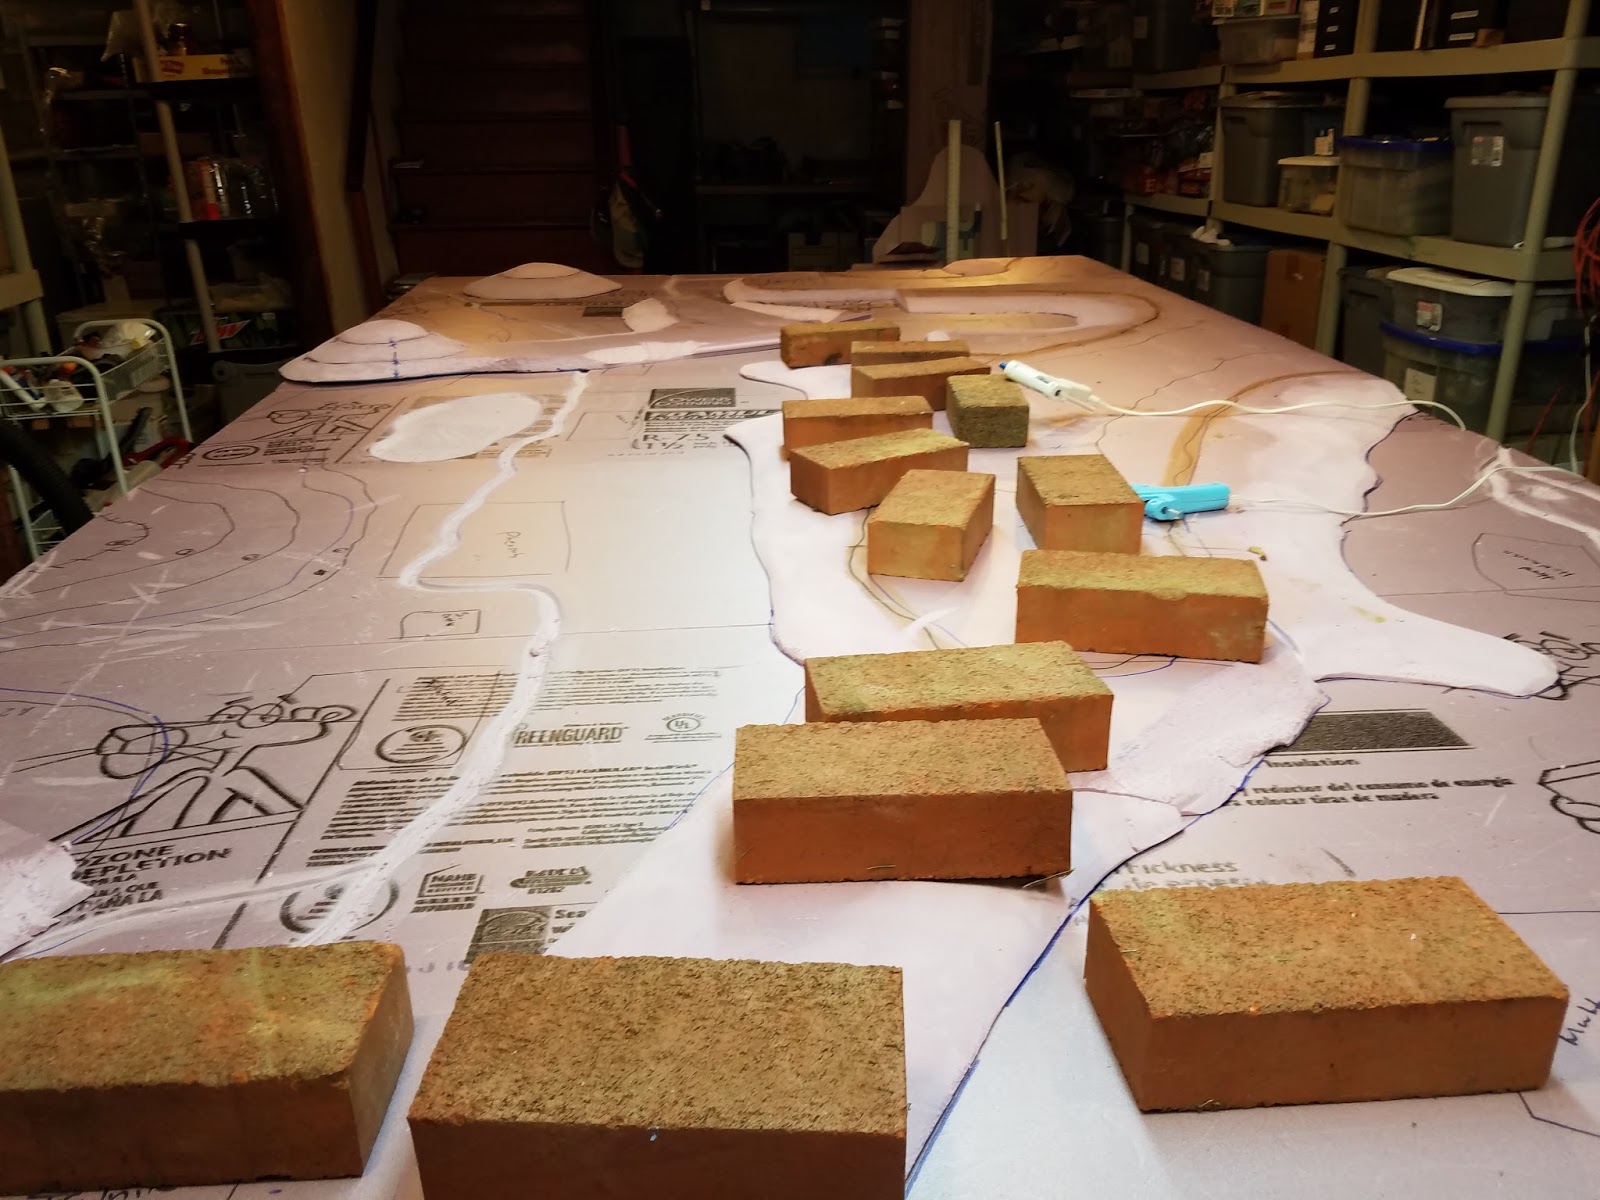
After sanding the first level we start gluing boards down. We used to use Liquid Nails but that takes to long. Now we use low heat glue guns. Lou and I got the whole table glued in a night after work.
We use 2 guns so we can get glue on large boards before the glue starts to cool. We use brick to hold the boards down while the glue cools and we move the next piece to glue down.
All the levels glued down
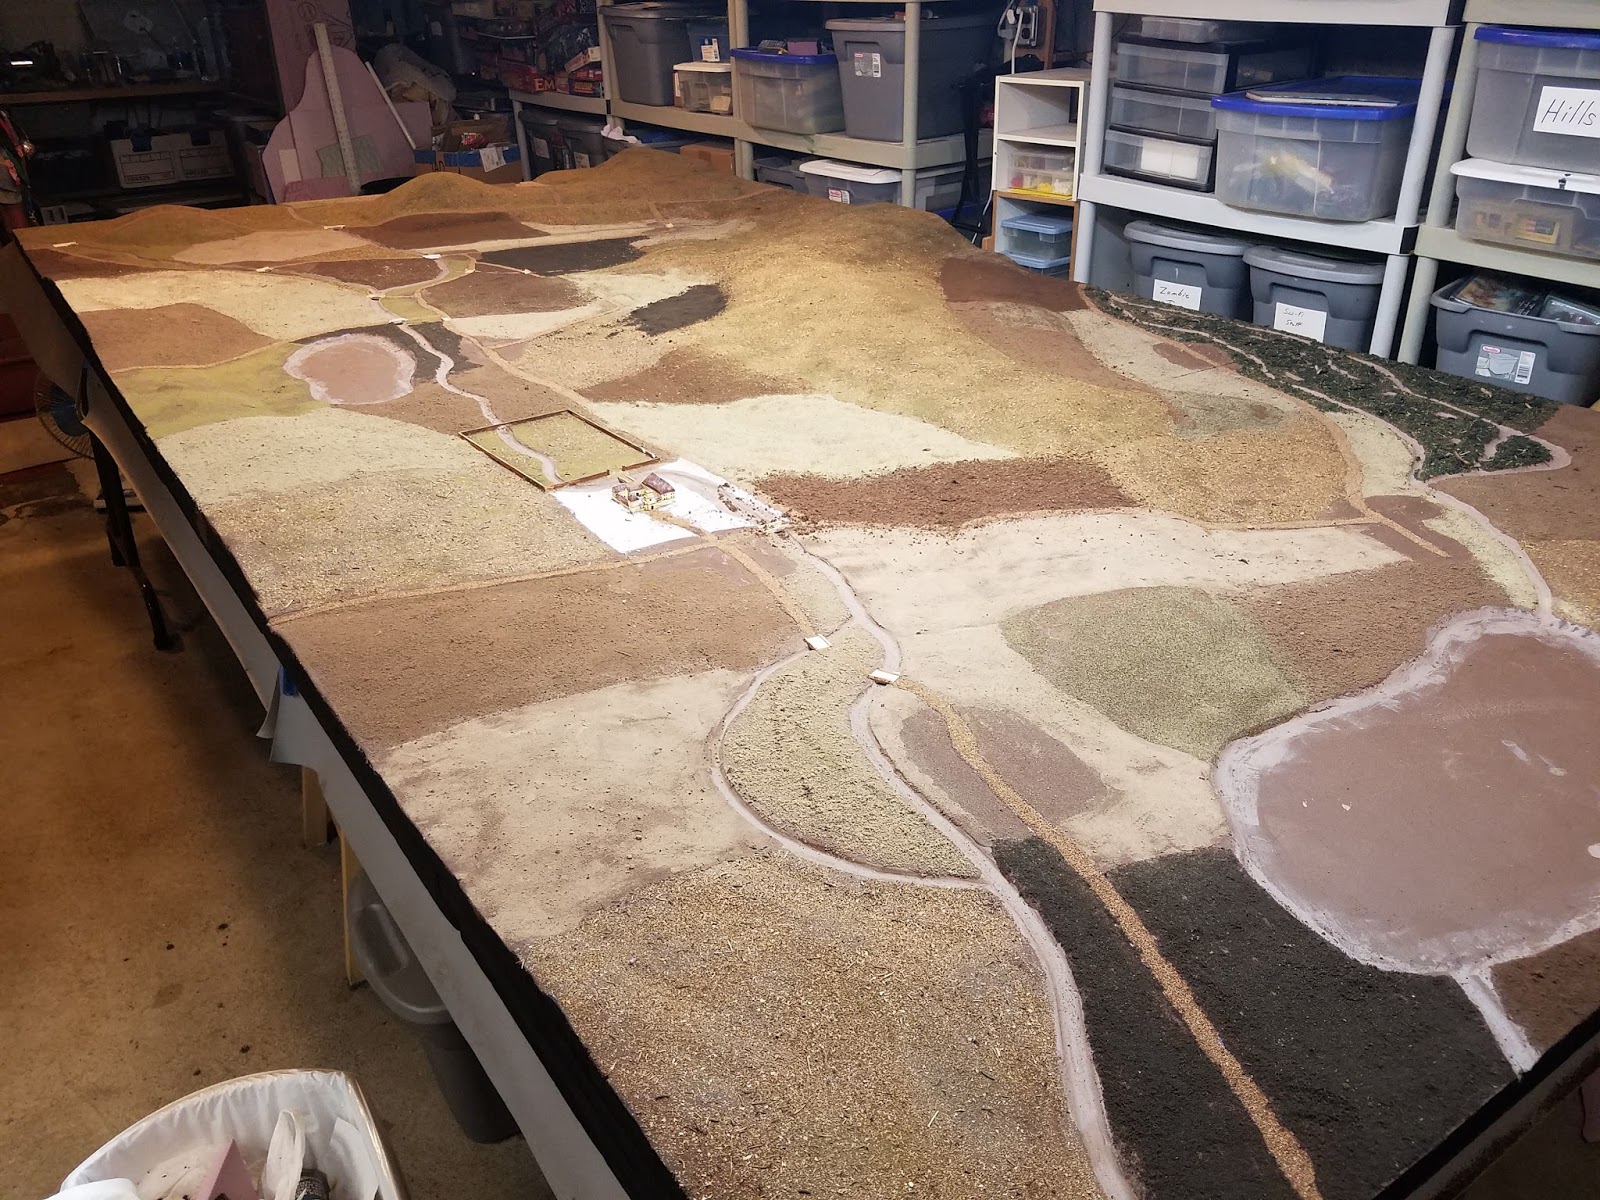
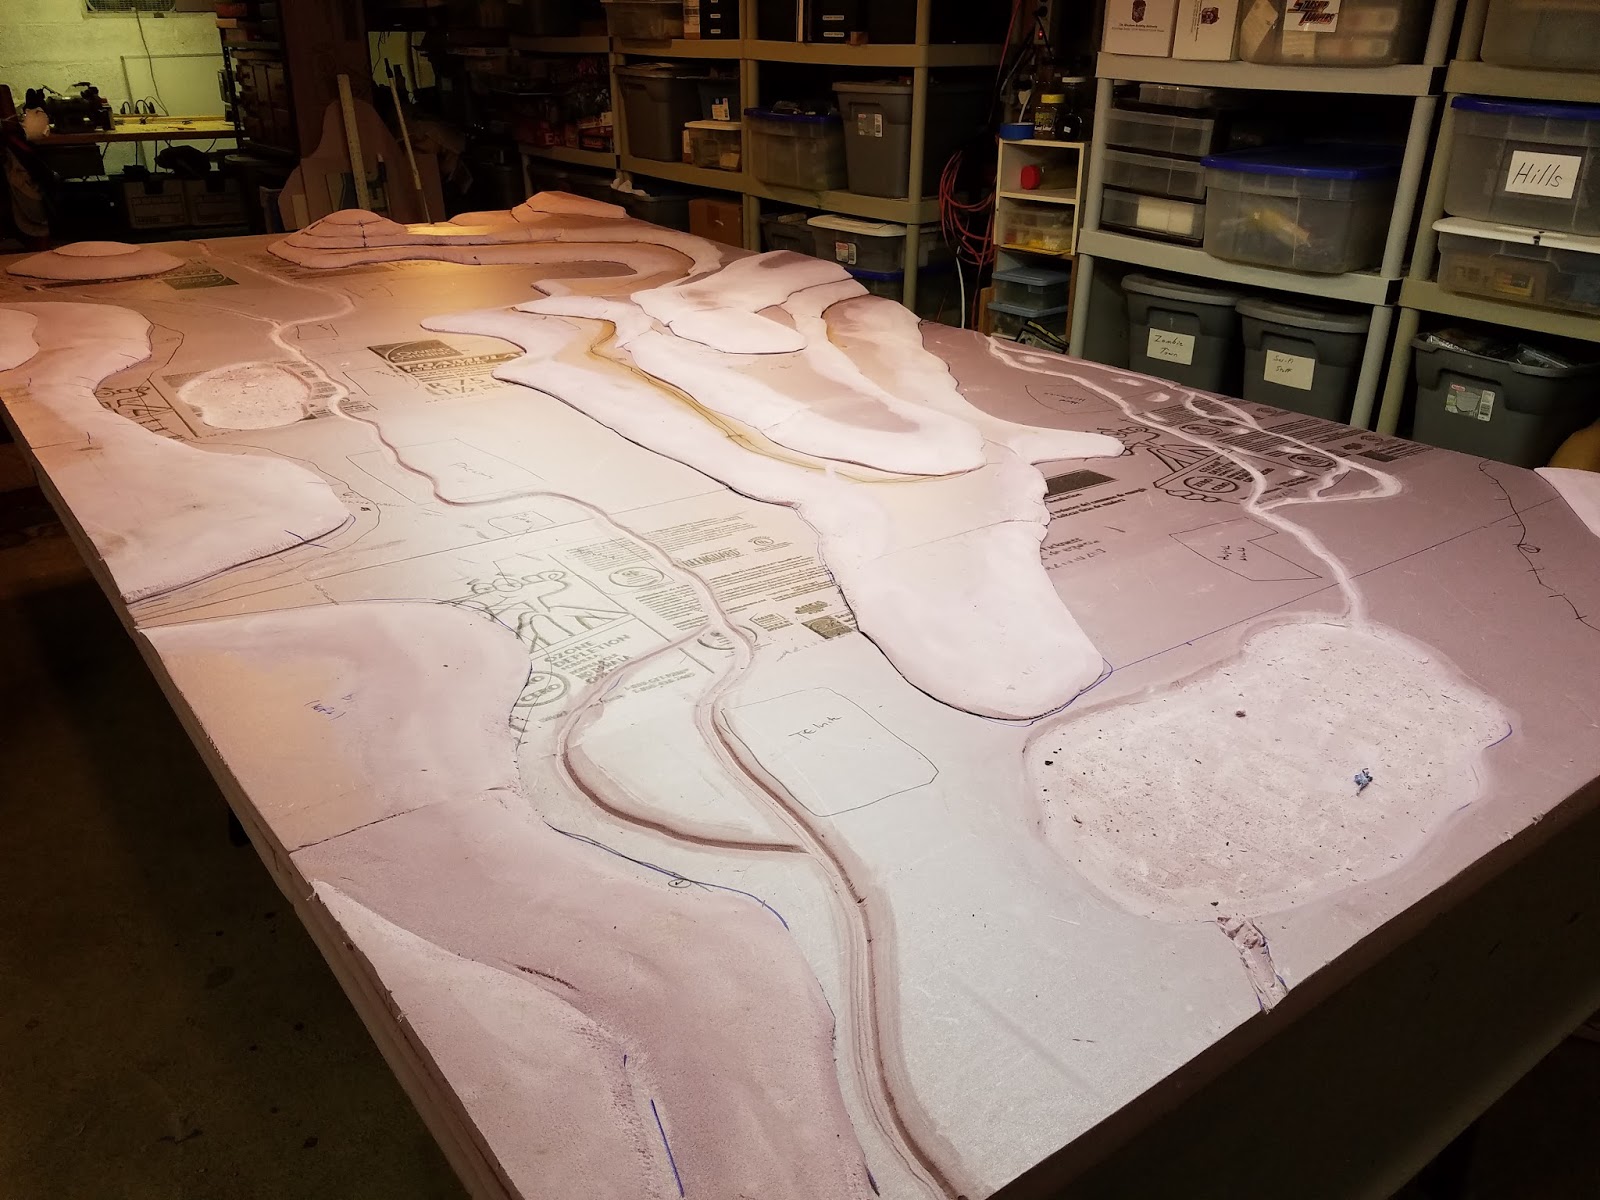
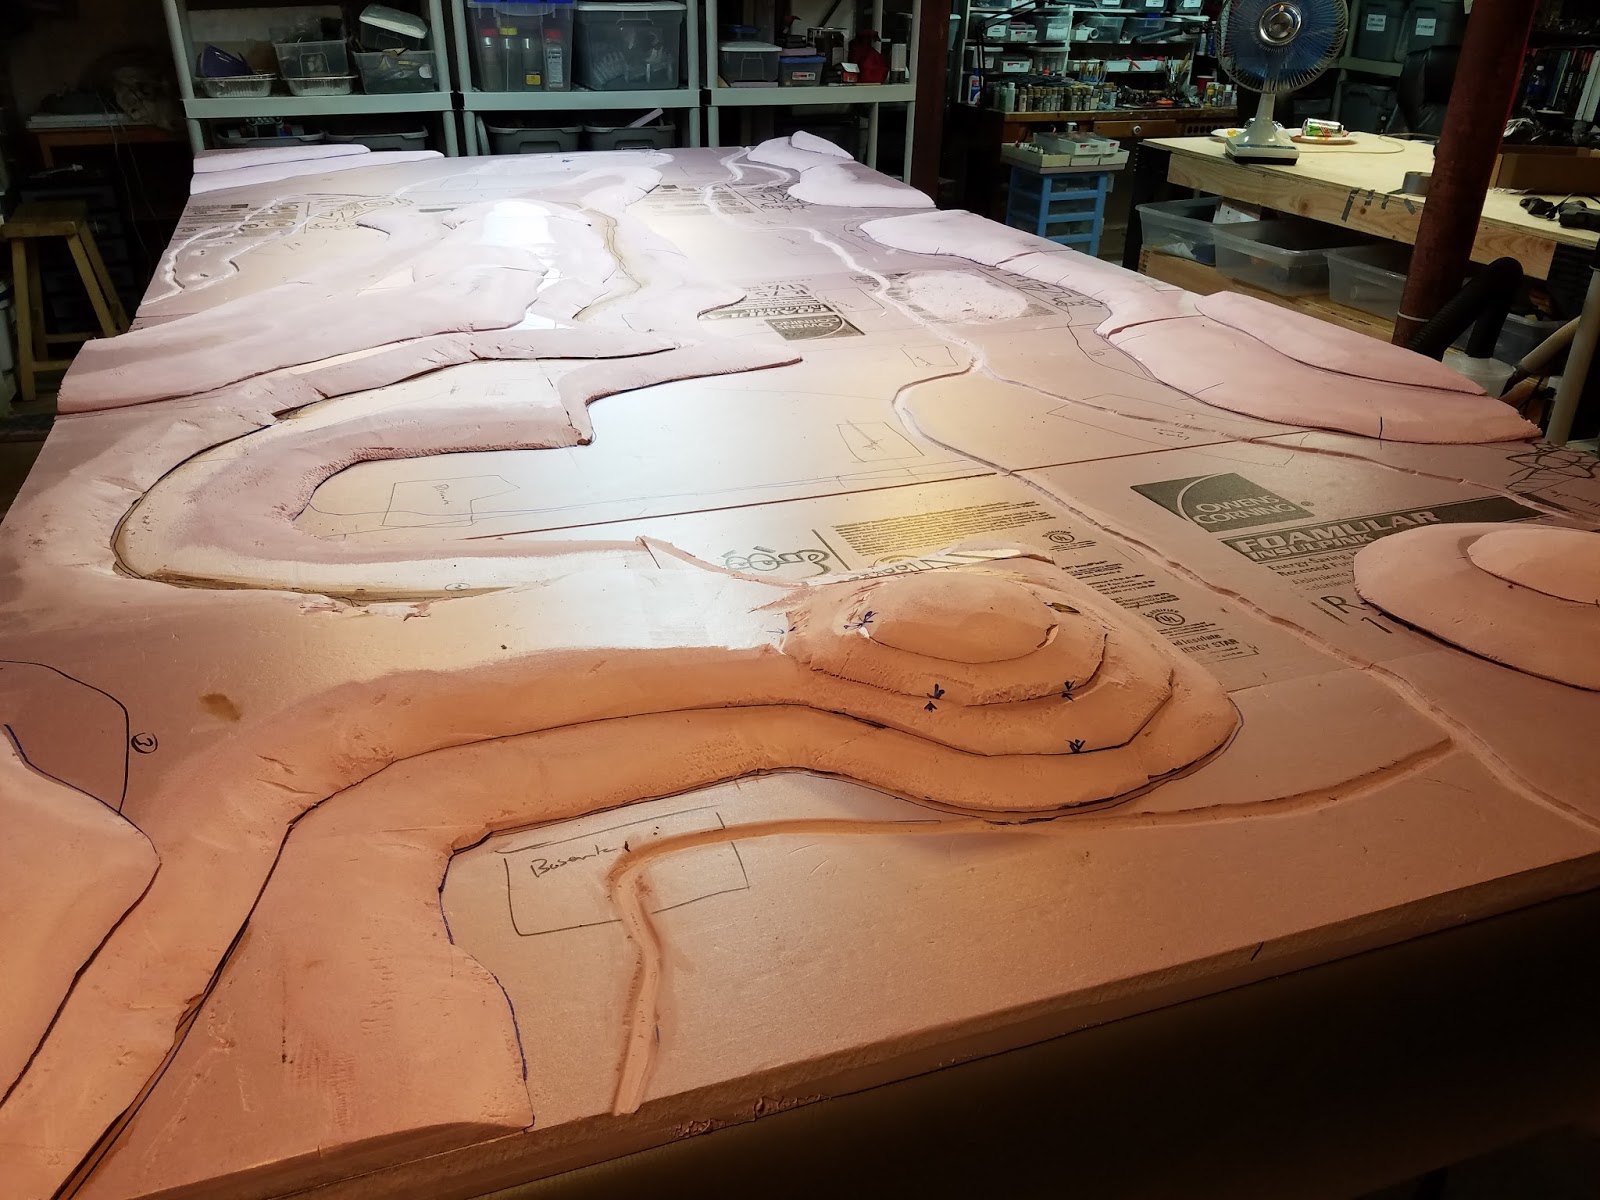
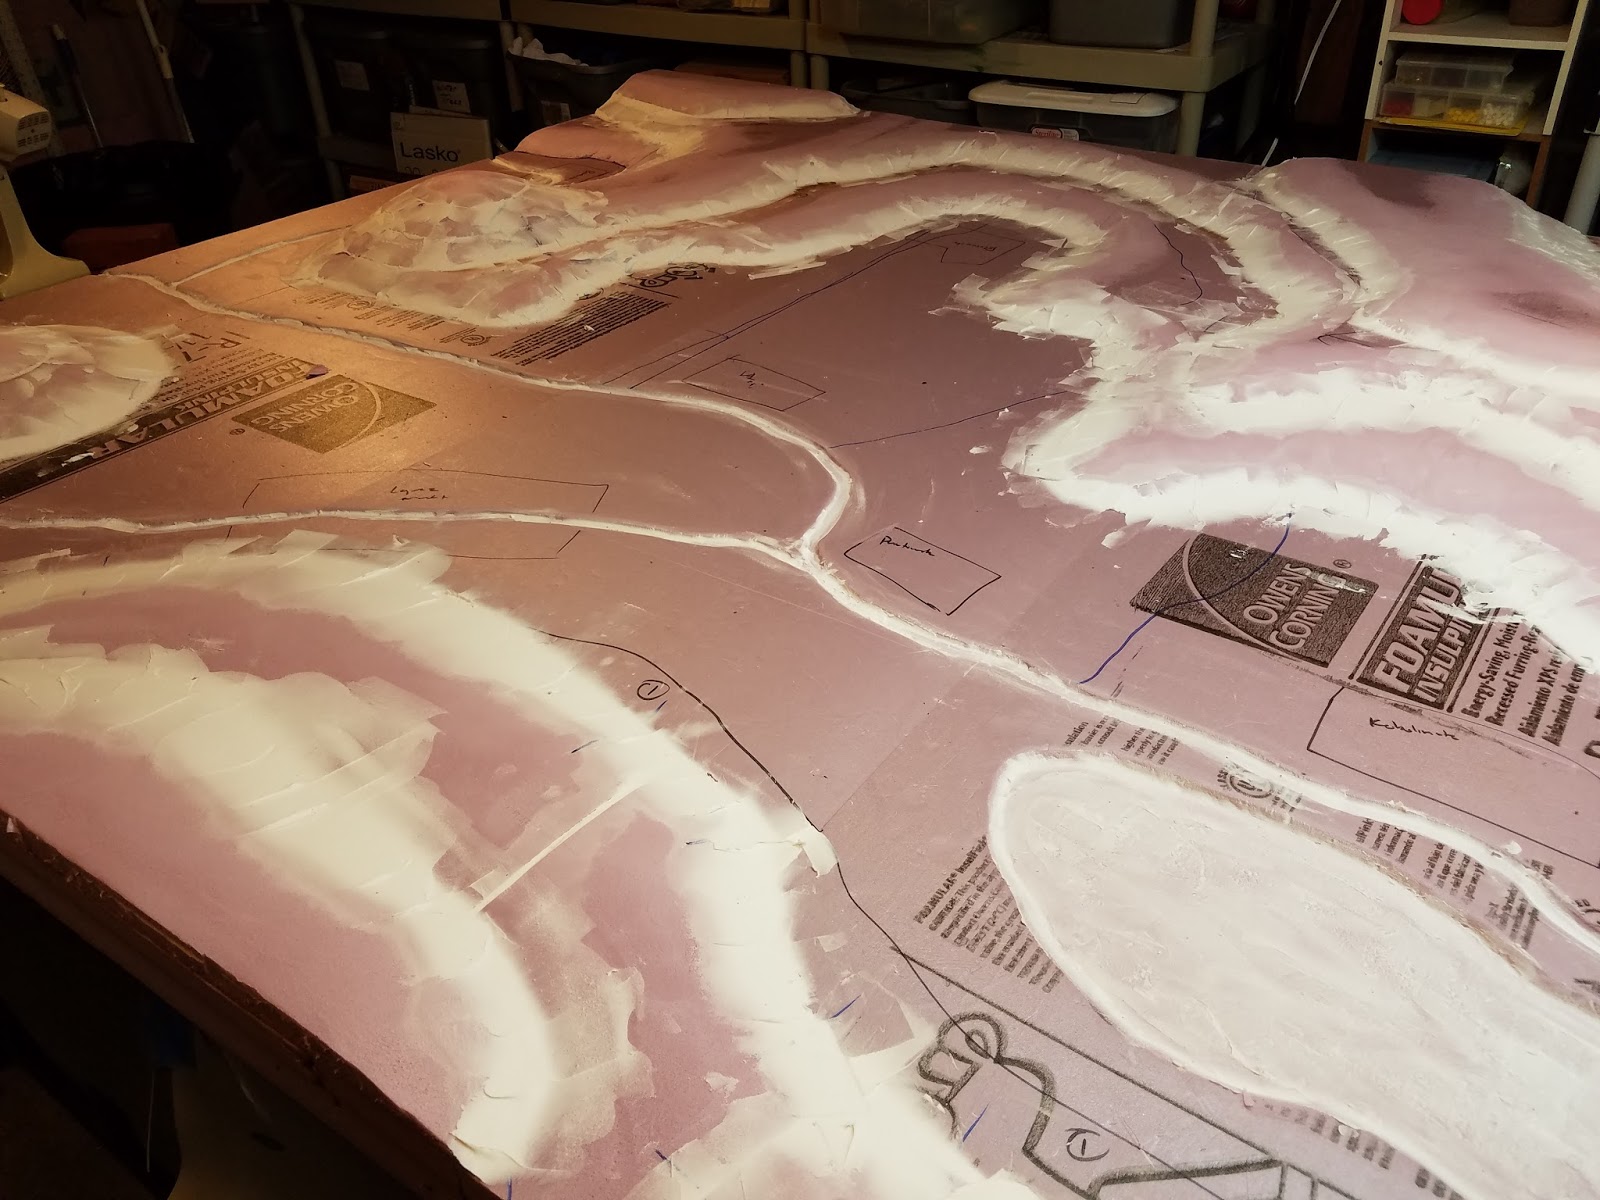
With the gluing done, we need to smooth out the elevation changes.
For that we use Lightweight Spackle.
It's great at covering mistakes and smoothing the edges.
After it drys we go back and very very lightly sand it down again.
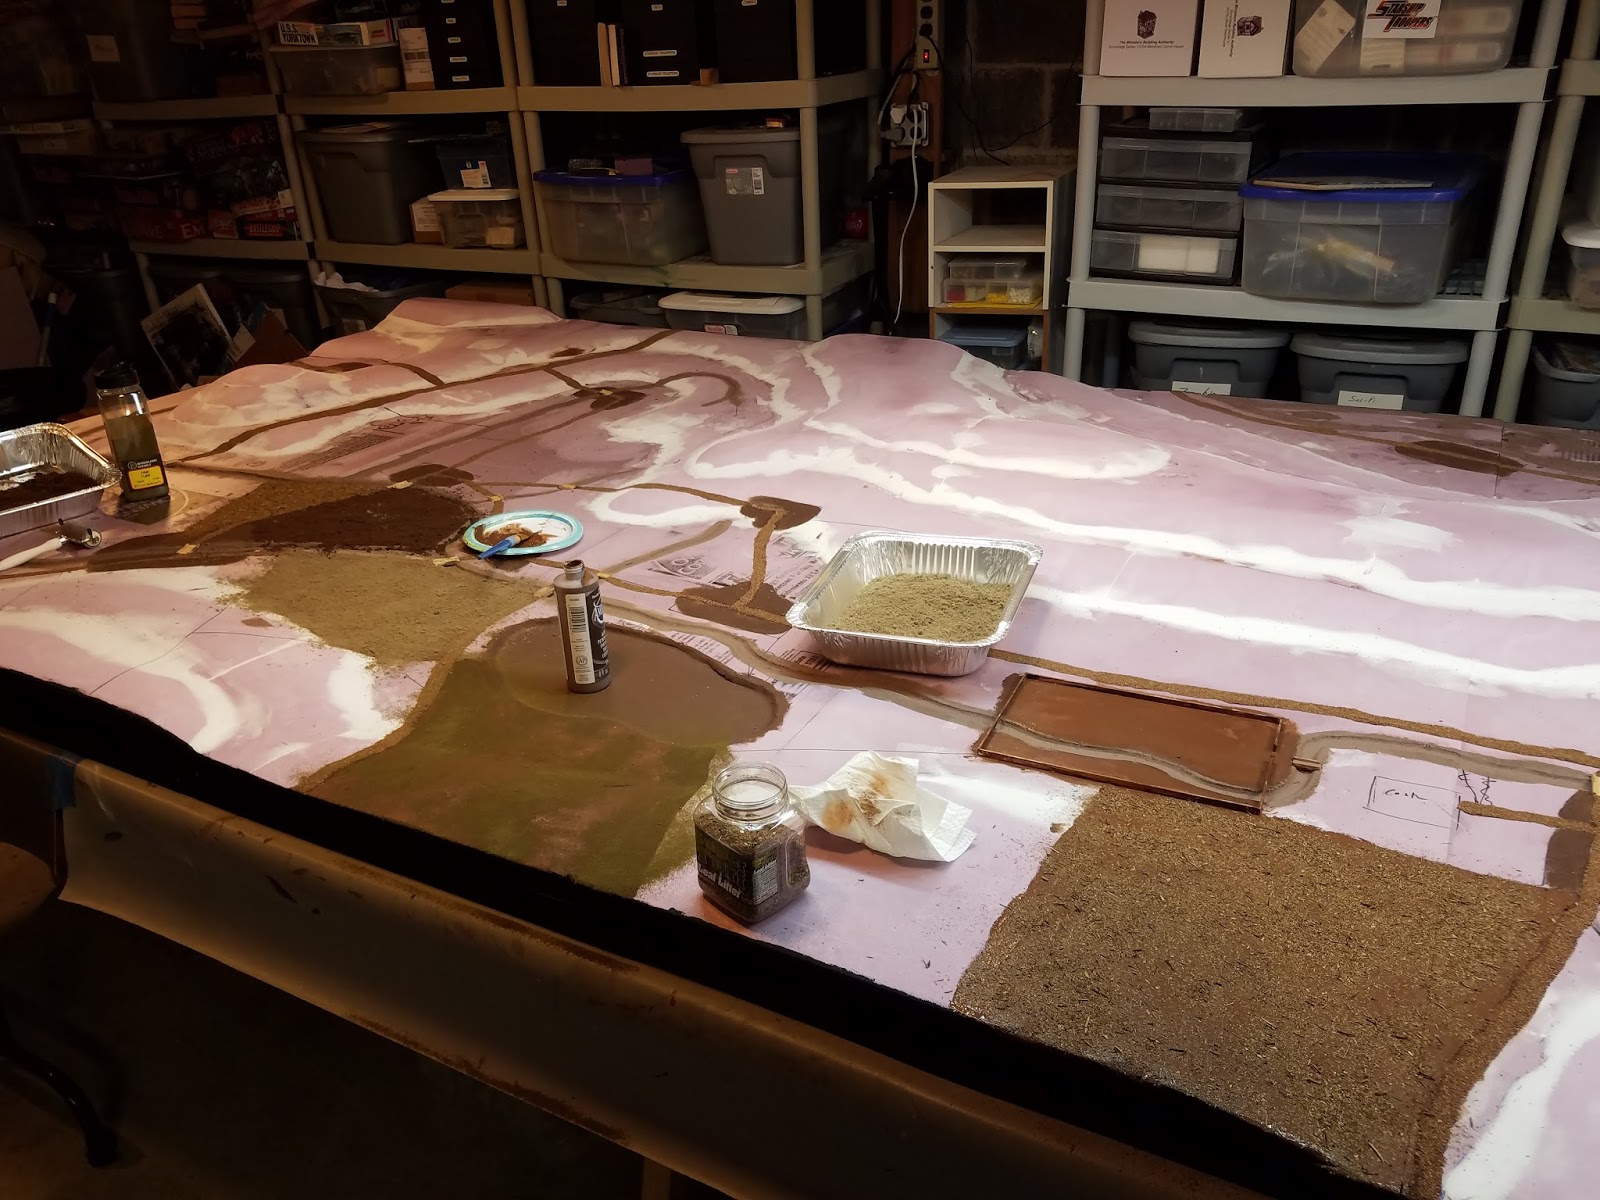
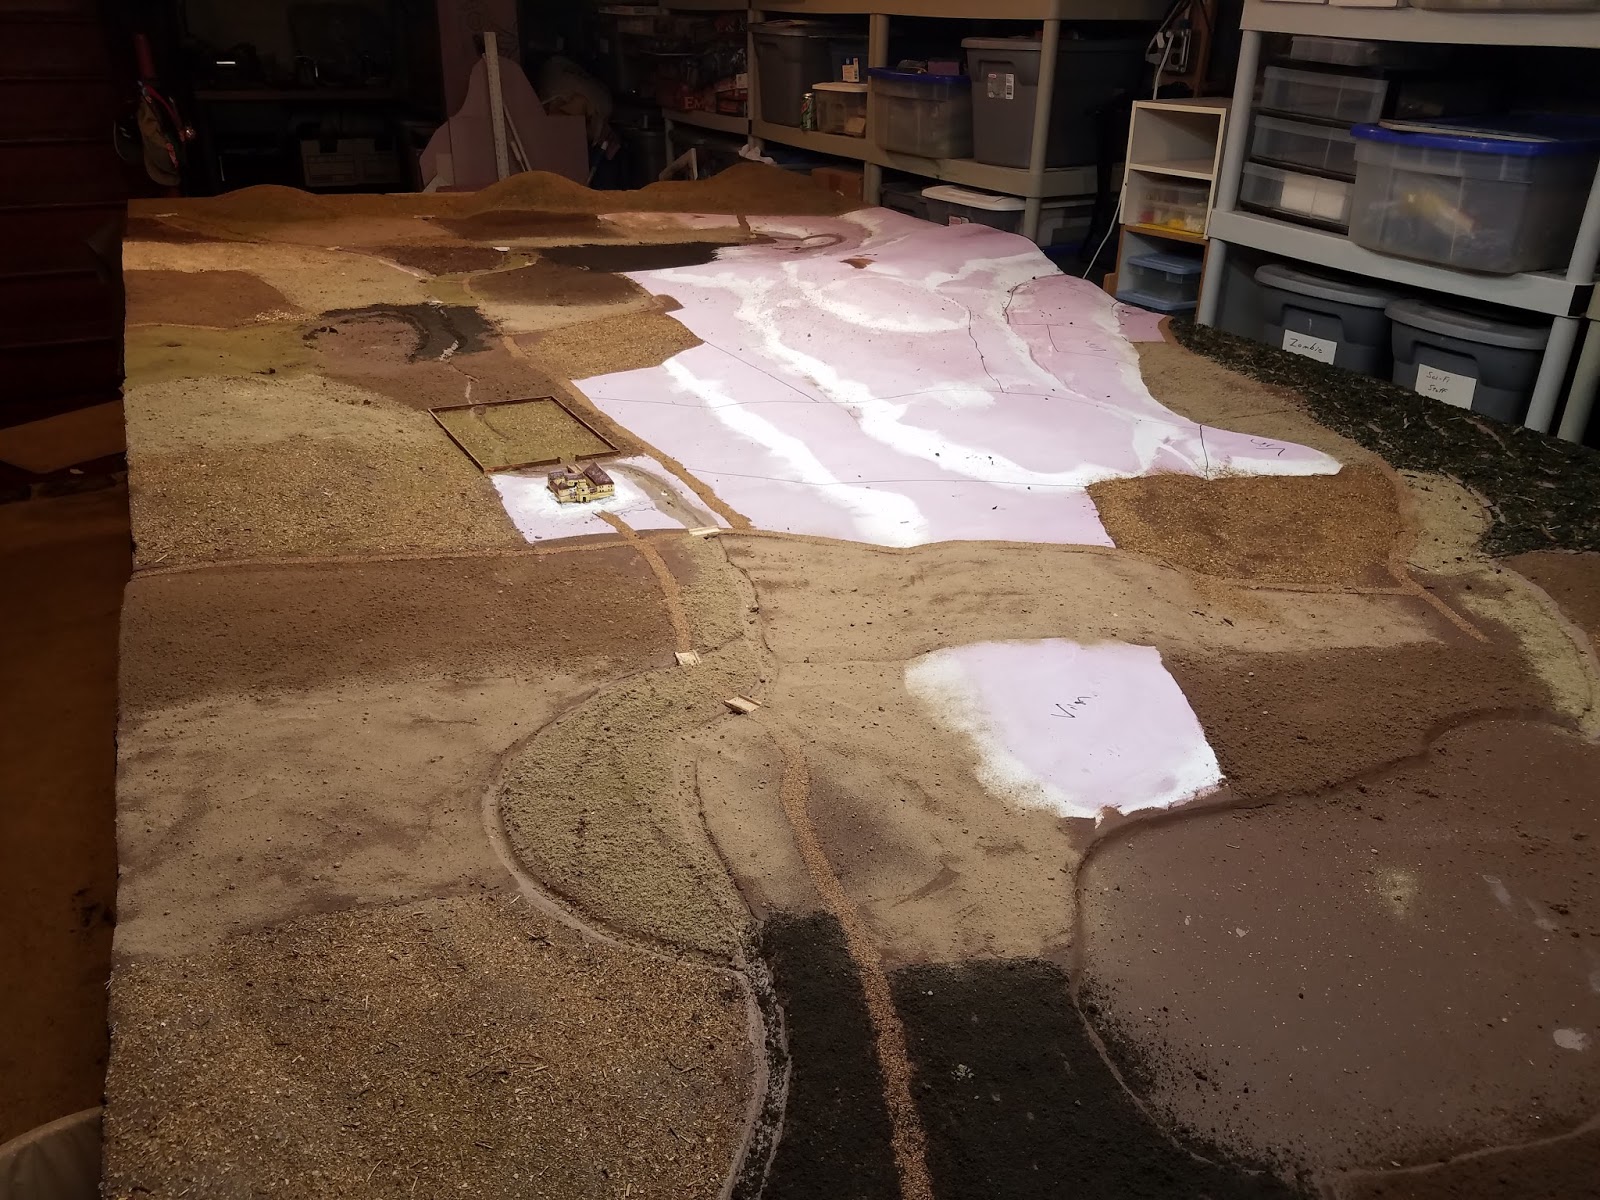
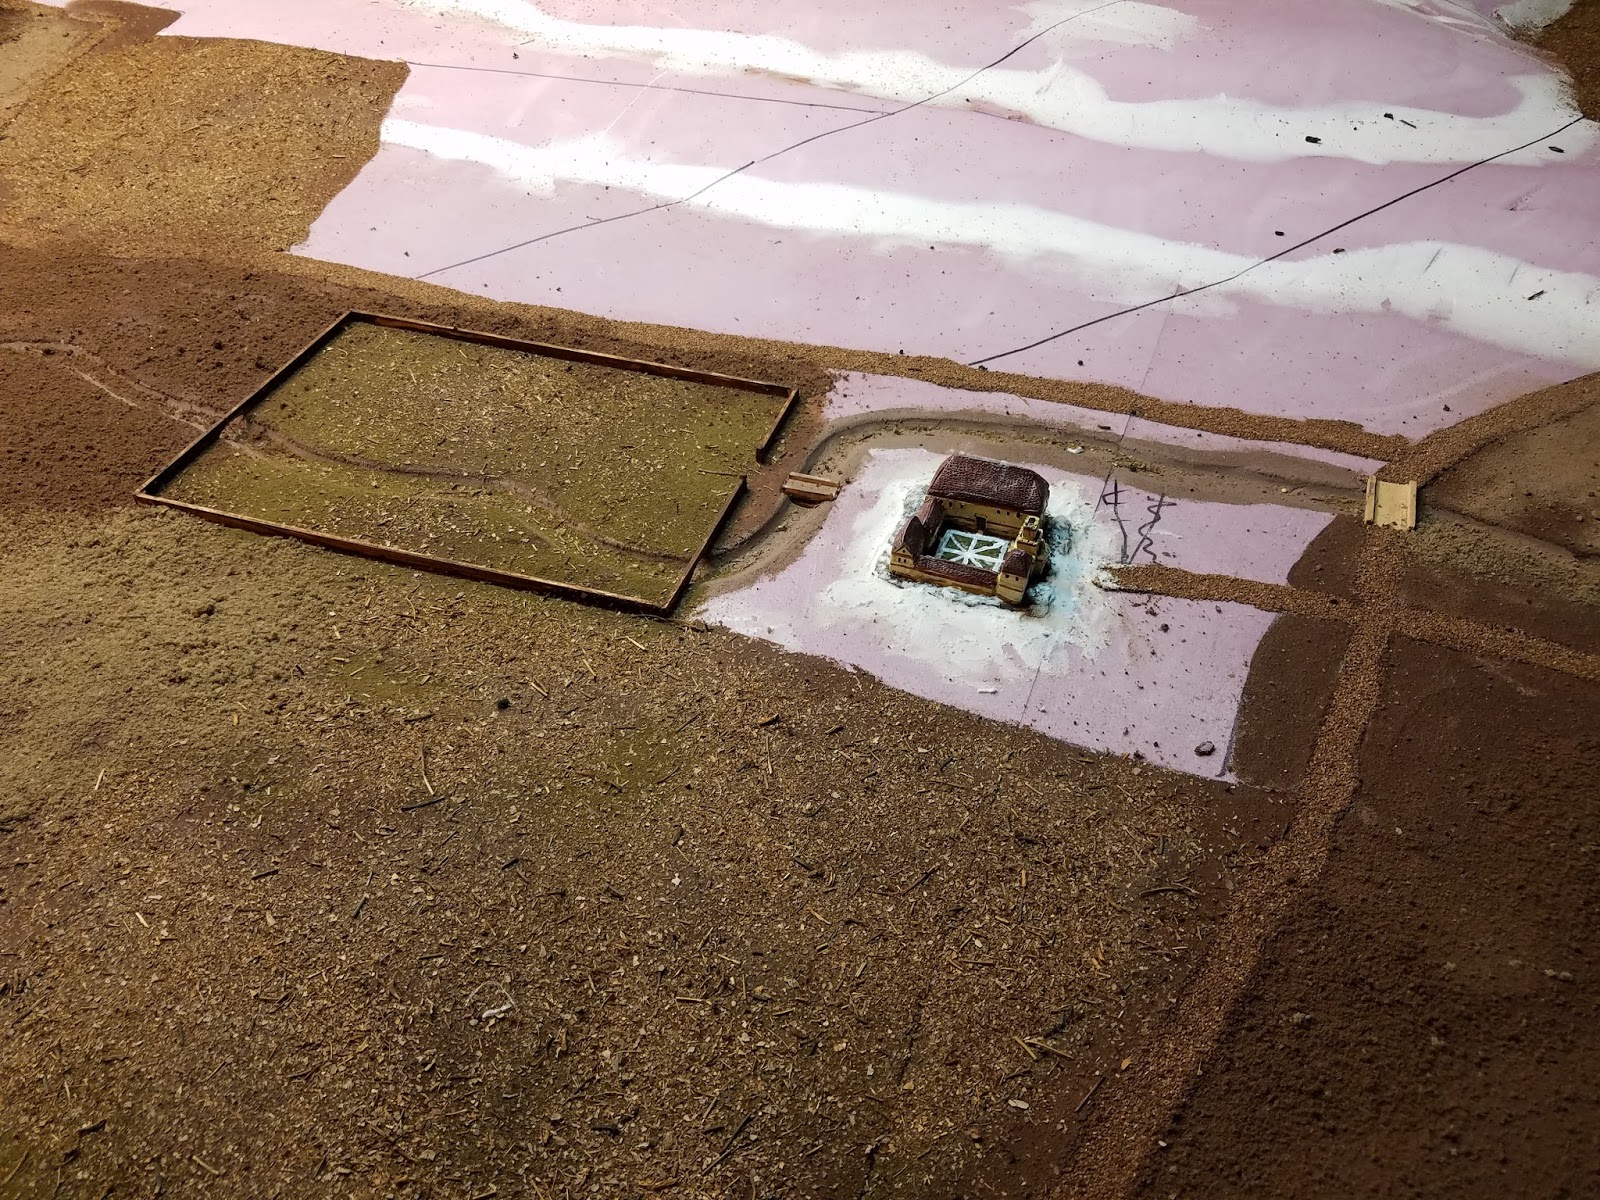
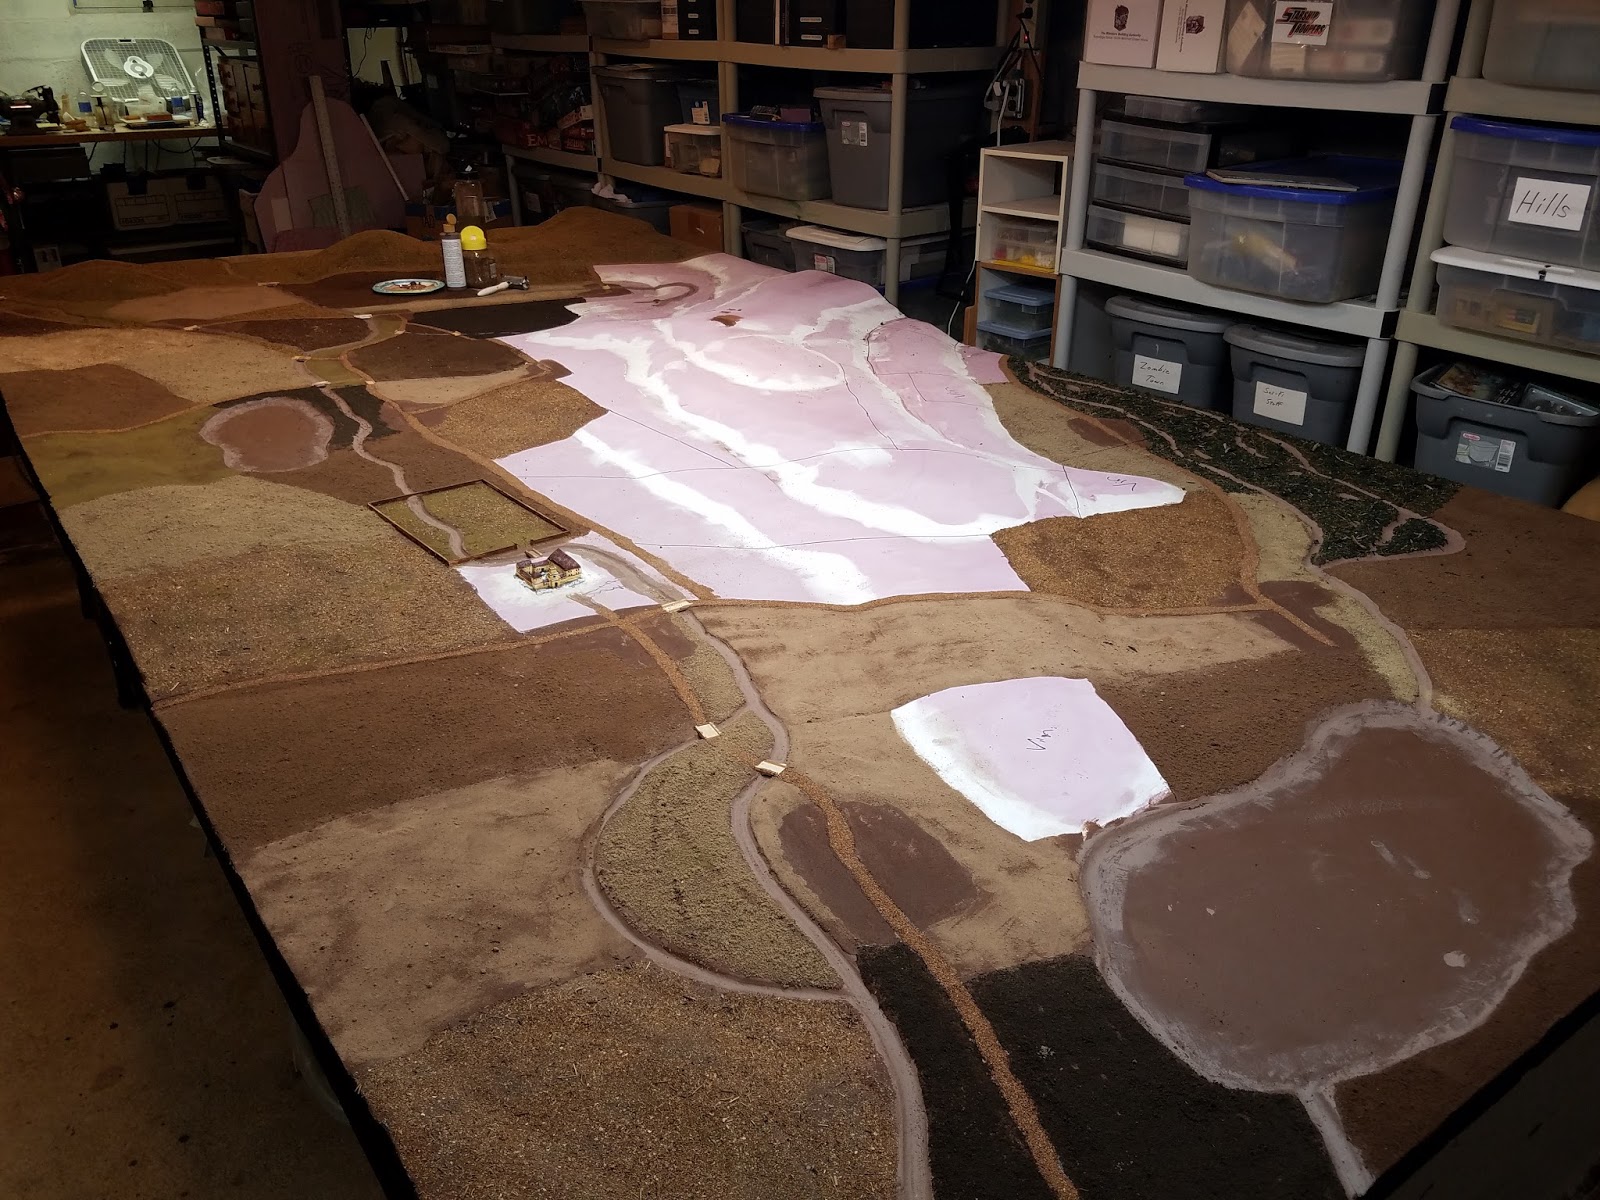
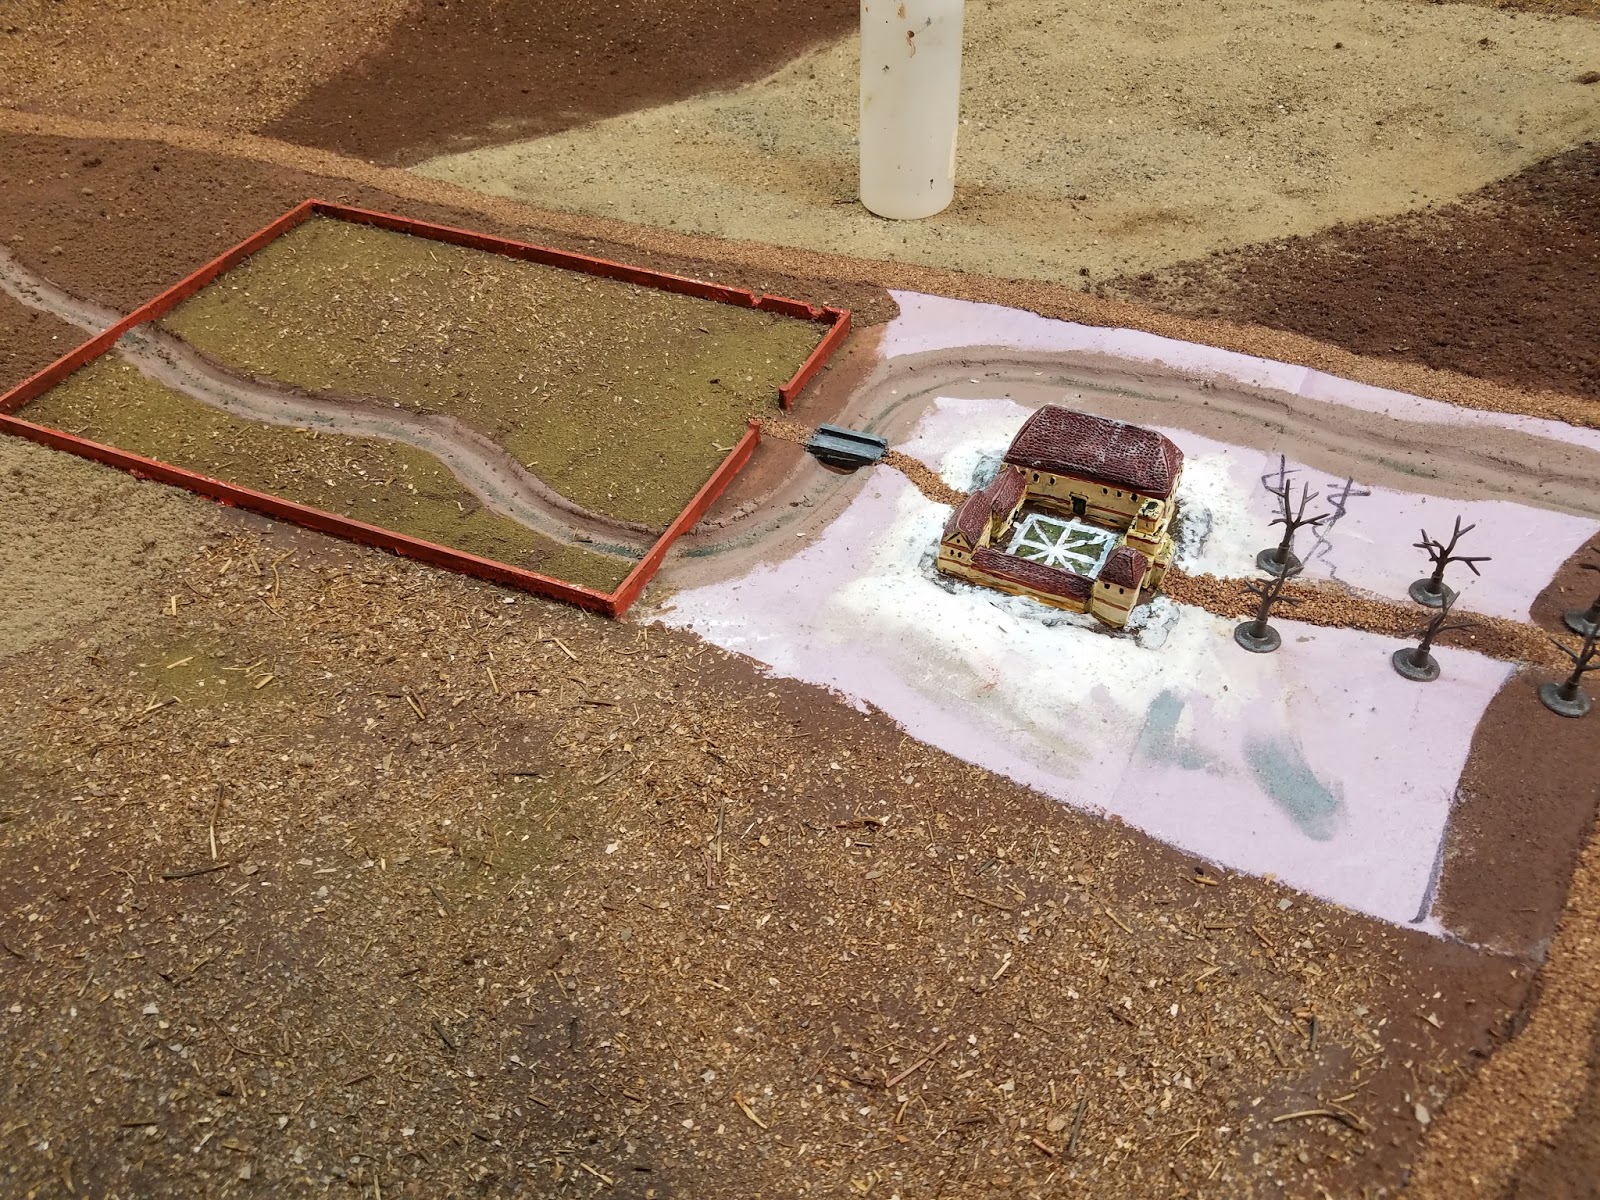
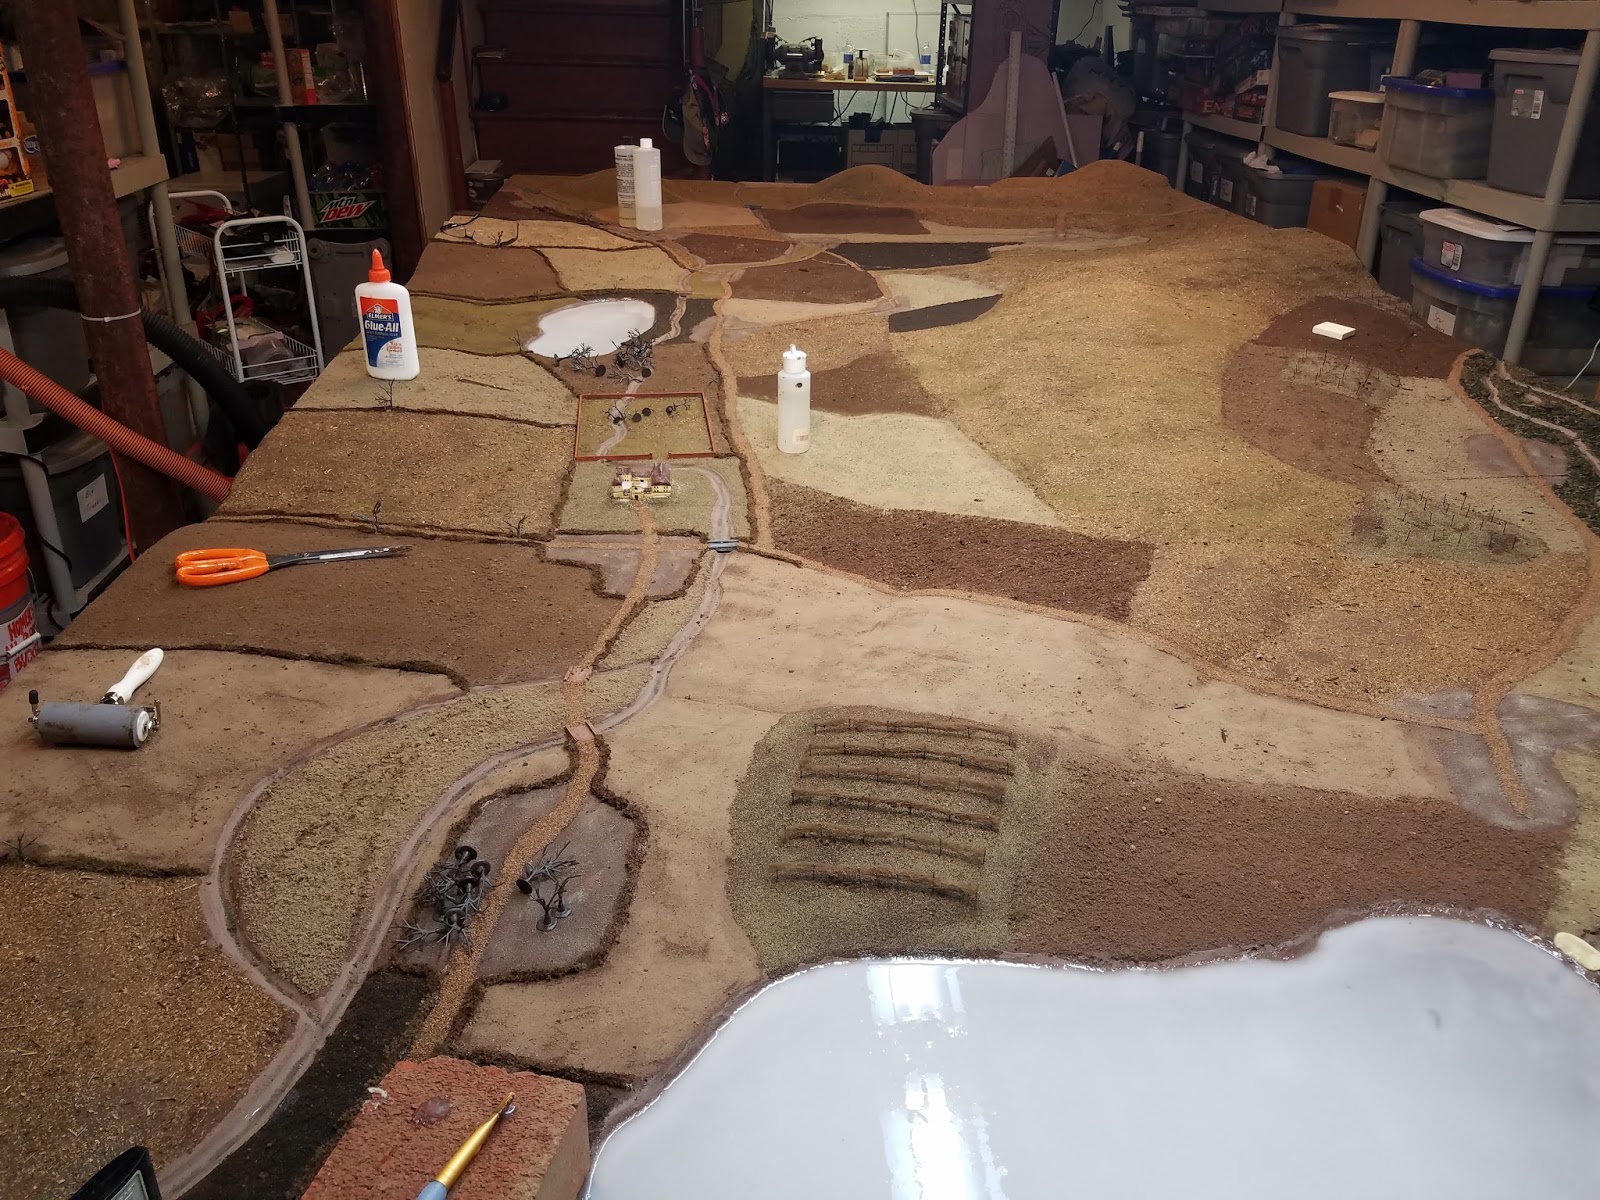
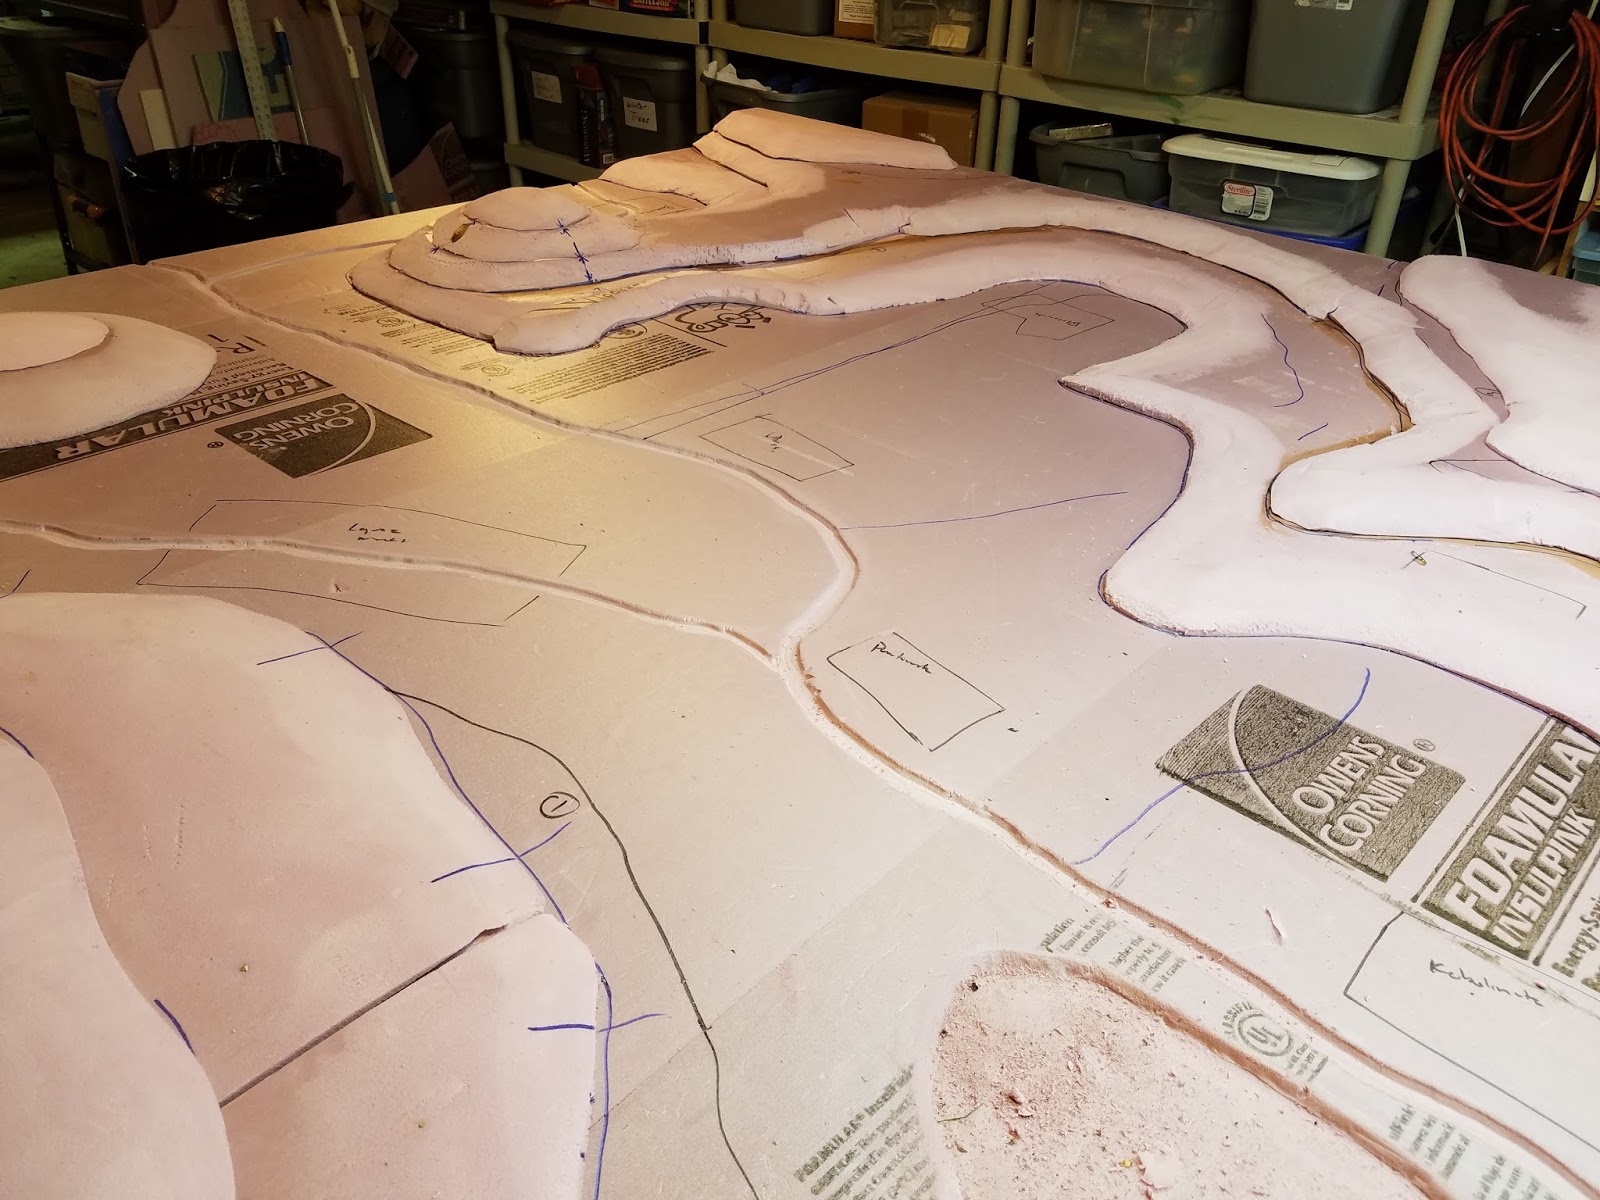
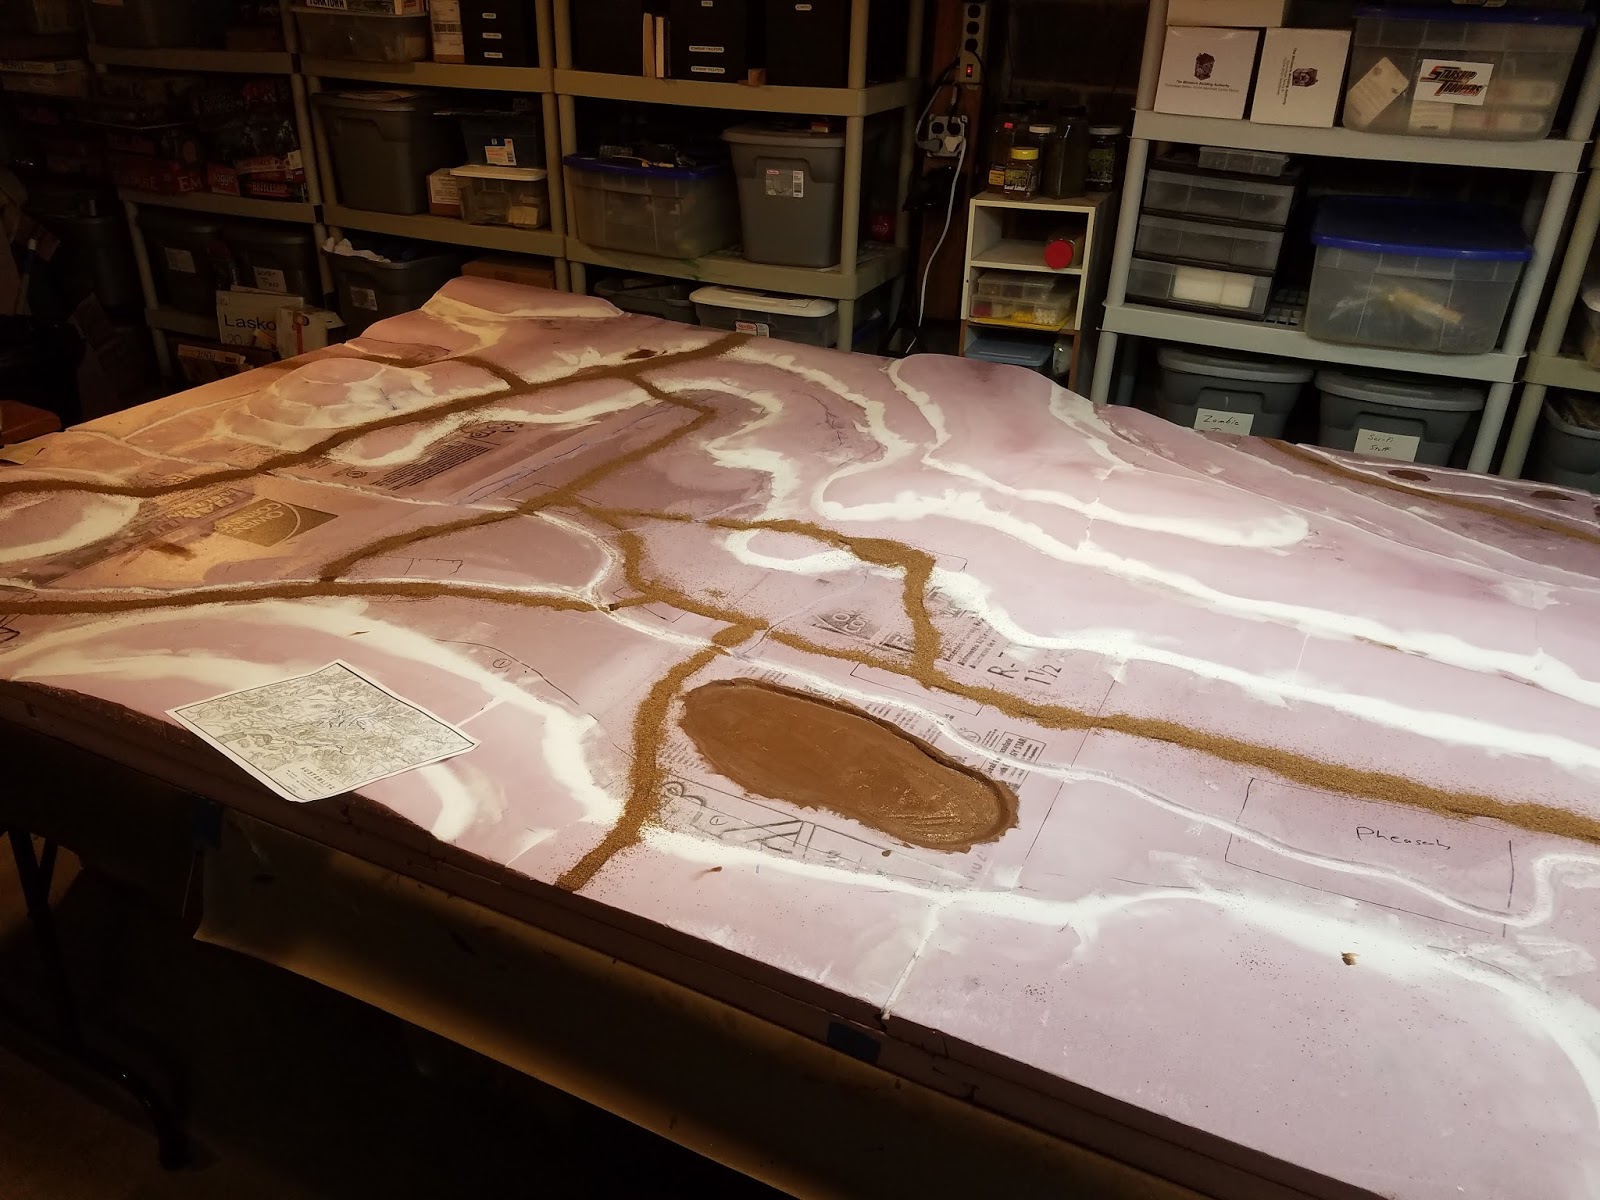
Next up we are adding the roads. We paint out the roads and use Woodland Scenics Brown fine ballast.
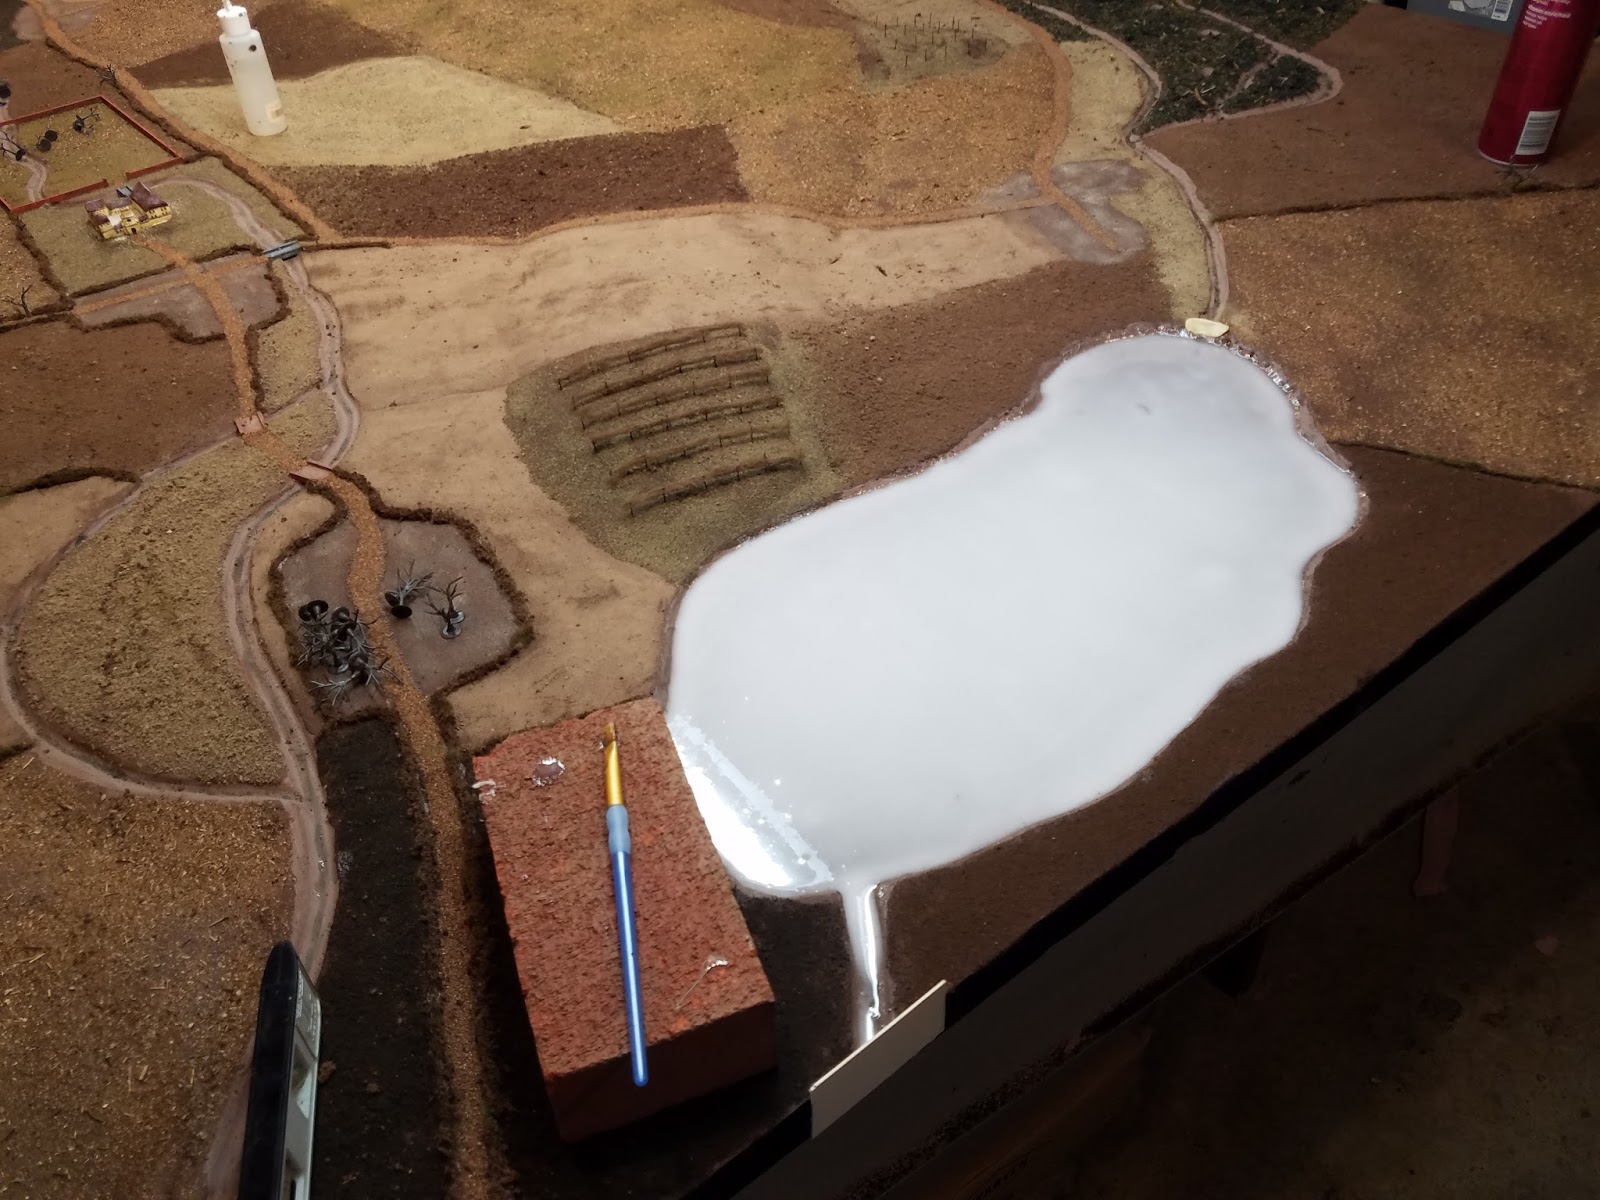
We also paint the ponds to seal them for pouring later.
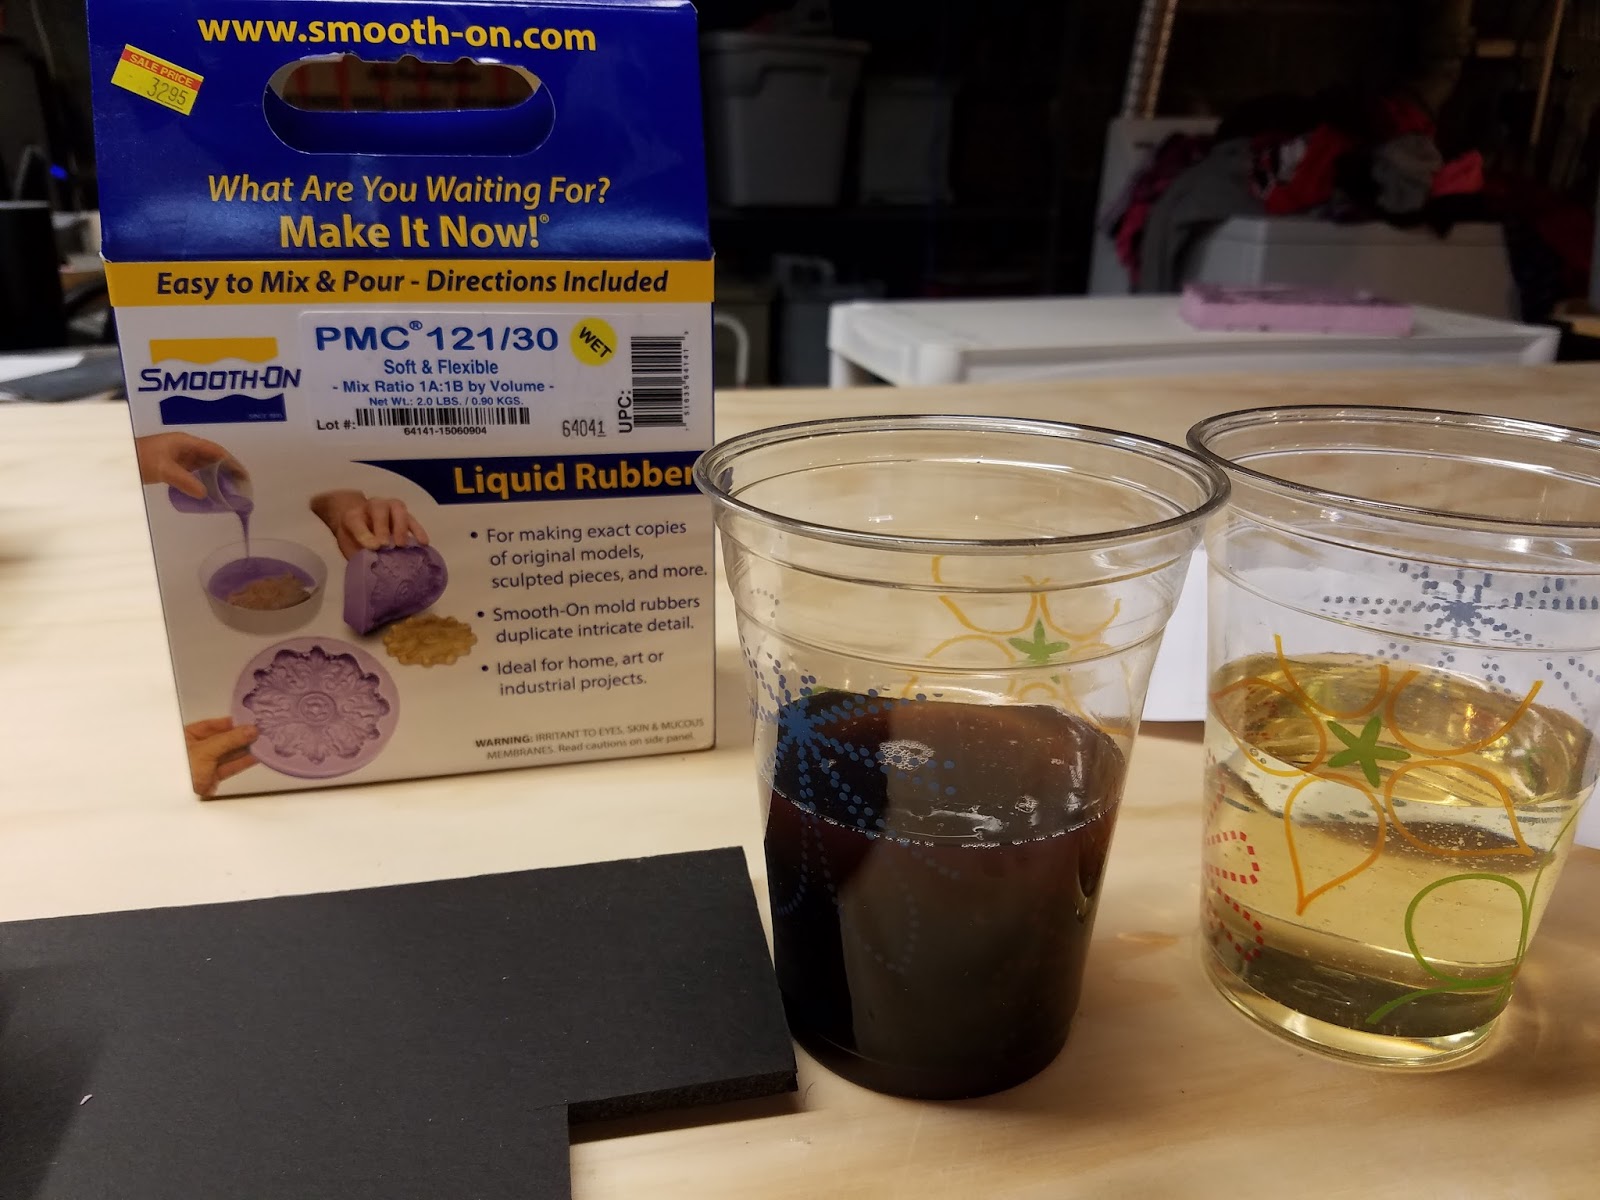
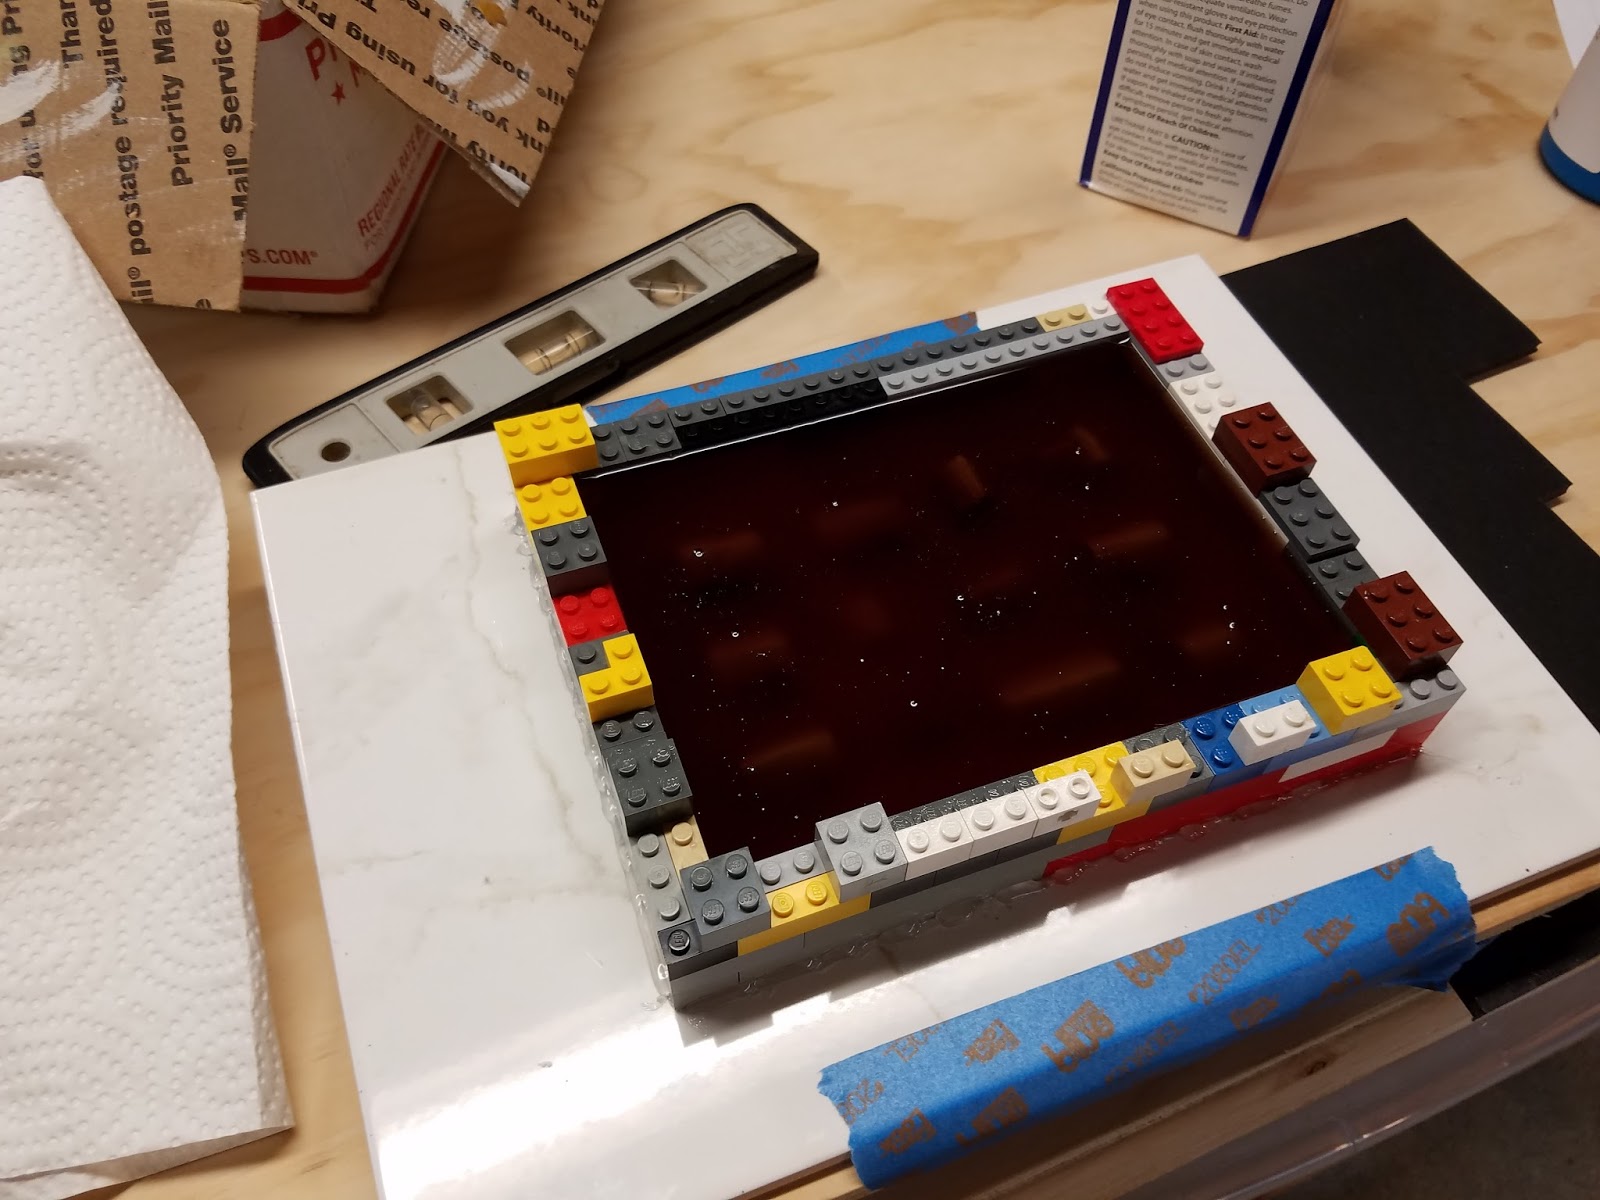
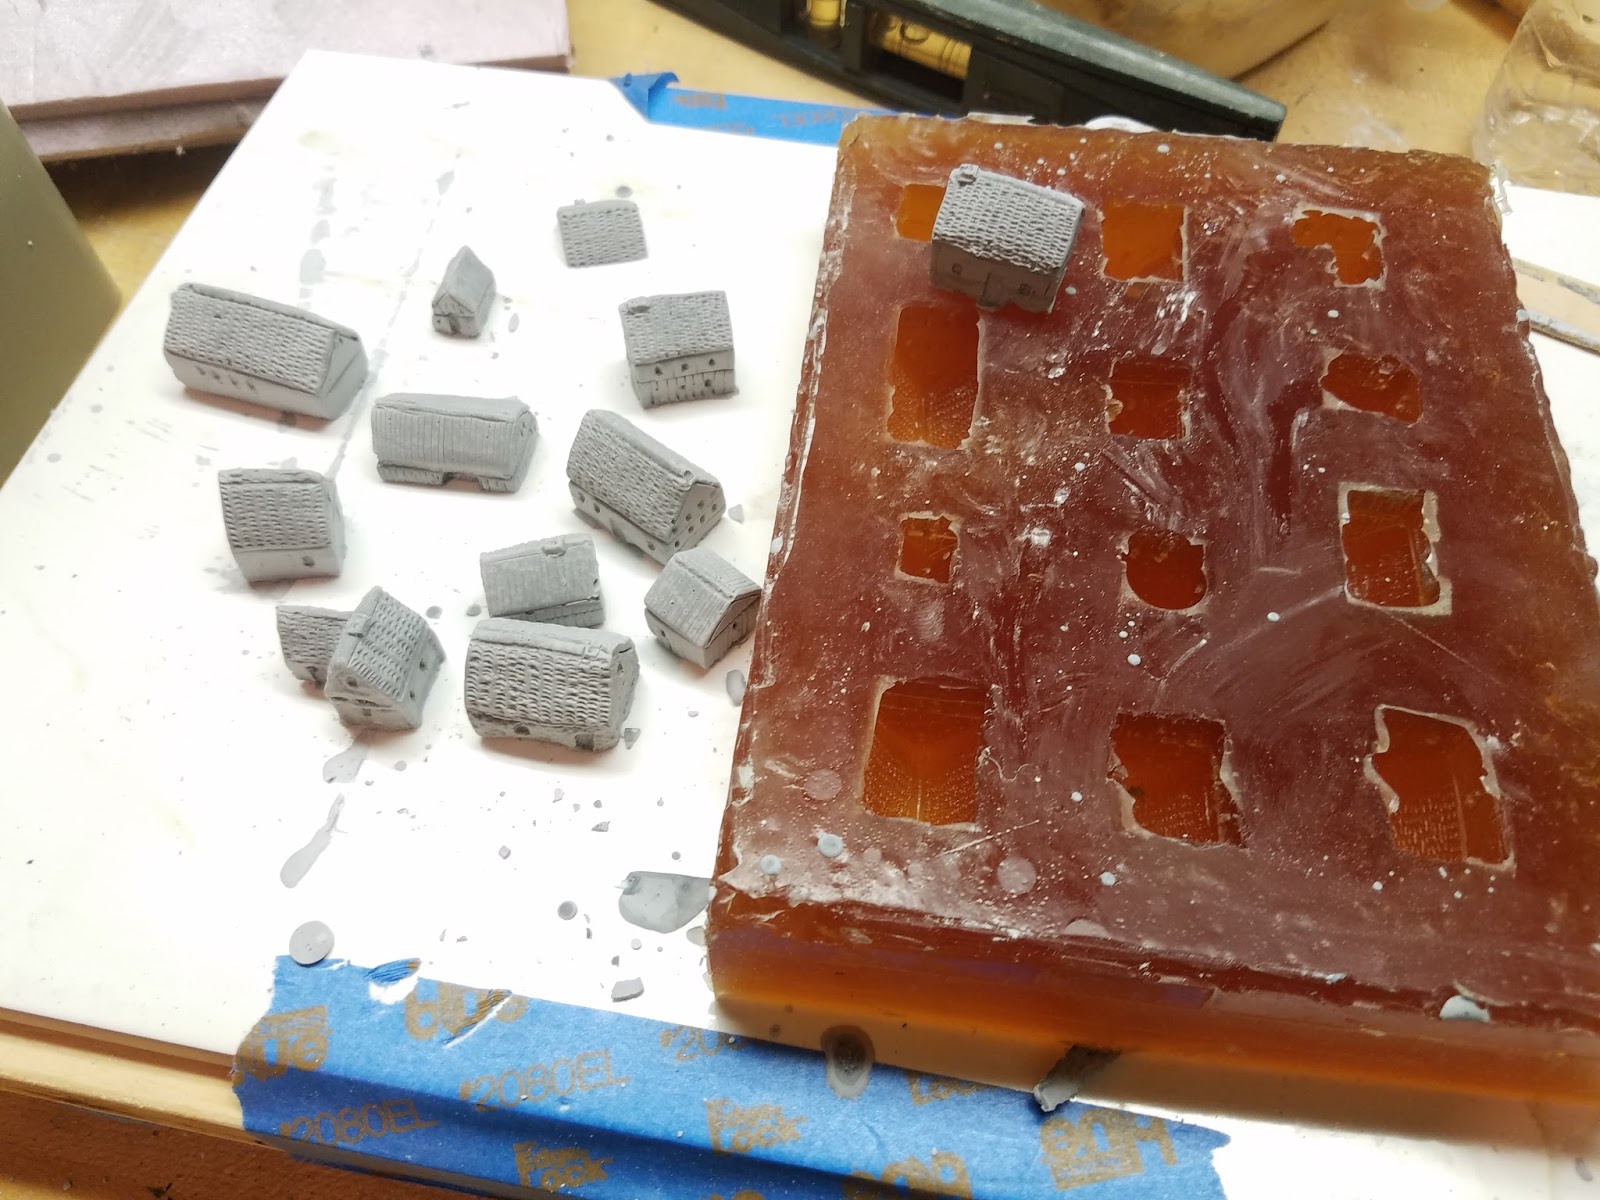
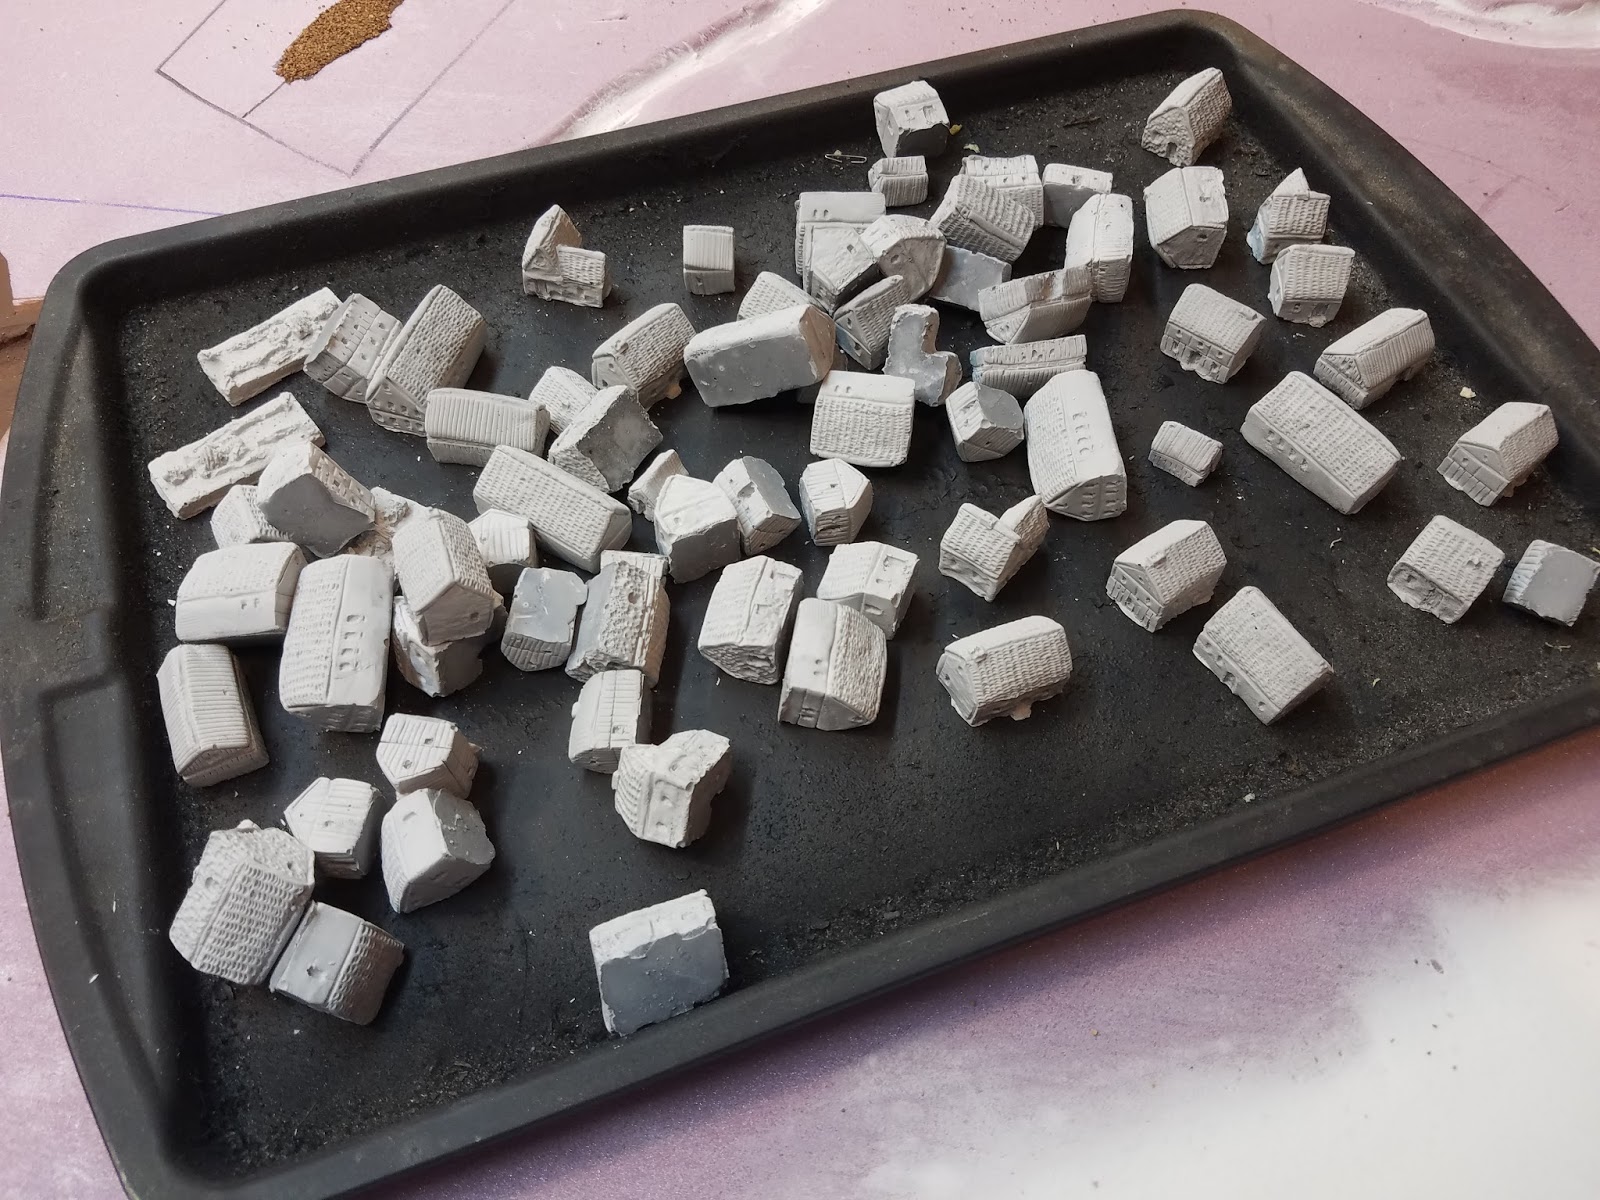
My friend Lou sculpted up about a dozen buildings for this table. We need over 100 so we are going to cast them up. This is a 2 part mold making rubber that I picked up at the local hobby store.
I glue the buildings to a ceramic tile. Then I build a dam around the buildings with Lego's(Thanks Hirst Arts for "How to" instructions). Mix the 2 parts of the rubber and pour.
Once it sits over night I pull out the originals and I start casting.
To cast I use Merlin's Magic Plaster. It's a little expensive but the de-mold time is fantastic, About 15 minutes.
We are working tonight so I should have more to post tomorrow.
Thanks from the Project Austerlitz Team.