Historicon is right around the corner and once again we have painted ourselves into a corner. Lots of work with not as much time as we wanted. Life rears it's ugly head and gets in the way of our gaming, but some late nights and lots of coffee will see us through.
Anyway, we(Alan, Bob, Lou and I) are putting on
The Battle Of Austerlitz at
Historicon. It's a big battle and to pull this off, we had to make some upgrades to my basement. This will be a 12 x 6 foot table. I only have 8 feet of table so we will add a section. Lets get right on to the build.
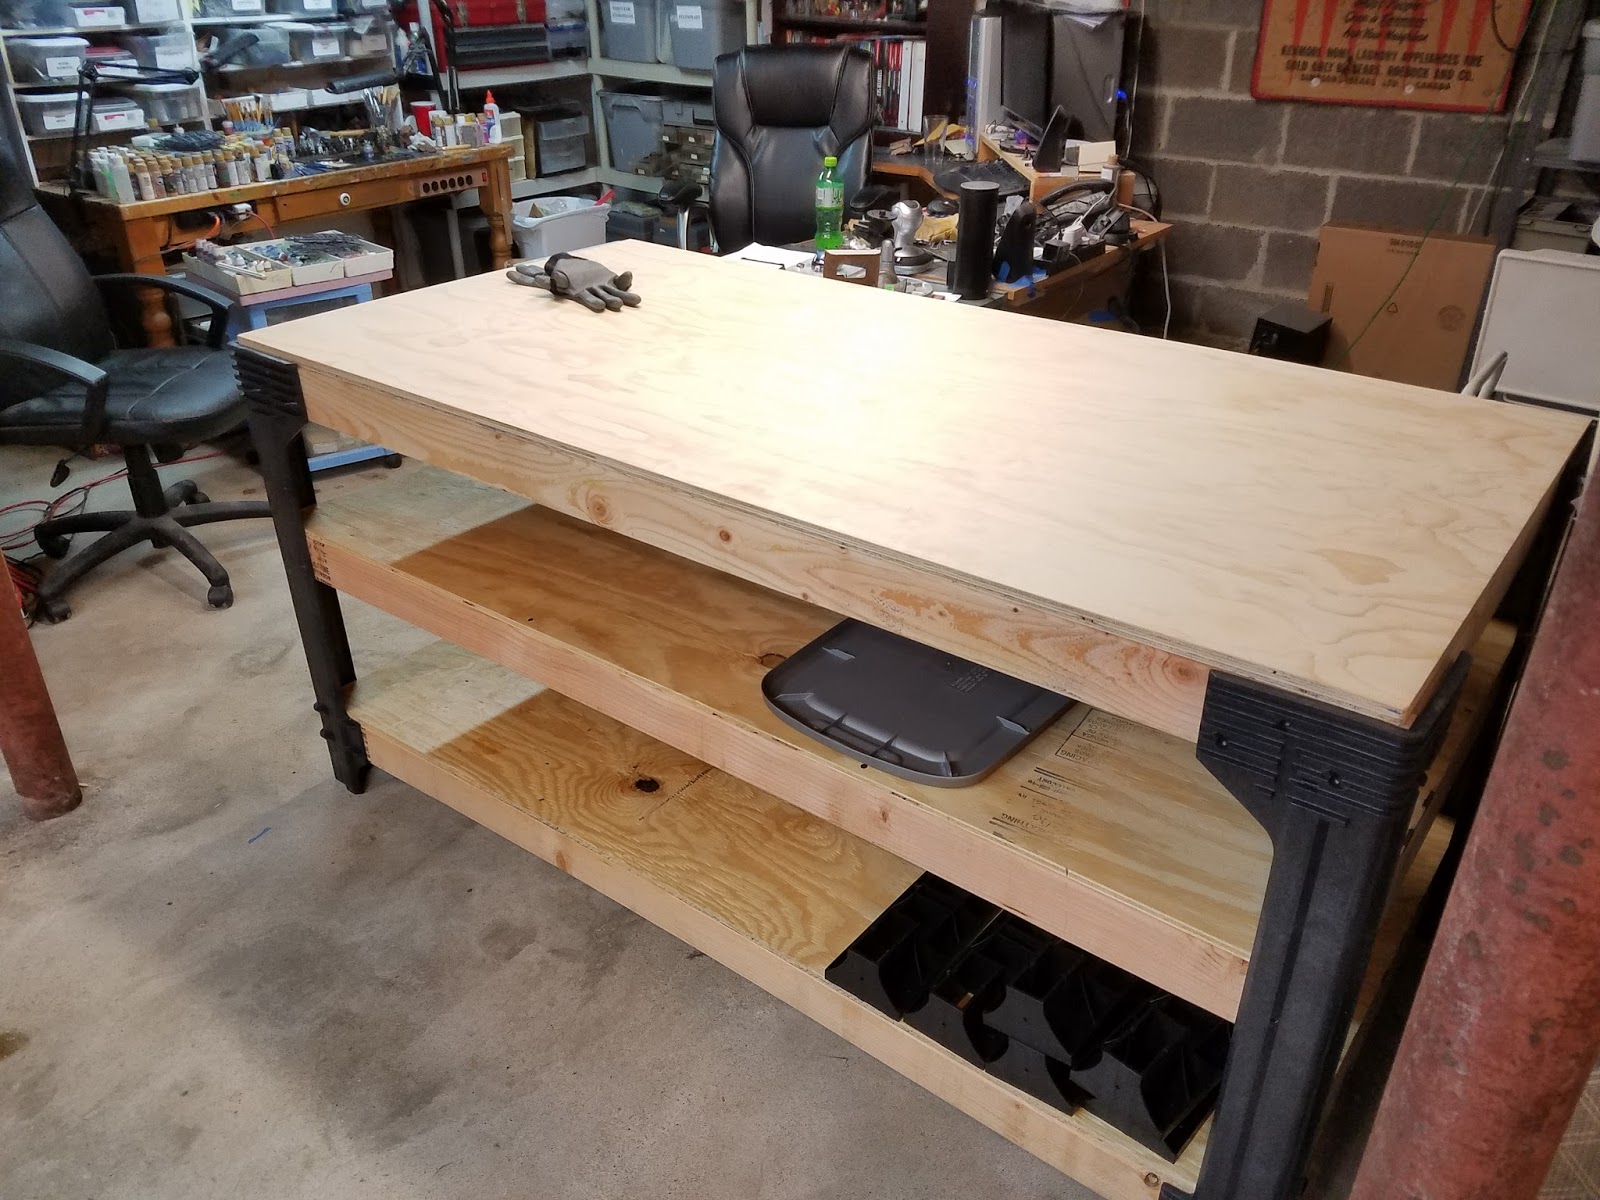
Removed a crappy folding table and put in a new workbench.
This is a kit, you buy the brackets and hardware, then you buy the lumber you need depending on the size. I made this workbench 3 x 6. This will give us lots of additional crafting room.
Got to play with my power tools.
Cut wood for the new workbench and table section.
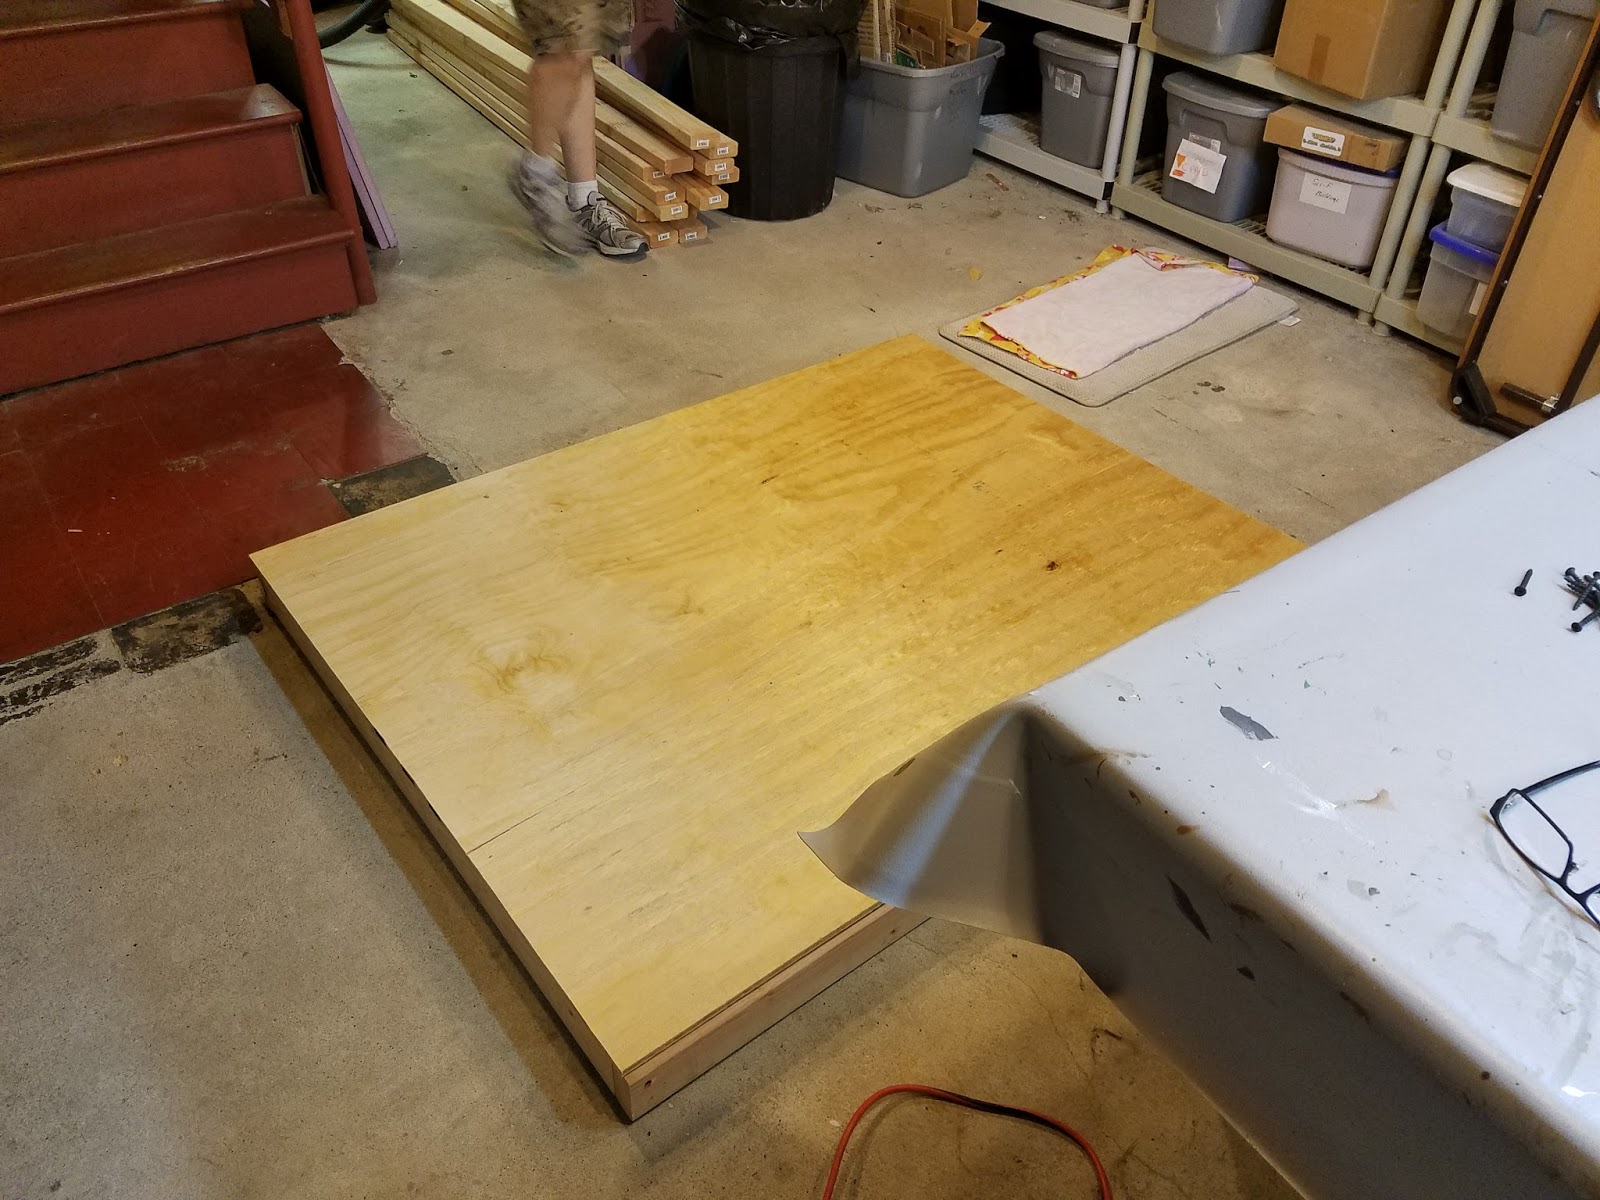
Laying out the new section.
All done, a new 4x5 foot section for my table. This will sit on the folding table to the right. Then it will be bolted to the 8x5 foot table to make 12x5. Our boards for the battle are 12x6, so we have a foot hanging over during the build. But at the convention we will be on 6 feet wide tables.
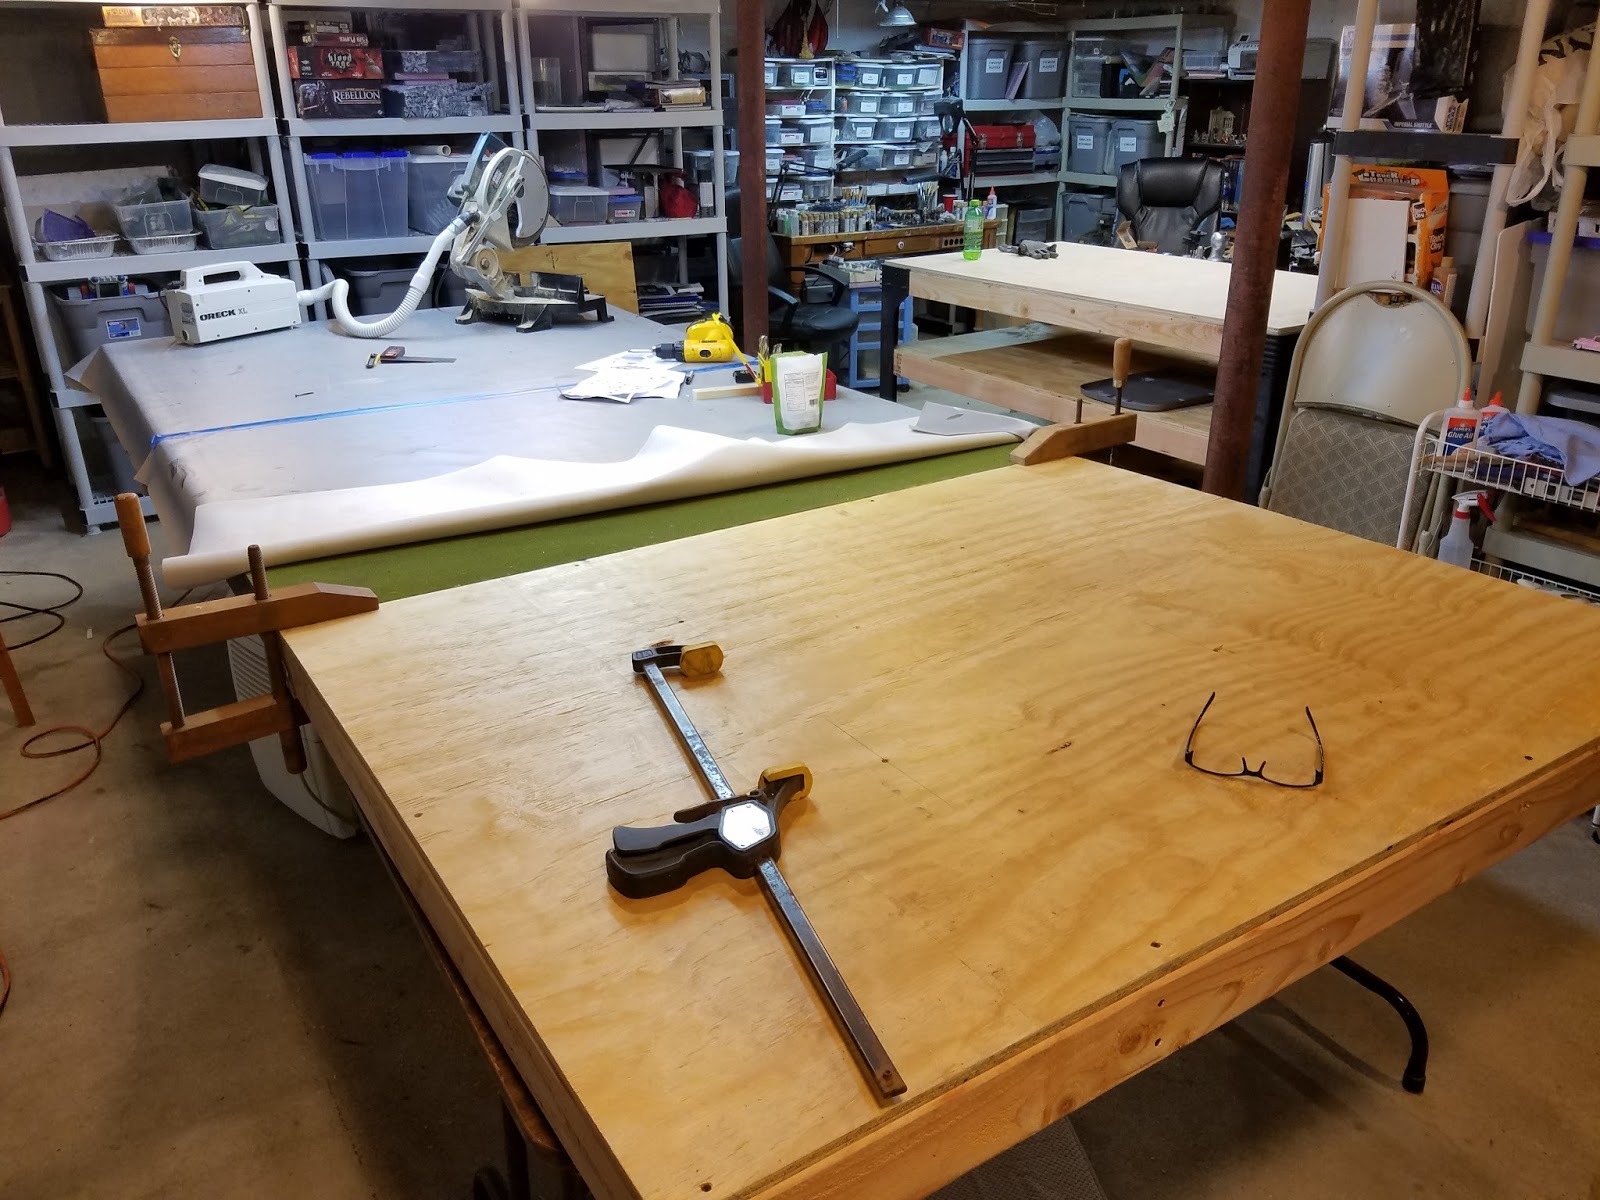
Bolted on and ready to go.
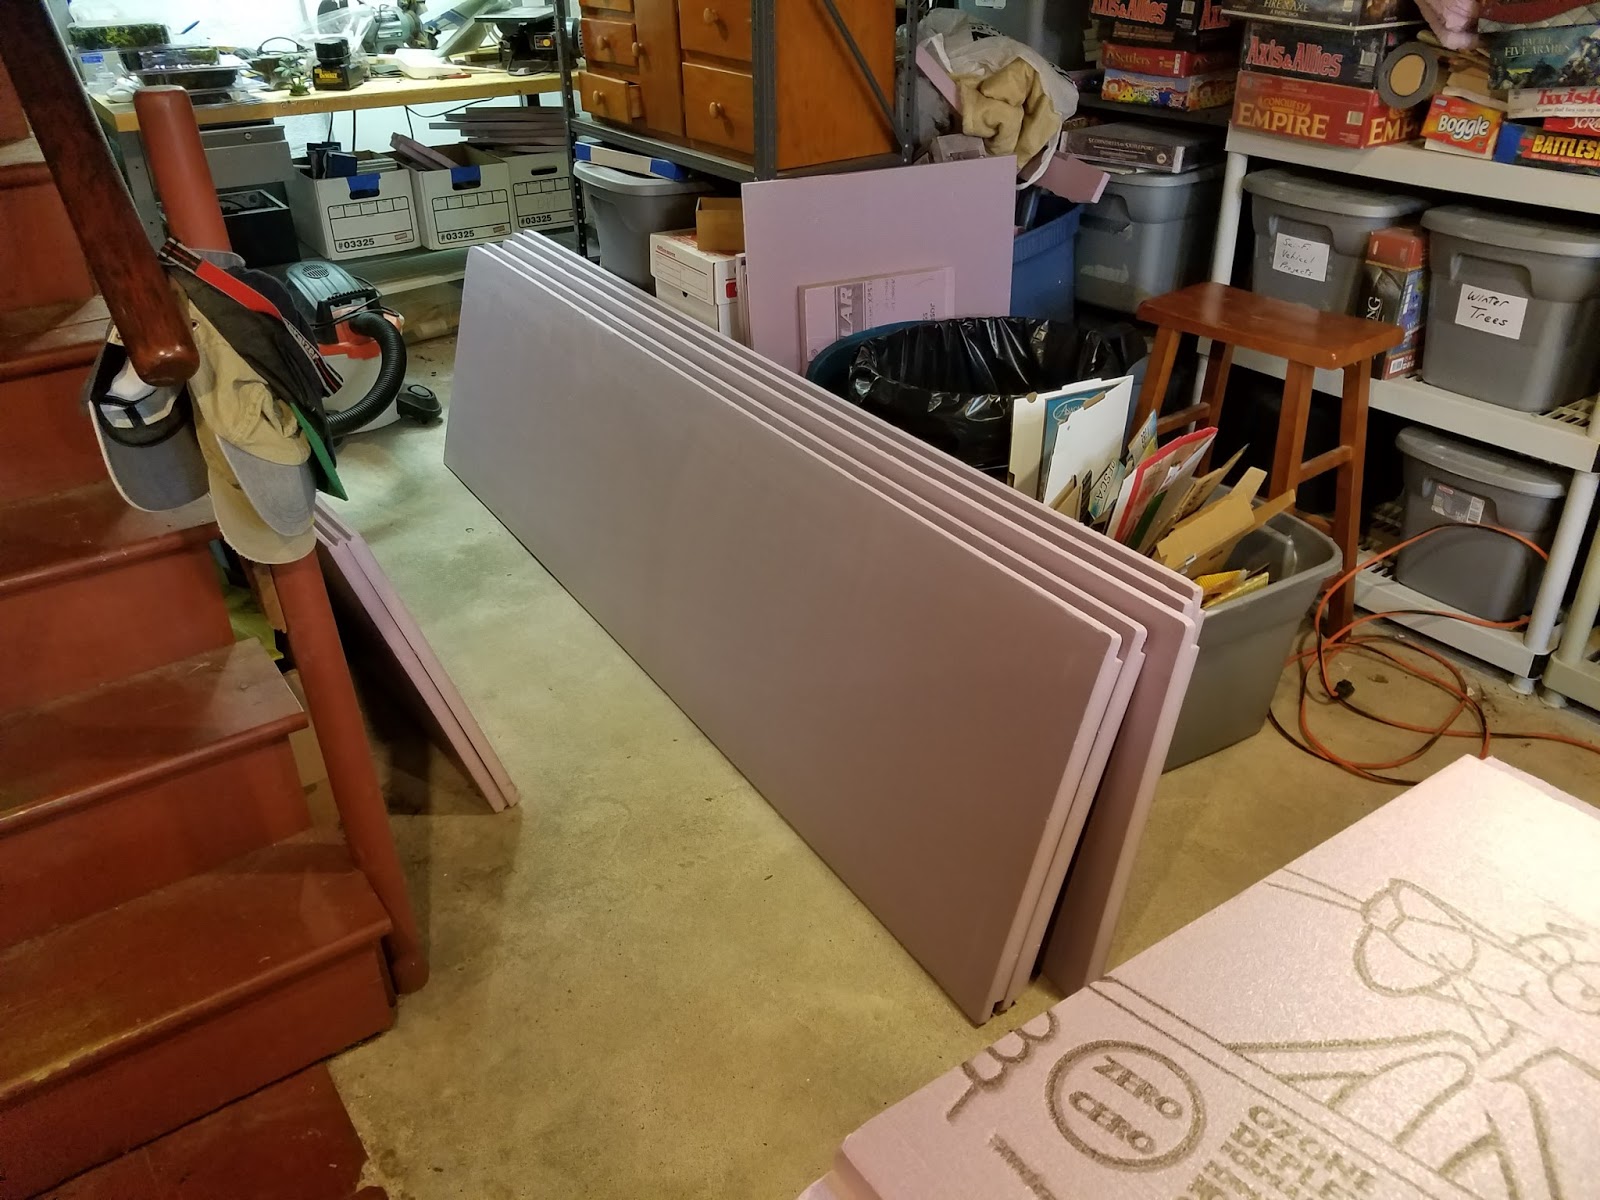
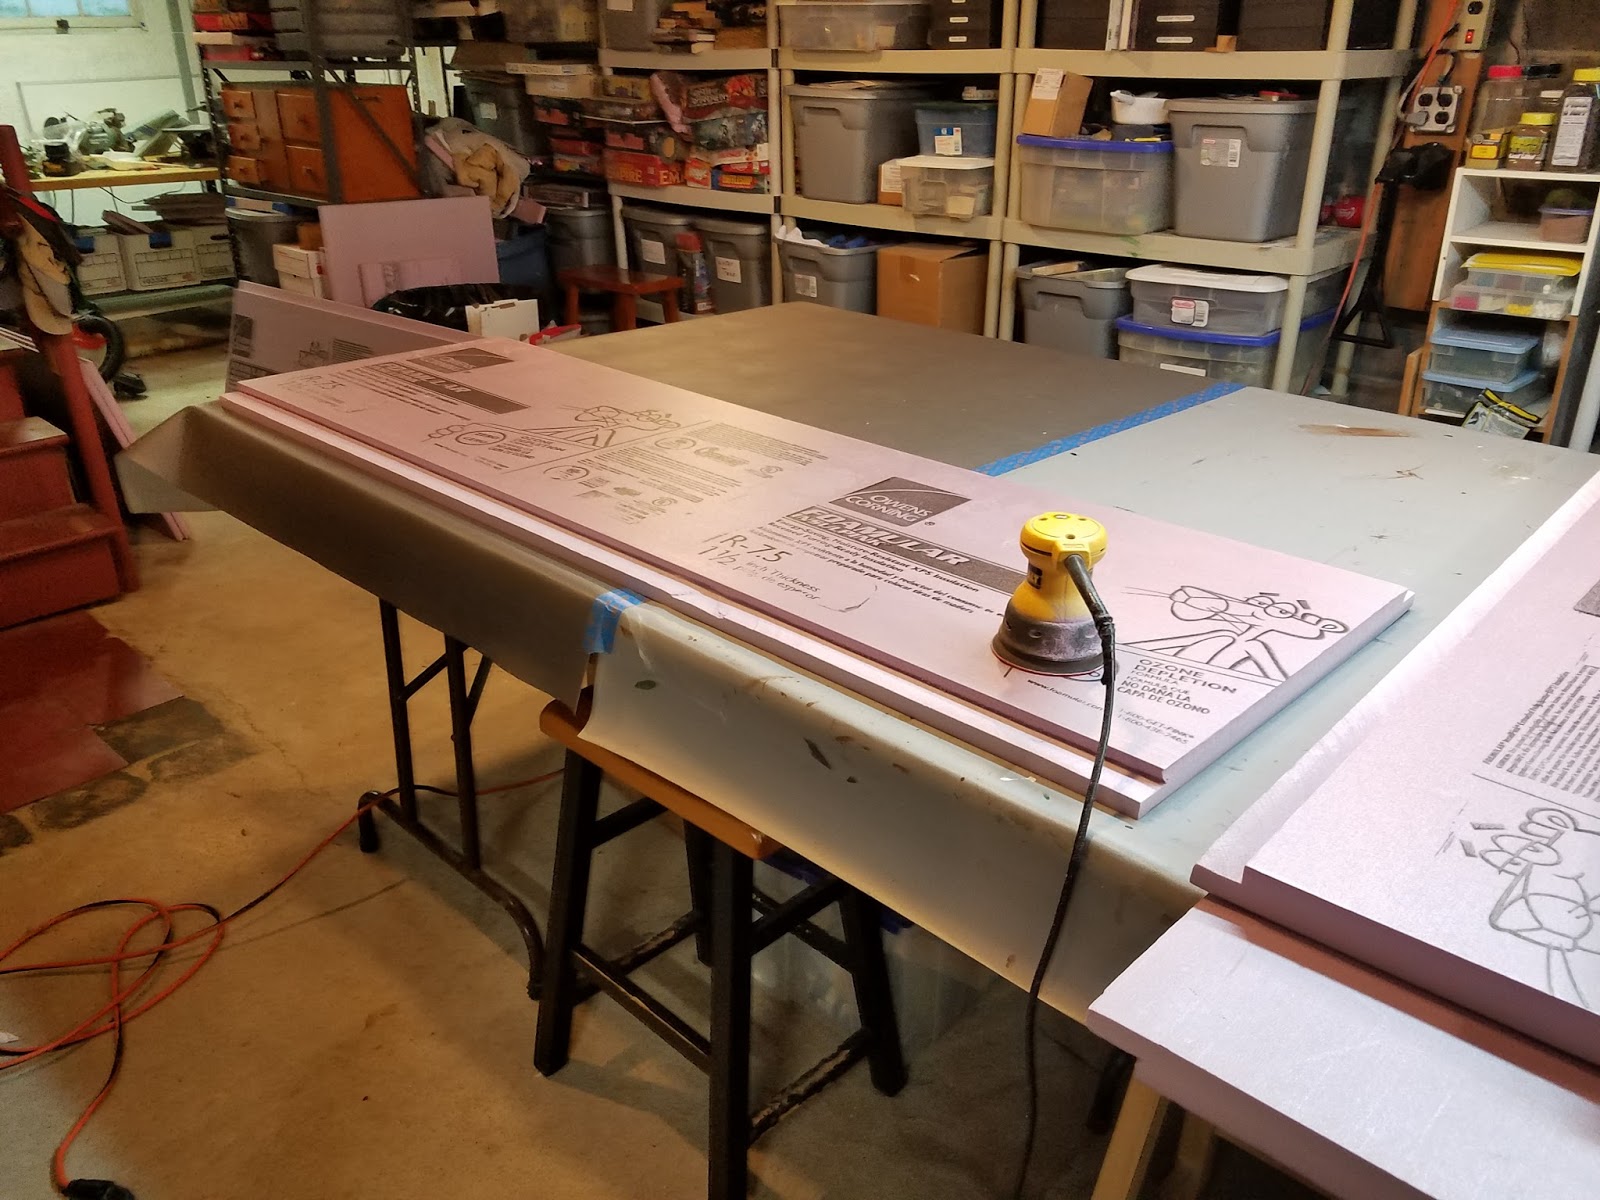
Cutting on our foam sections.
We will have 7 sections. You lose about 2 inches on each joint as the sections overlap each other. That's why we need a thin 7th board to make the 12 feet.
Some of the joints need to be sanded to get a nice fit. We spend a lot of time getting decent joints between sections. My Dewalt random orbital sander gets a lot of use.
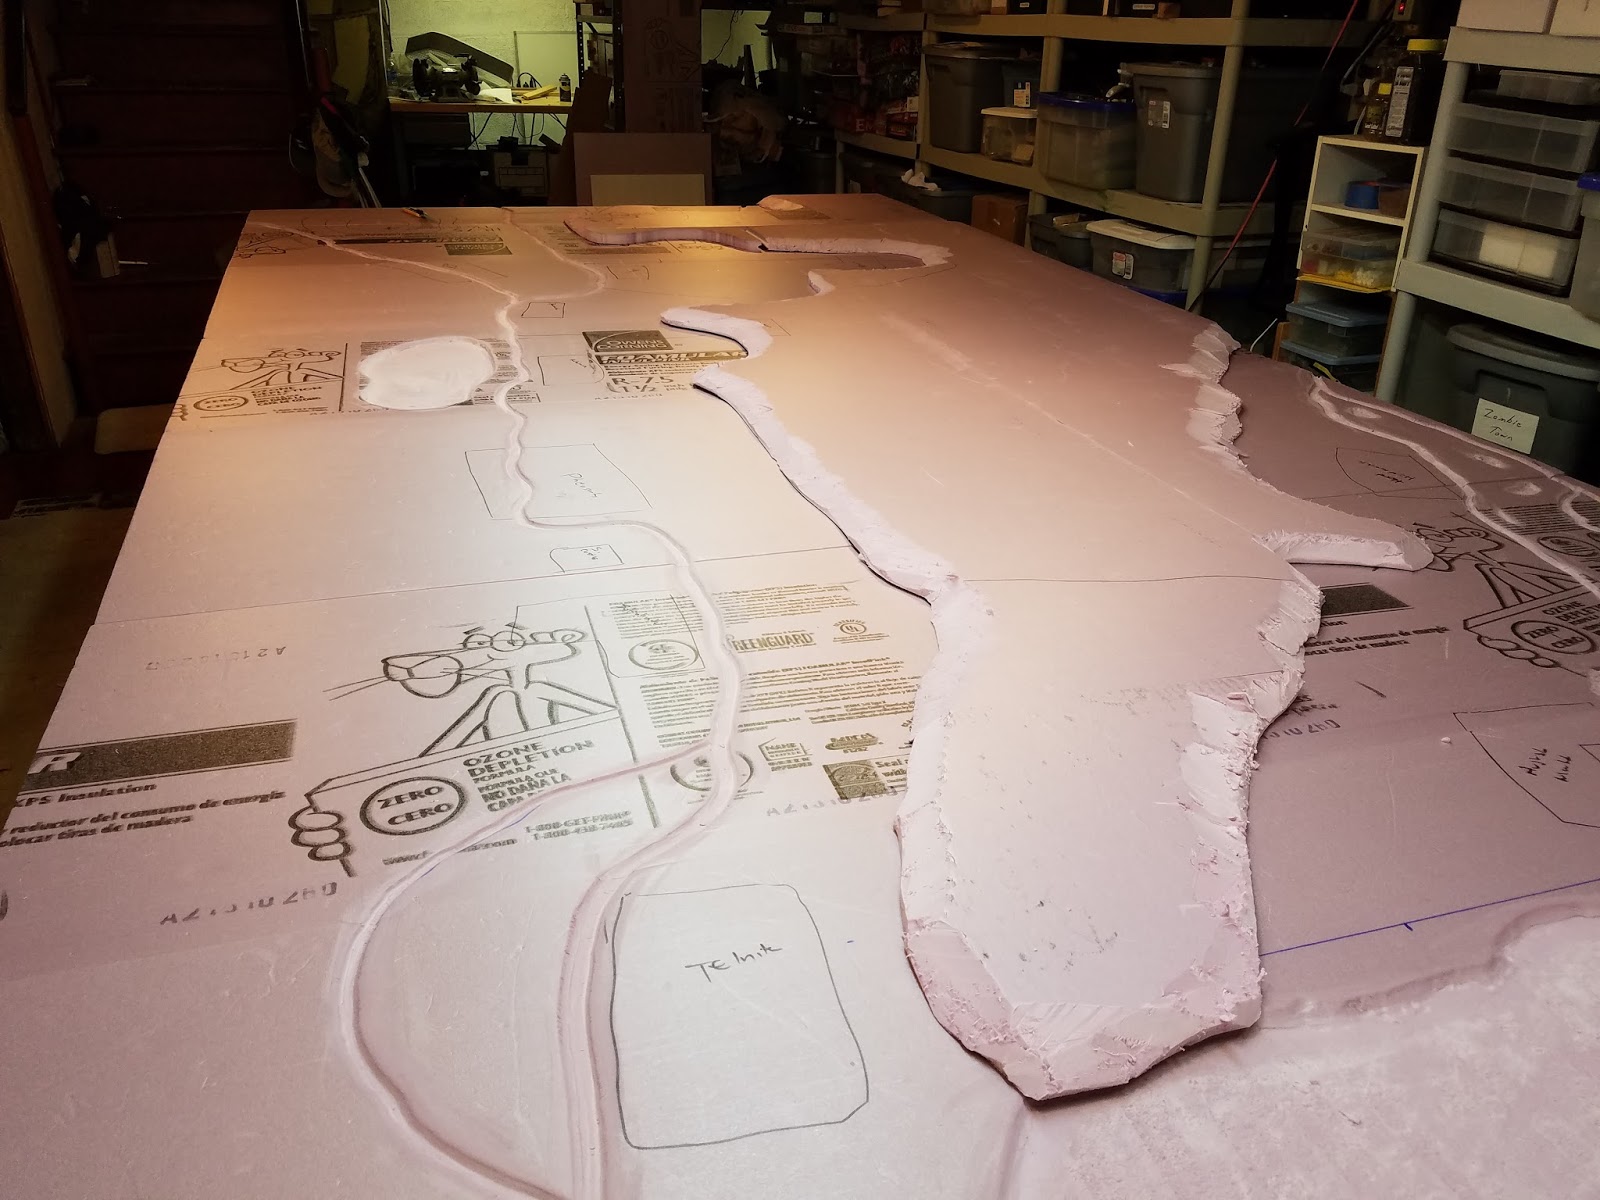
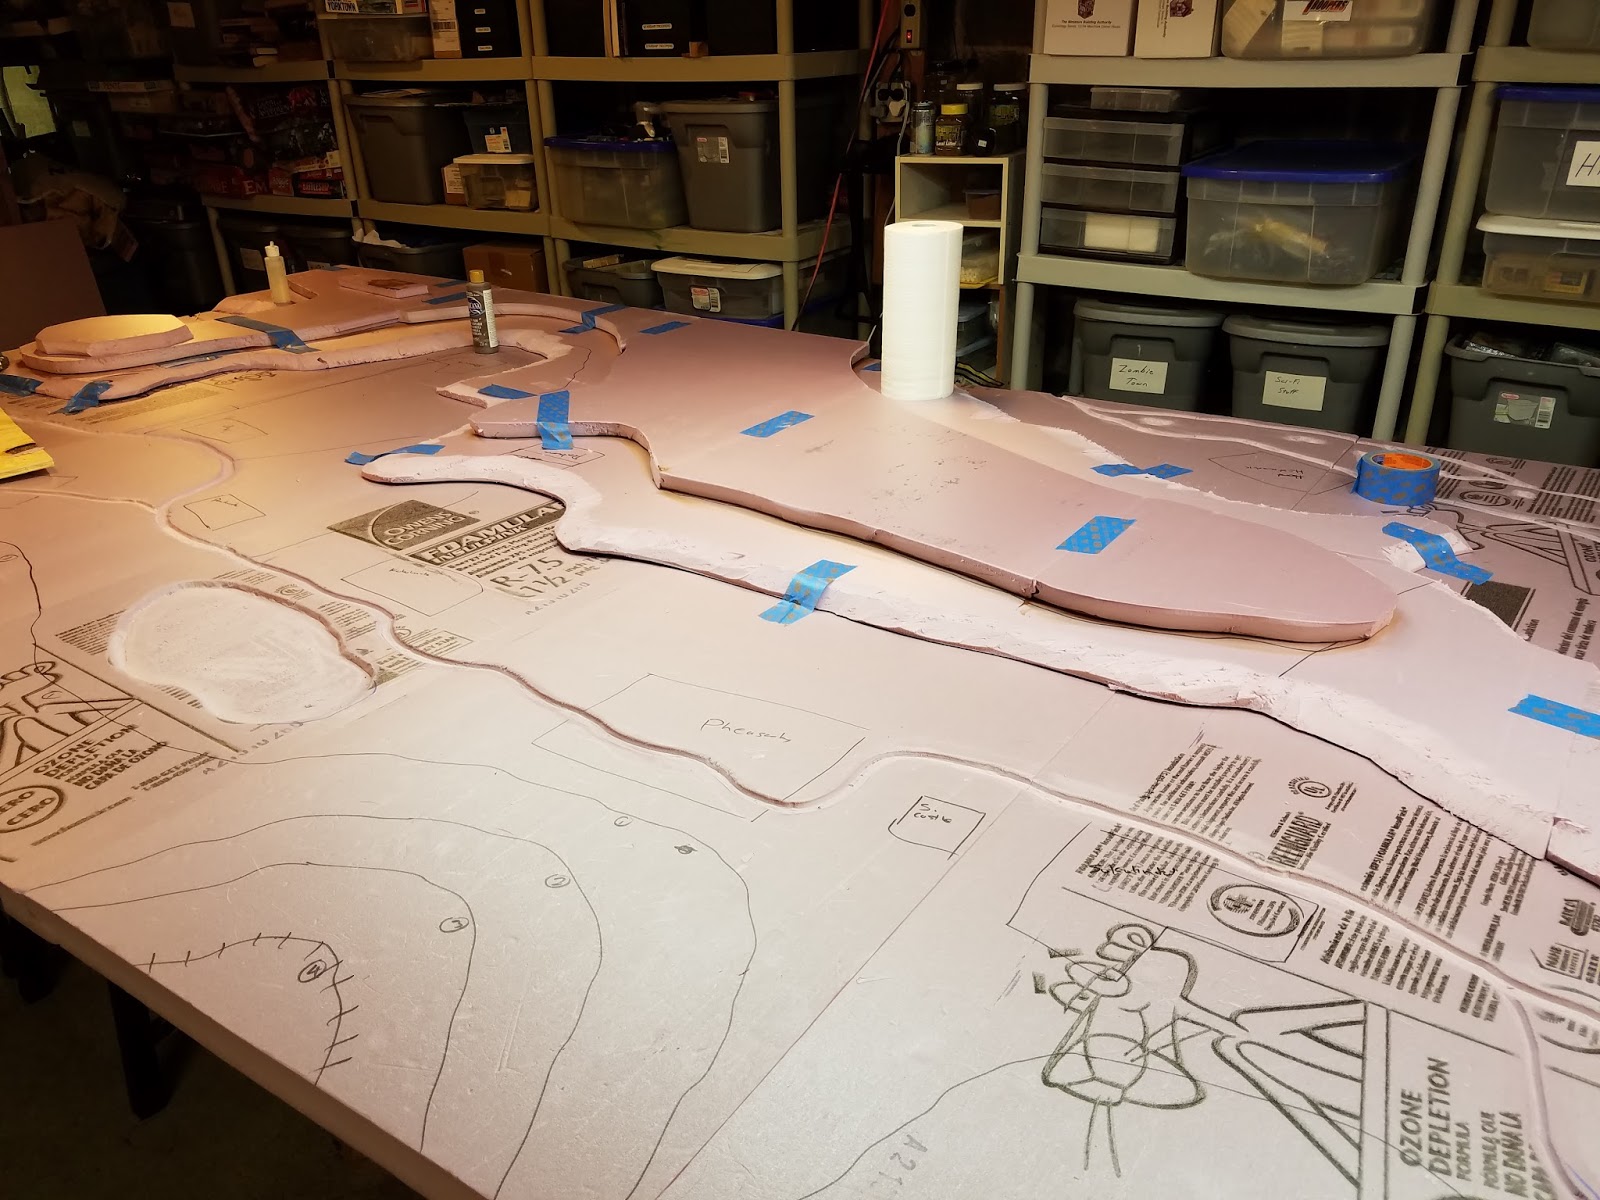
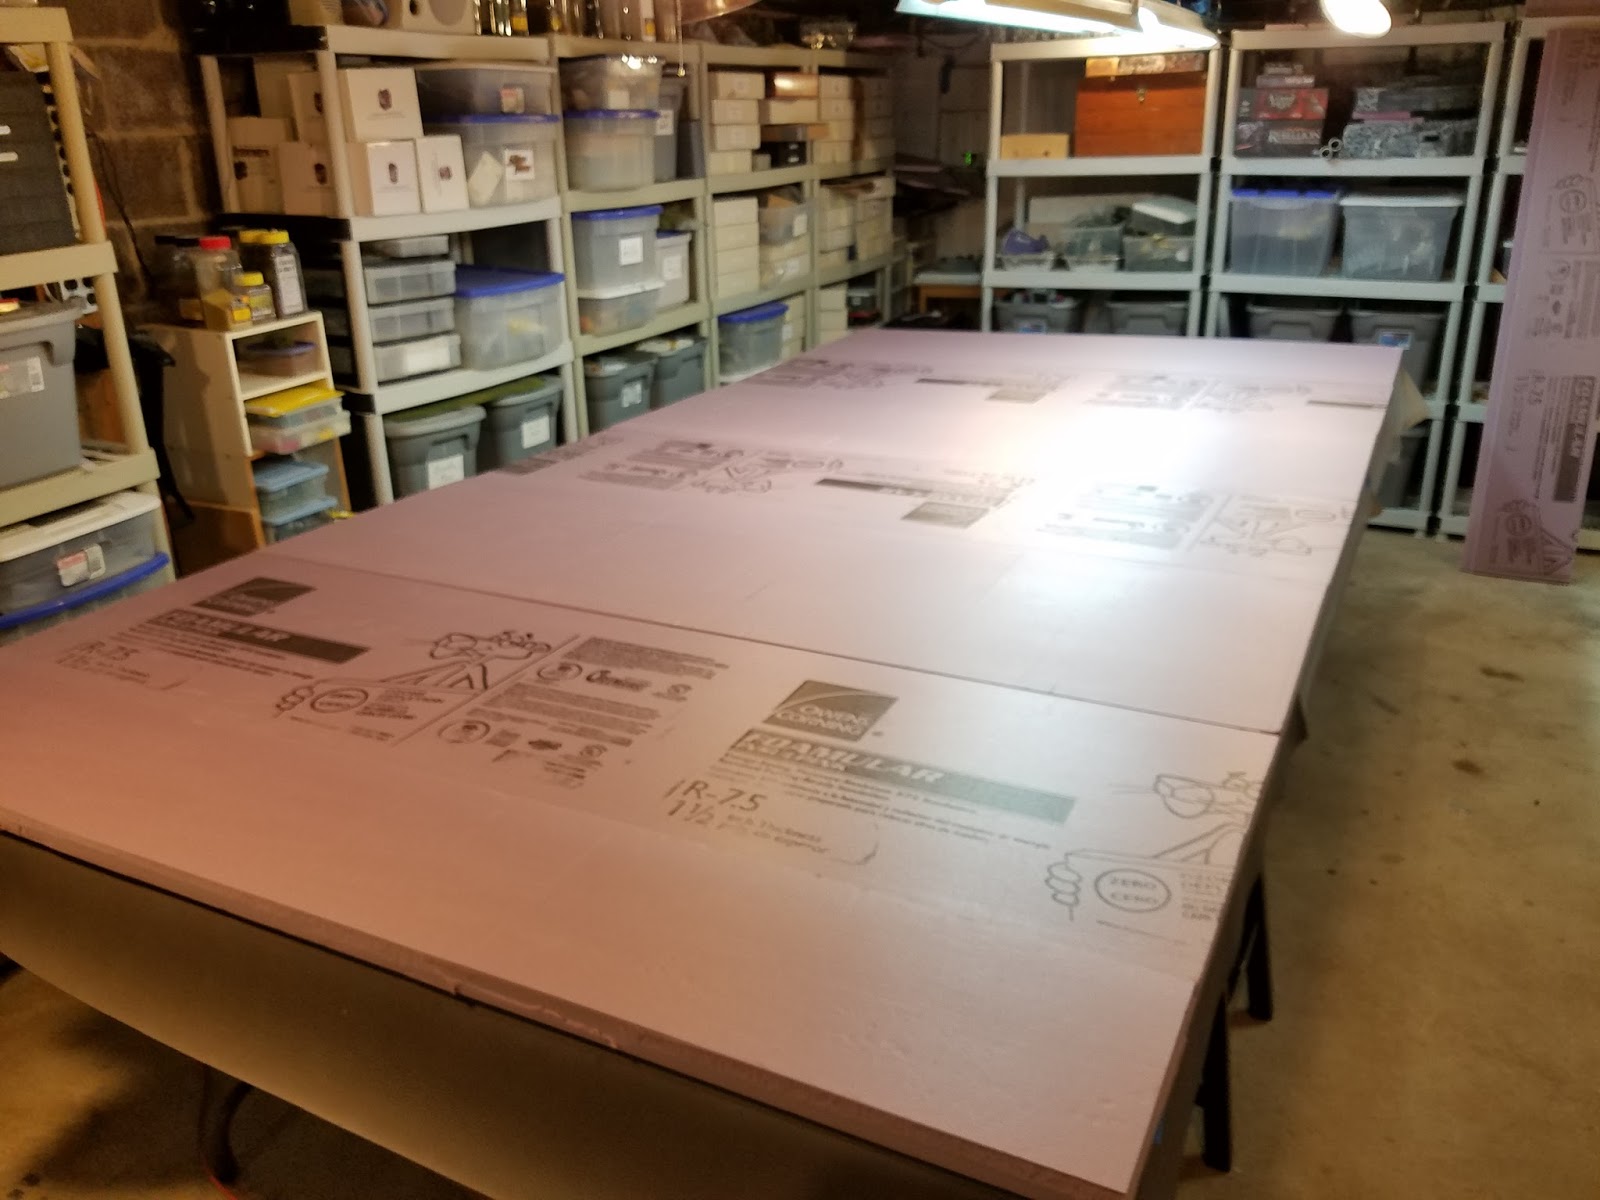
7 Boards, nice joints, now we can start laying out terrain features.
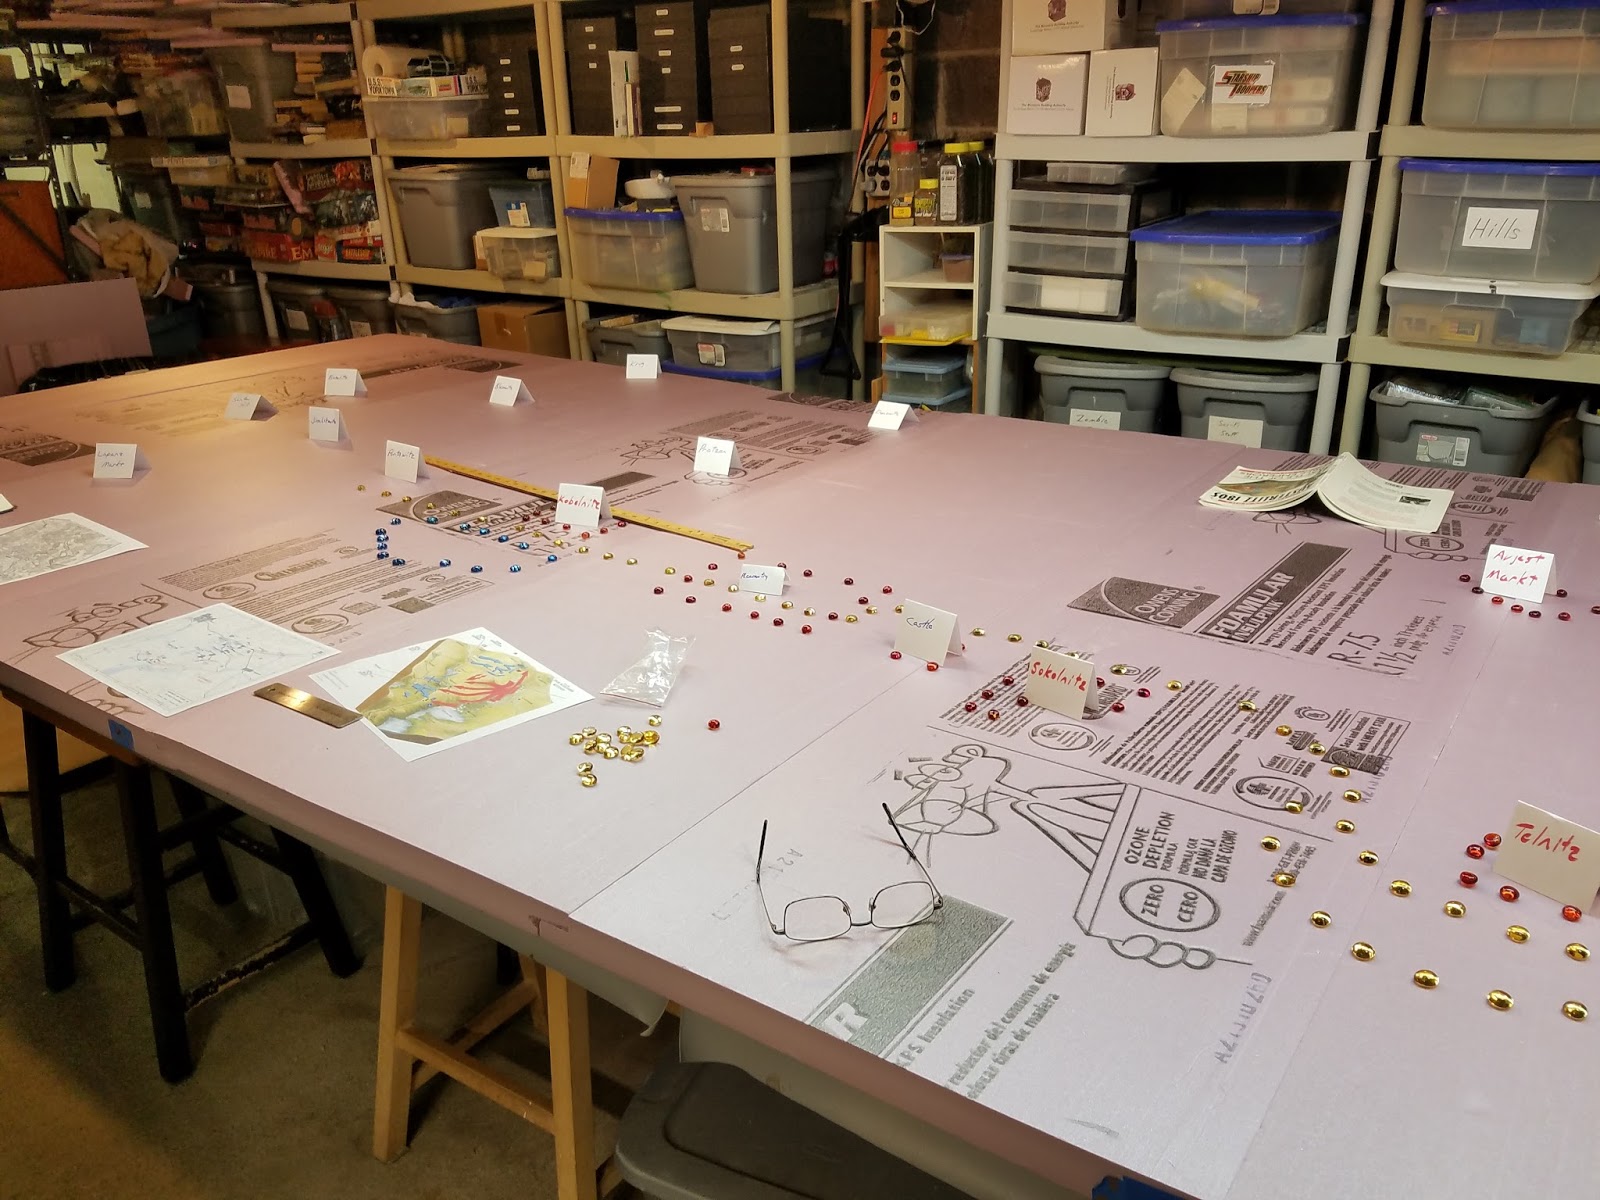
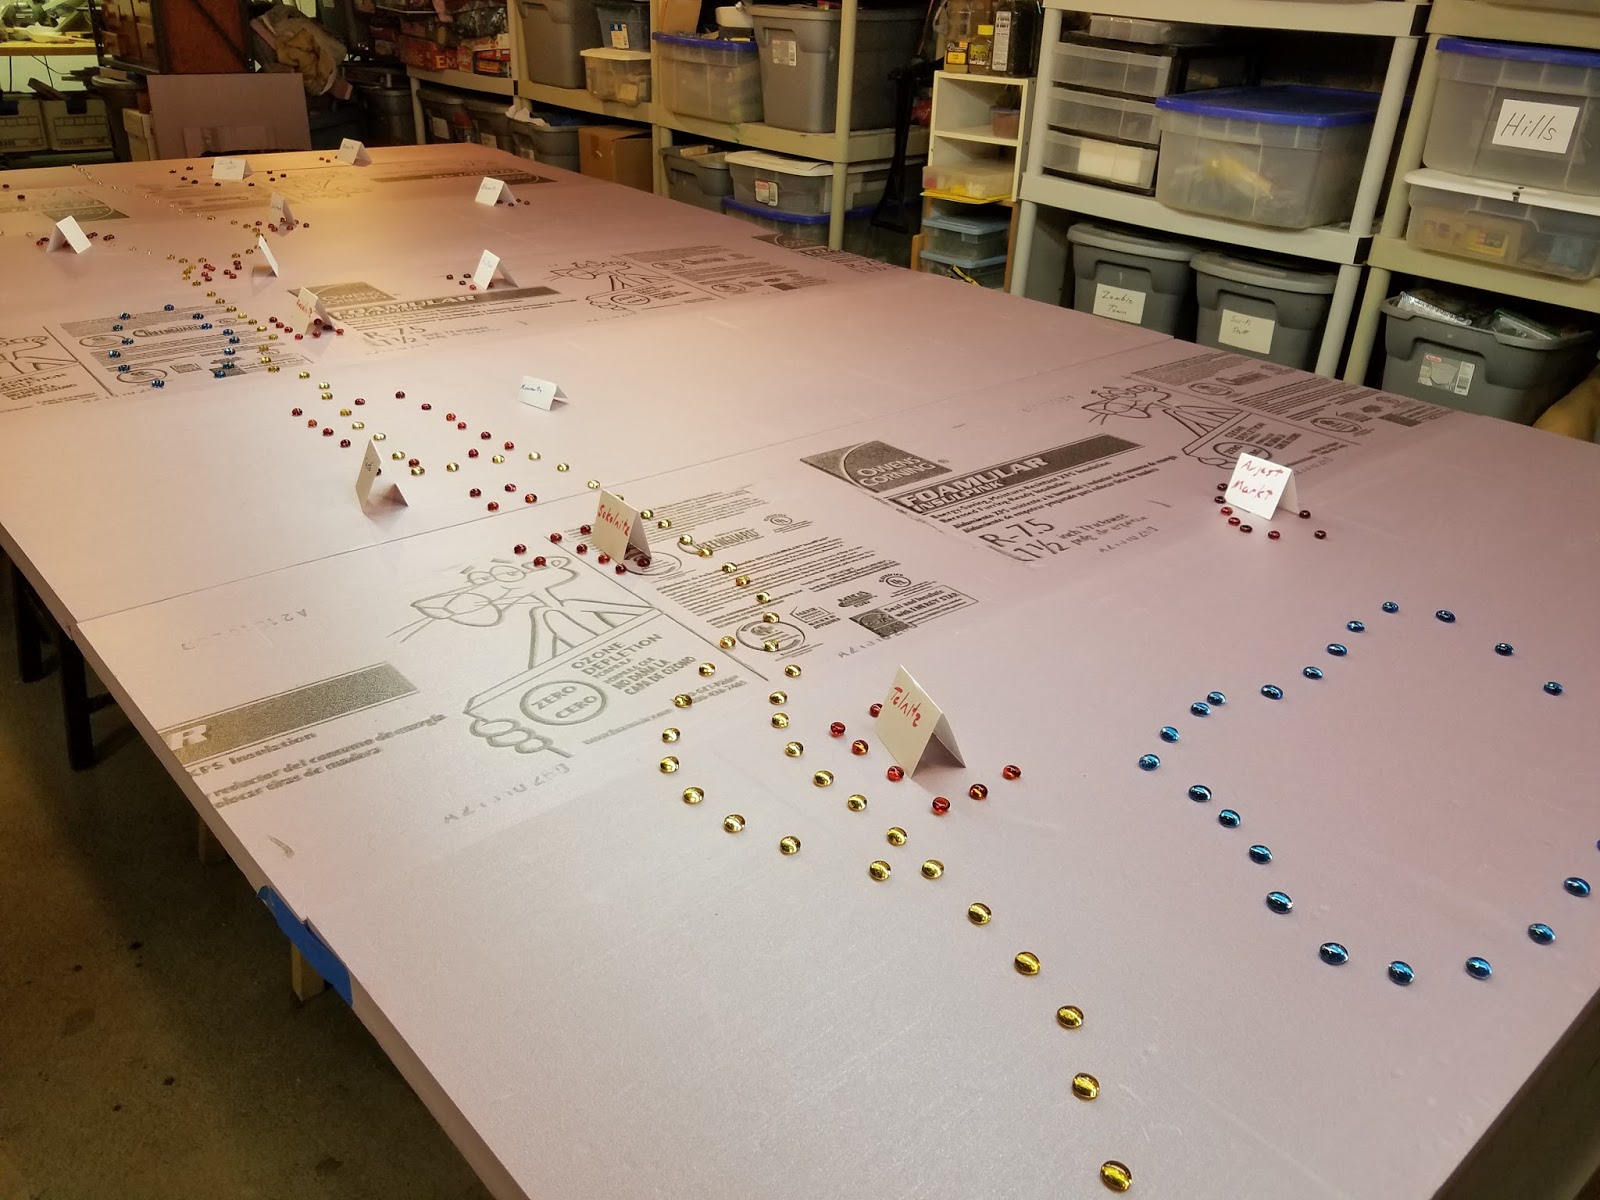
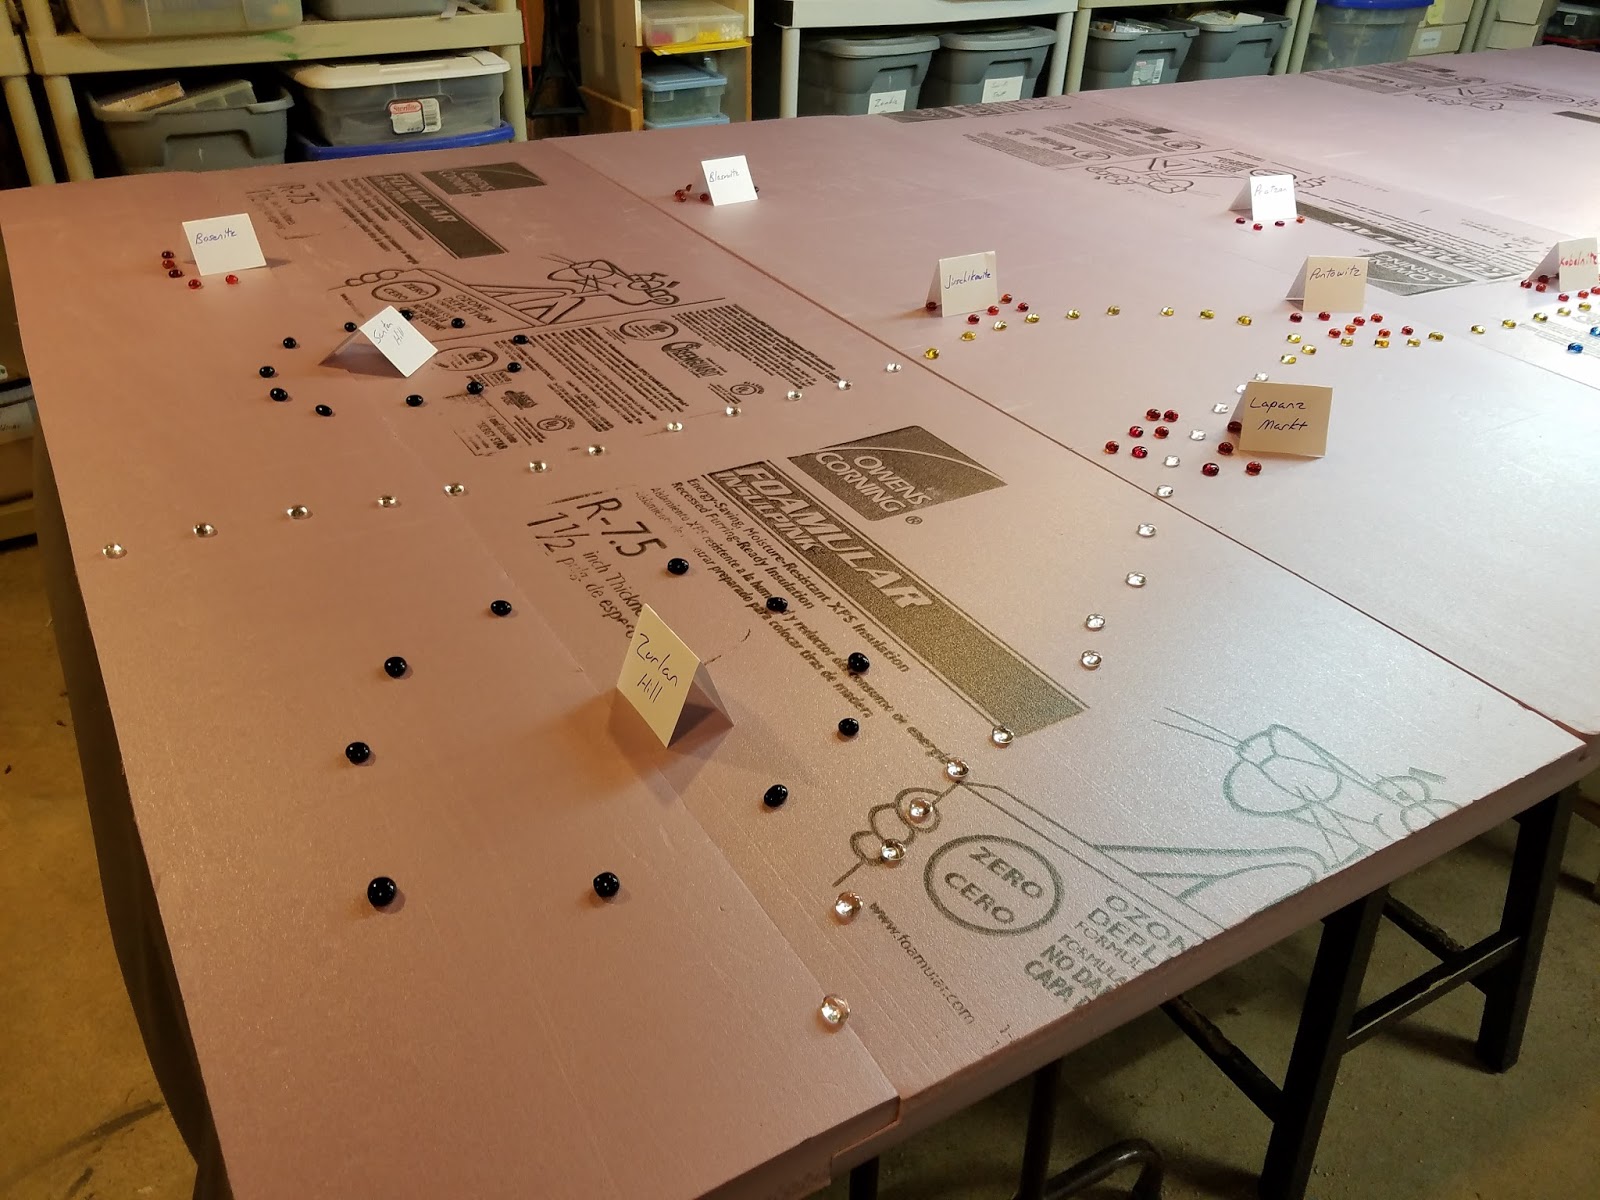
We use colored glass beads to layout hills, water features, villages. That way we can easily adjust the placement of features to fit the board. You always have to have a little flexibility when creating a table. Realism vs Practicality.
This time we used placecards to denote major features of the battle to help keep the board oriented.
Placement is done, we take a sharpie and draw in the terrain features.
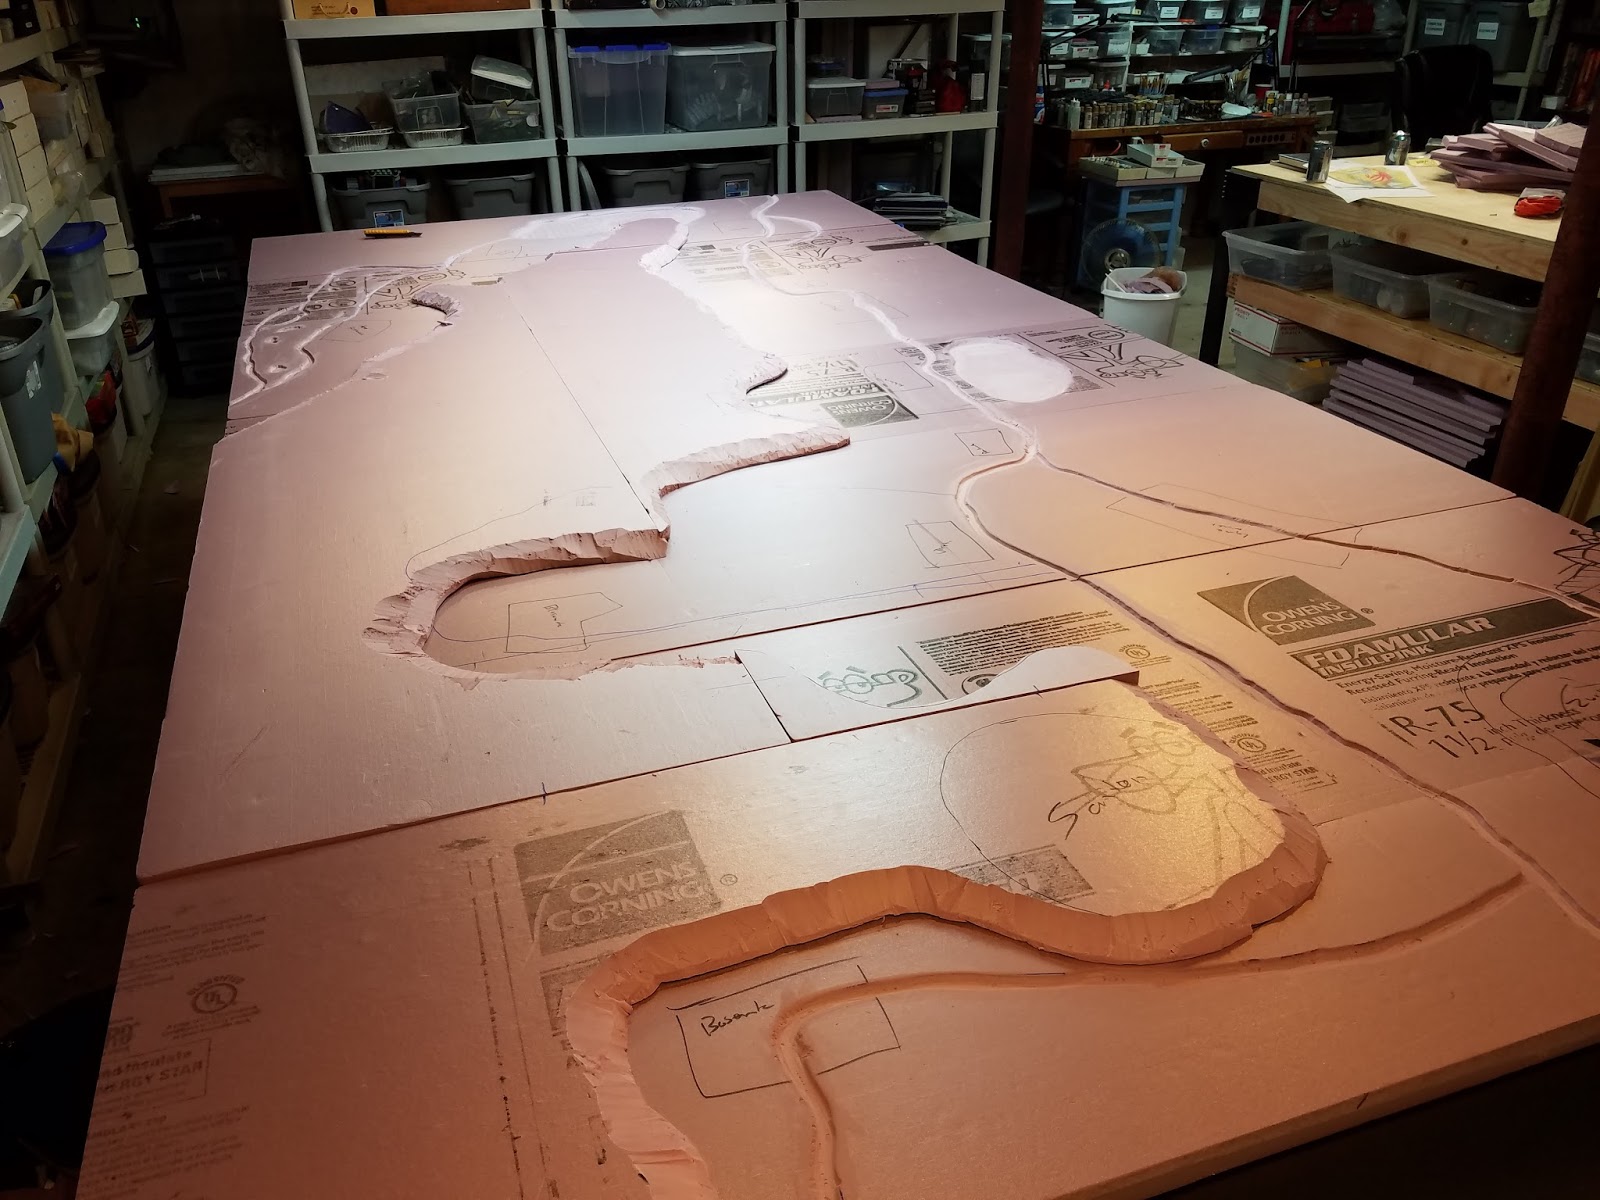
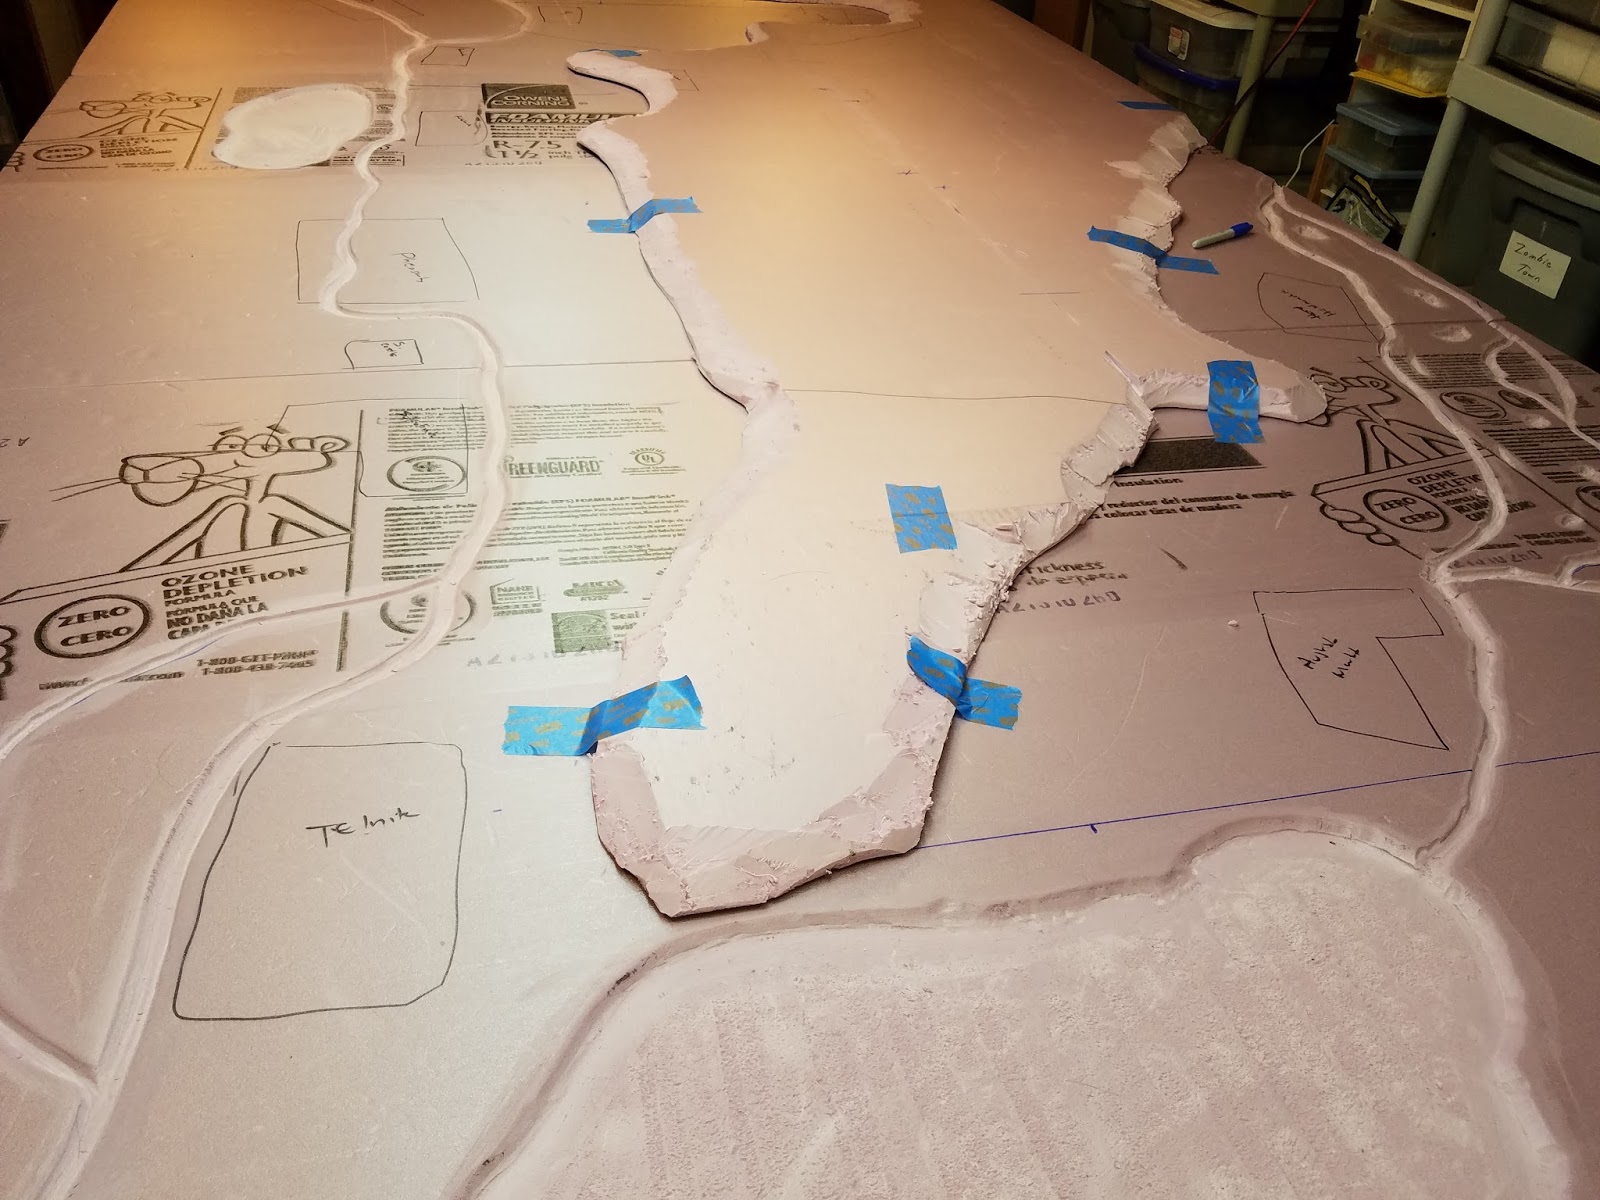
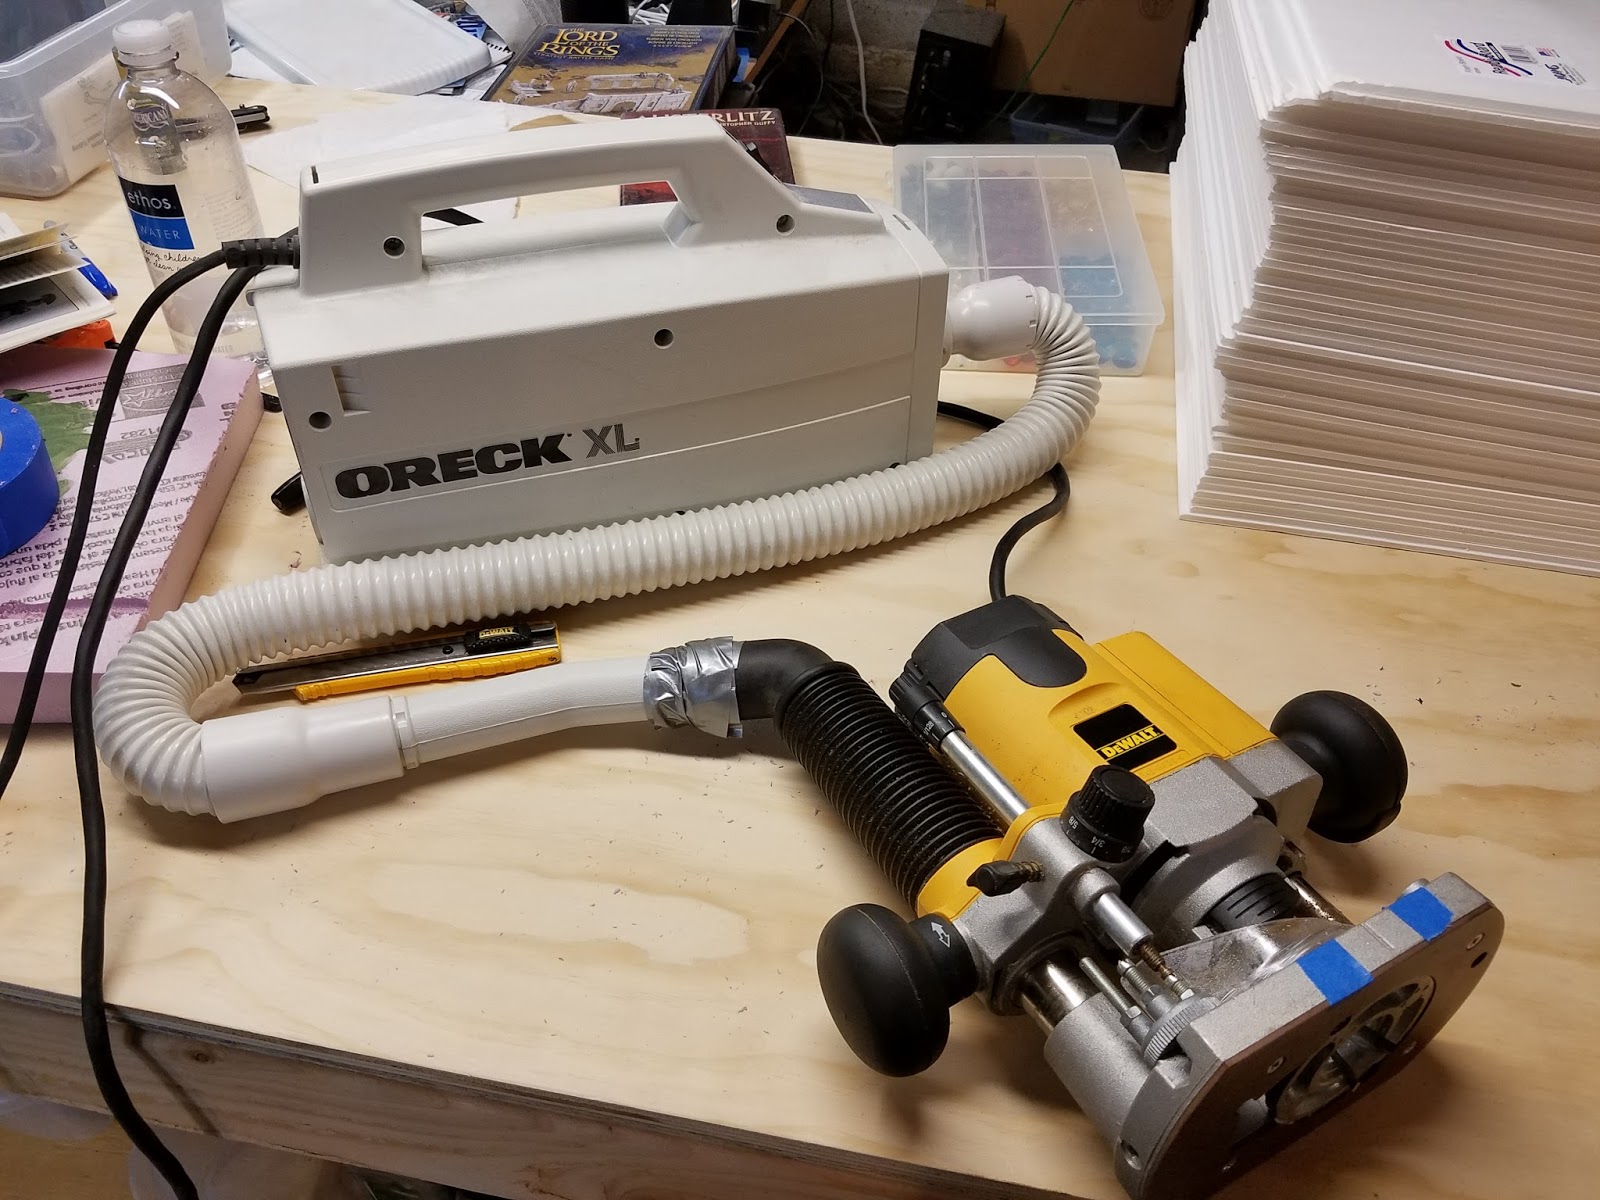
My router makes short work of the big ponds on the table. The router is great for removing pink foam fast.
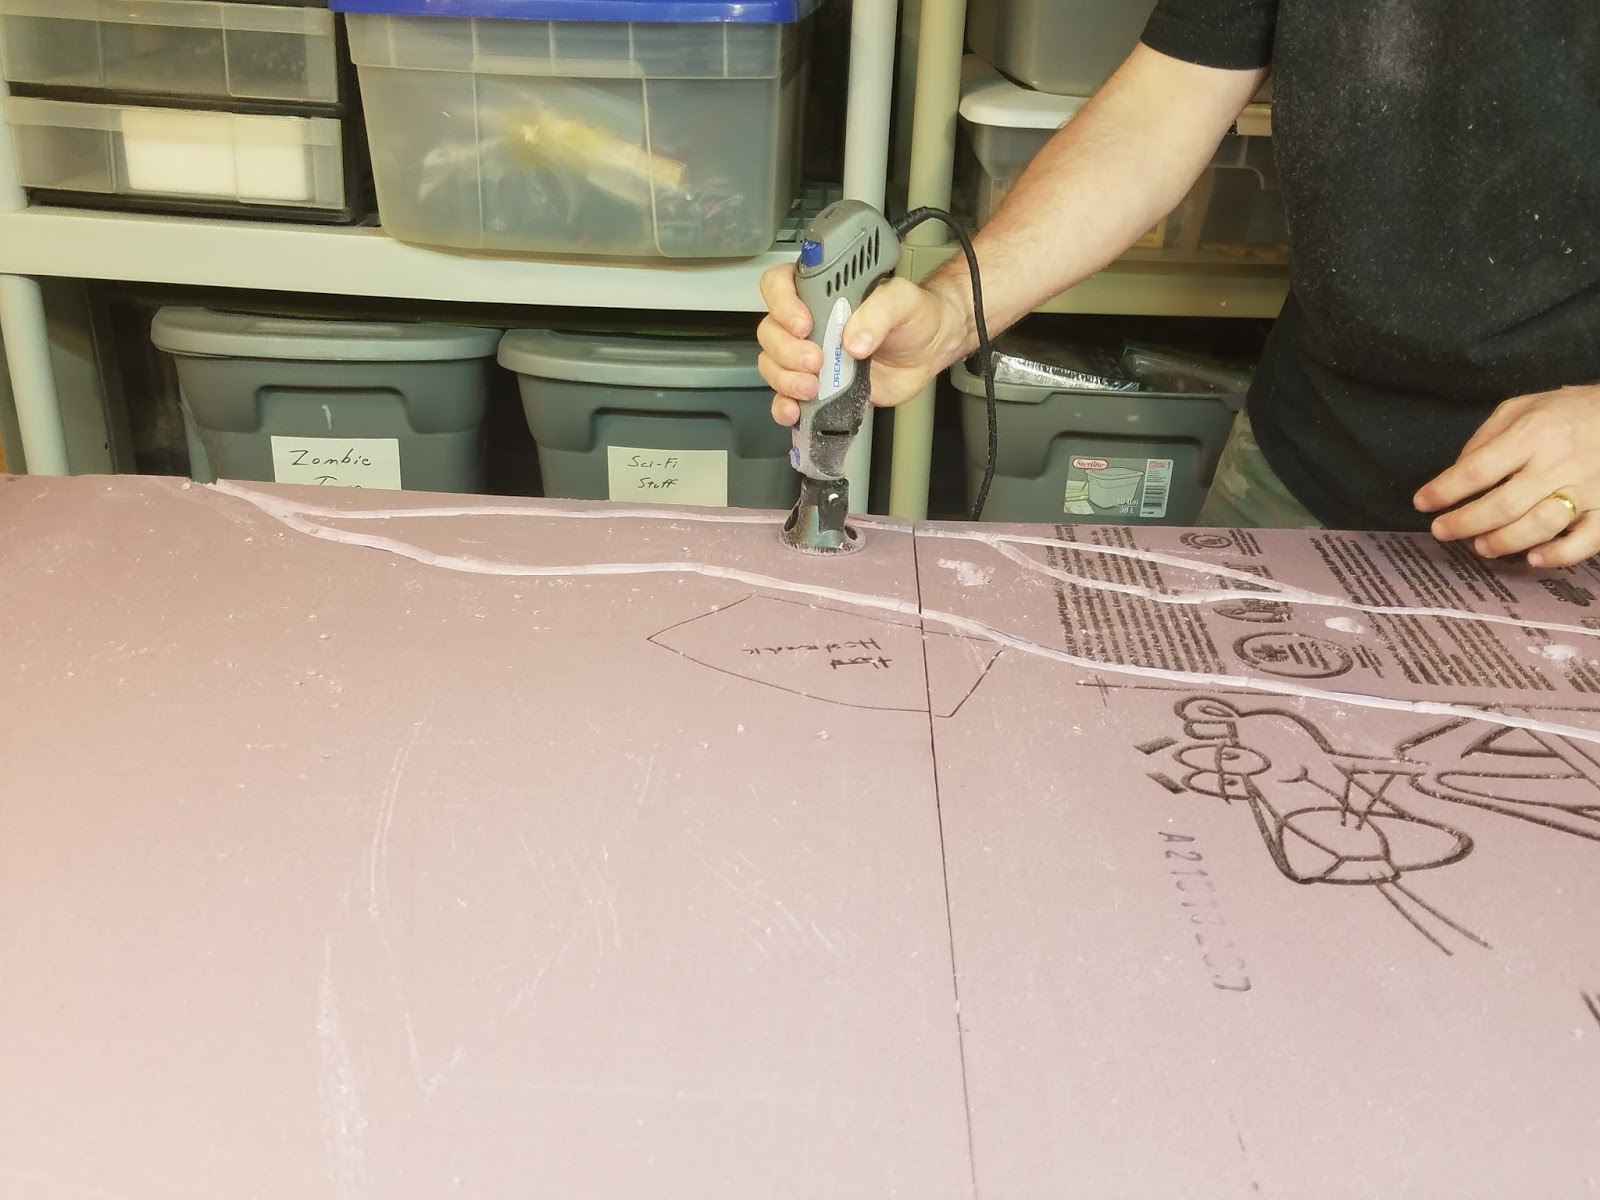
The dremel is used to clean up the edges.
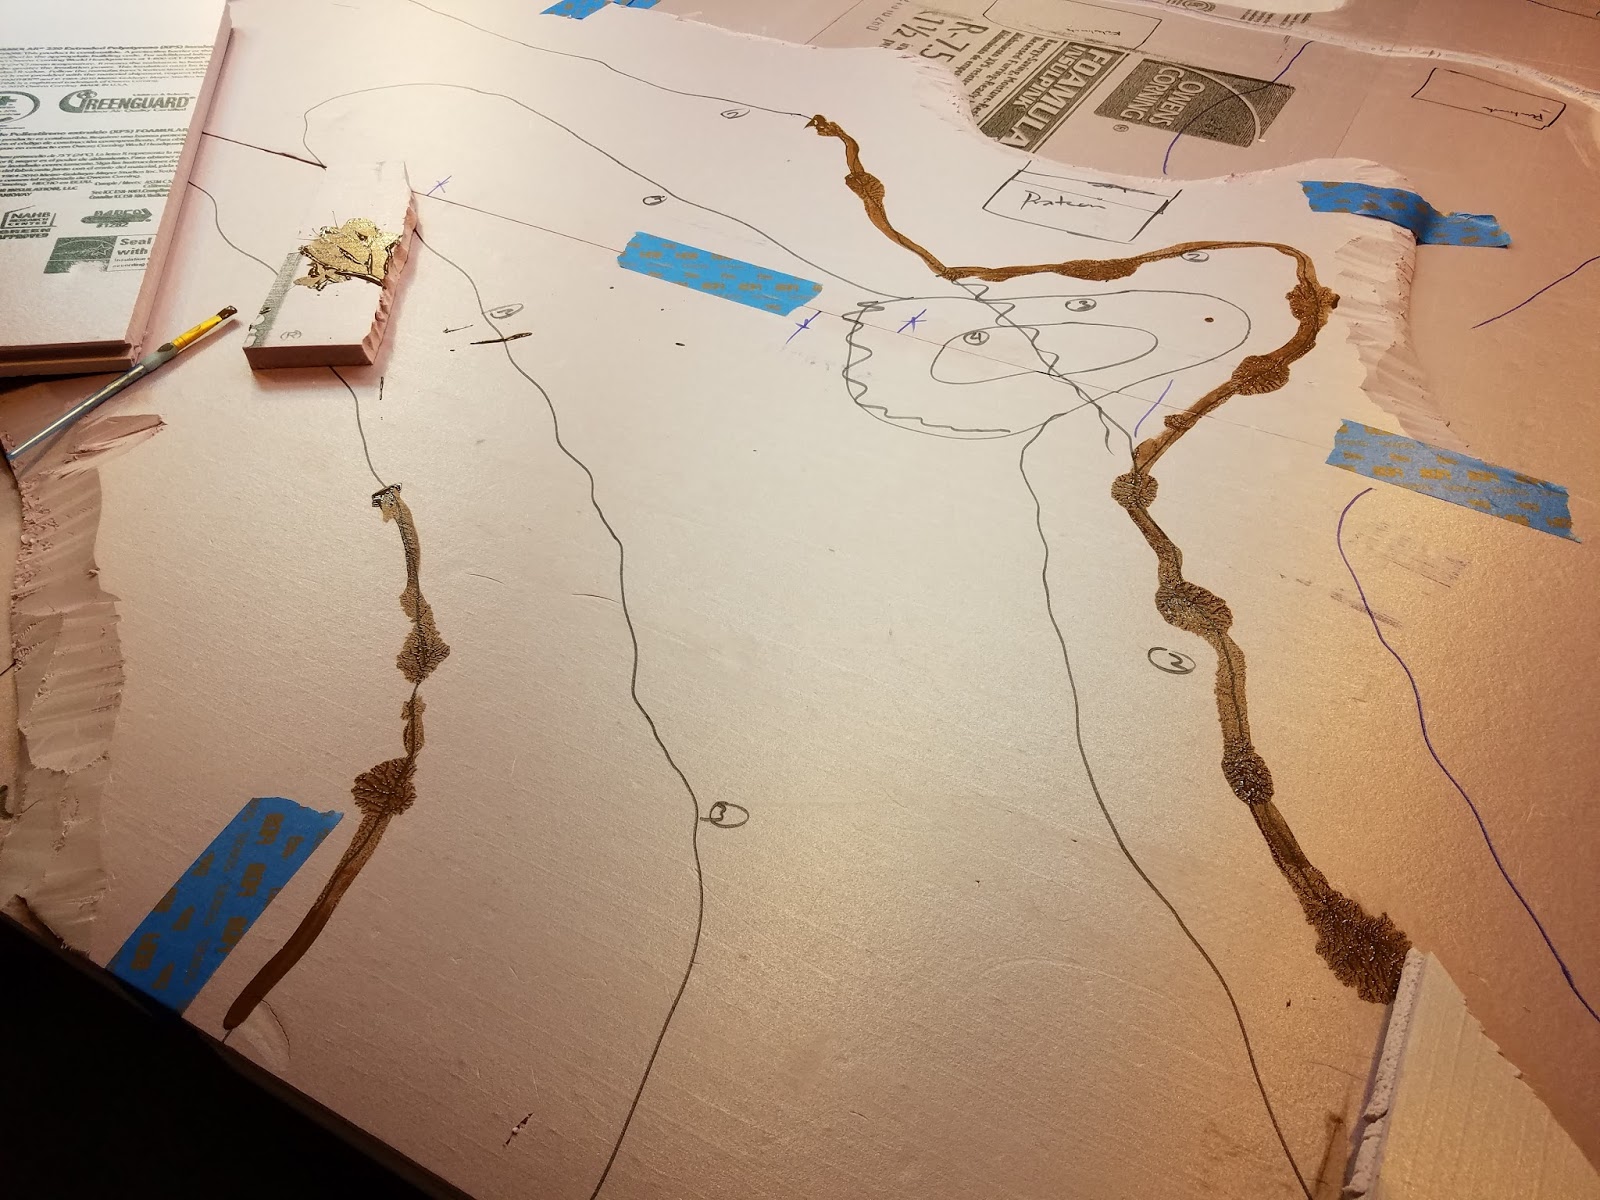
Another dremel with a router attachment is used to carve out streams.
Carving all done for the water features.
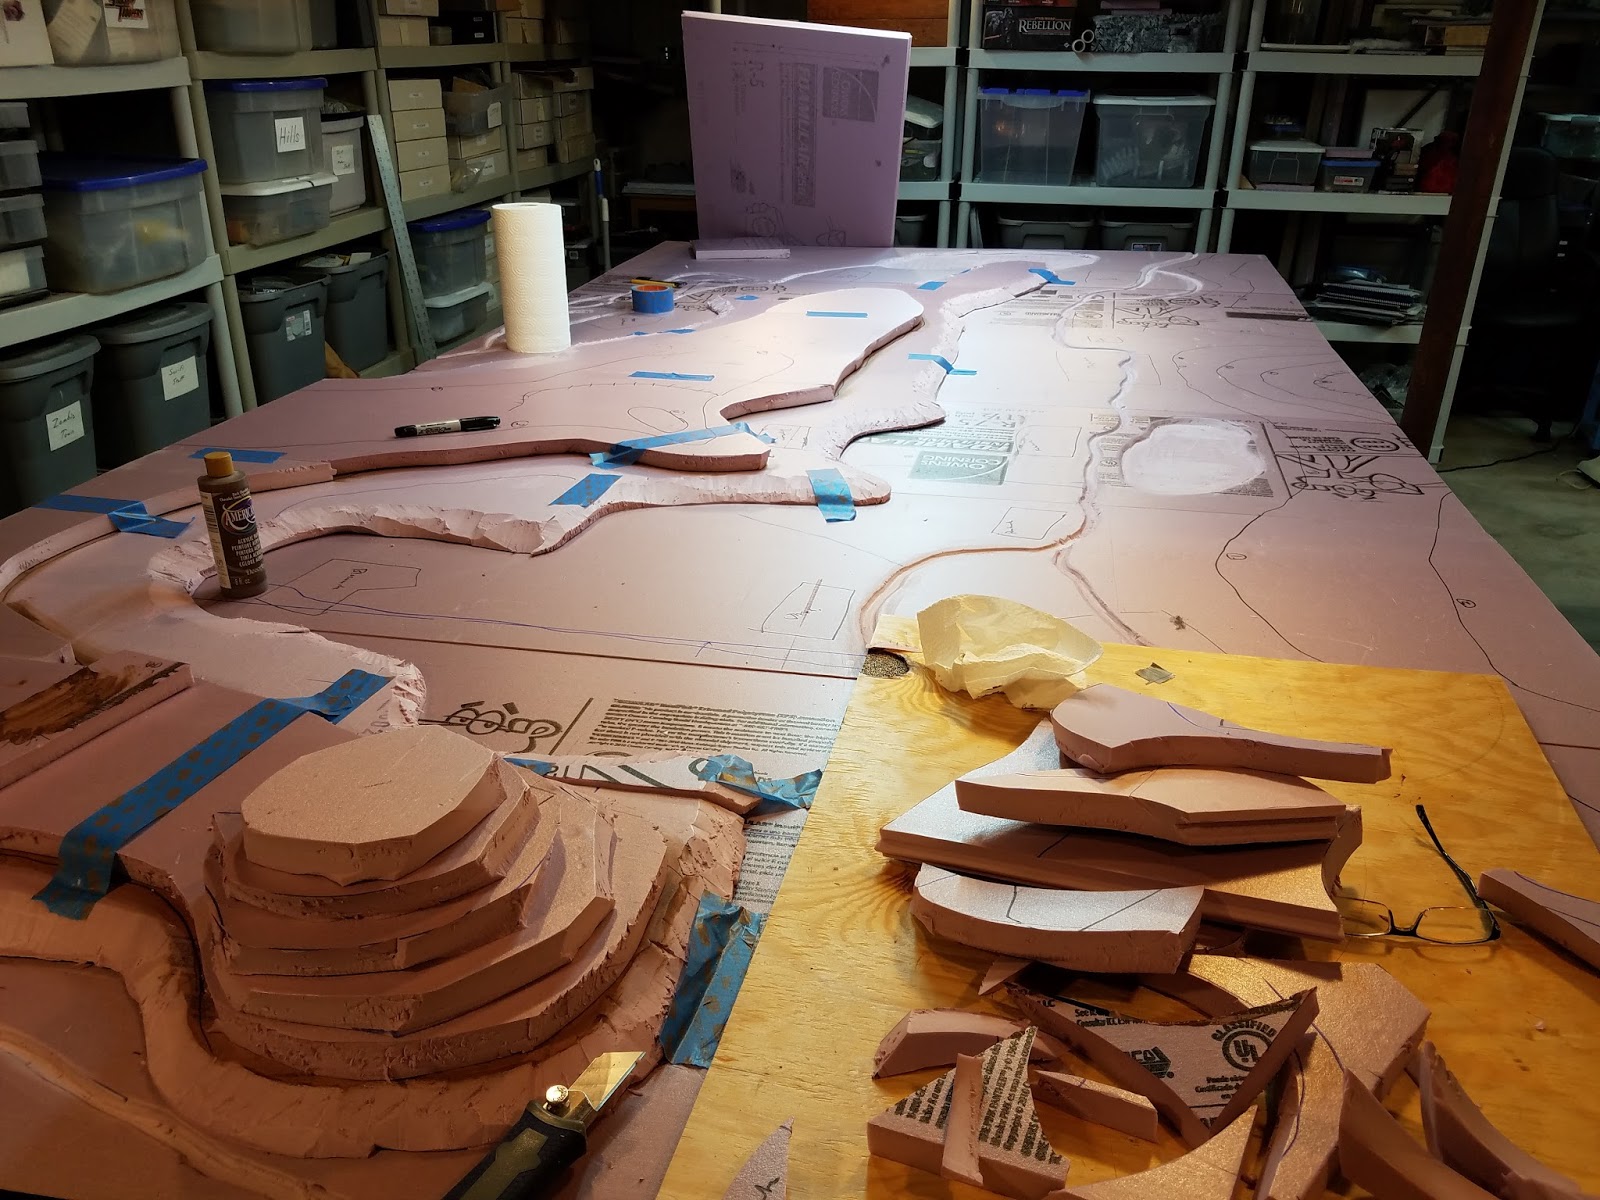
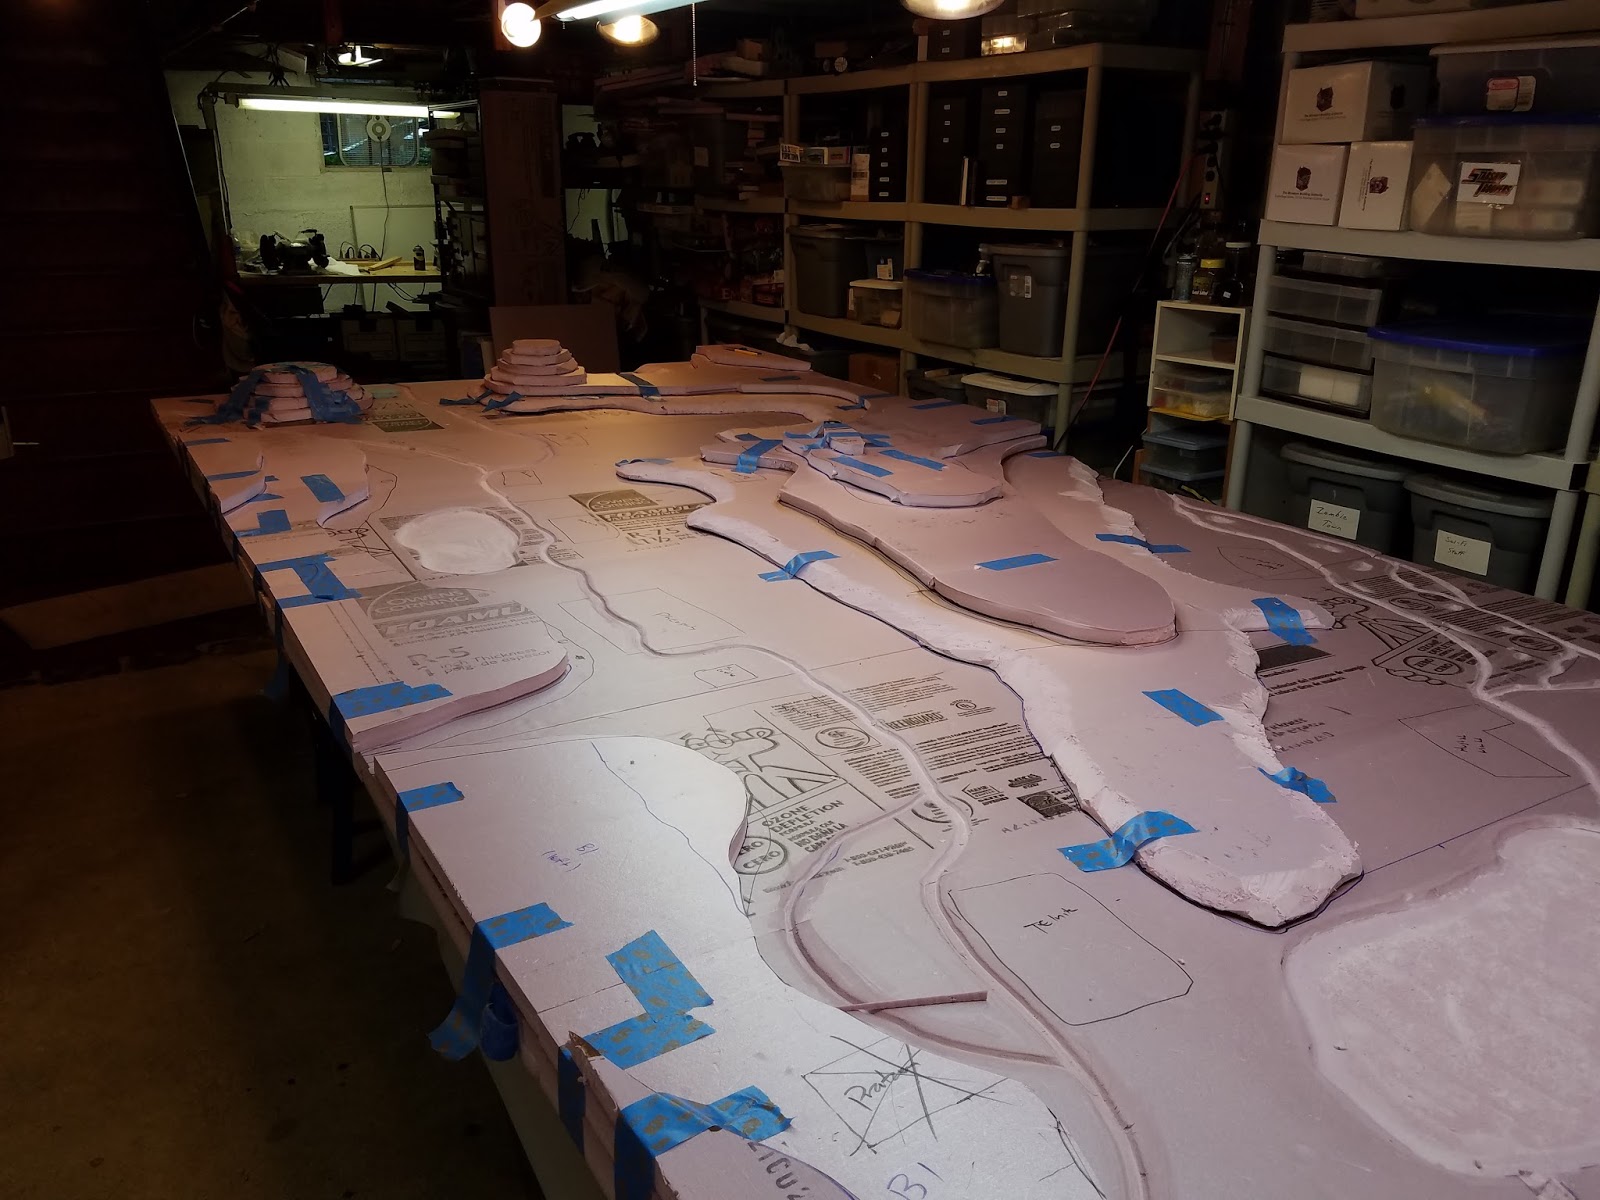
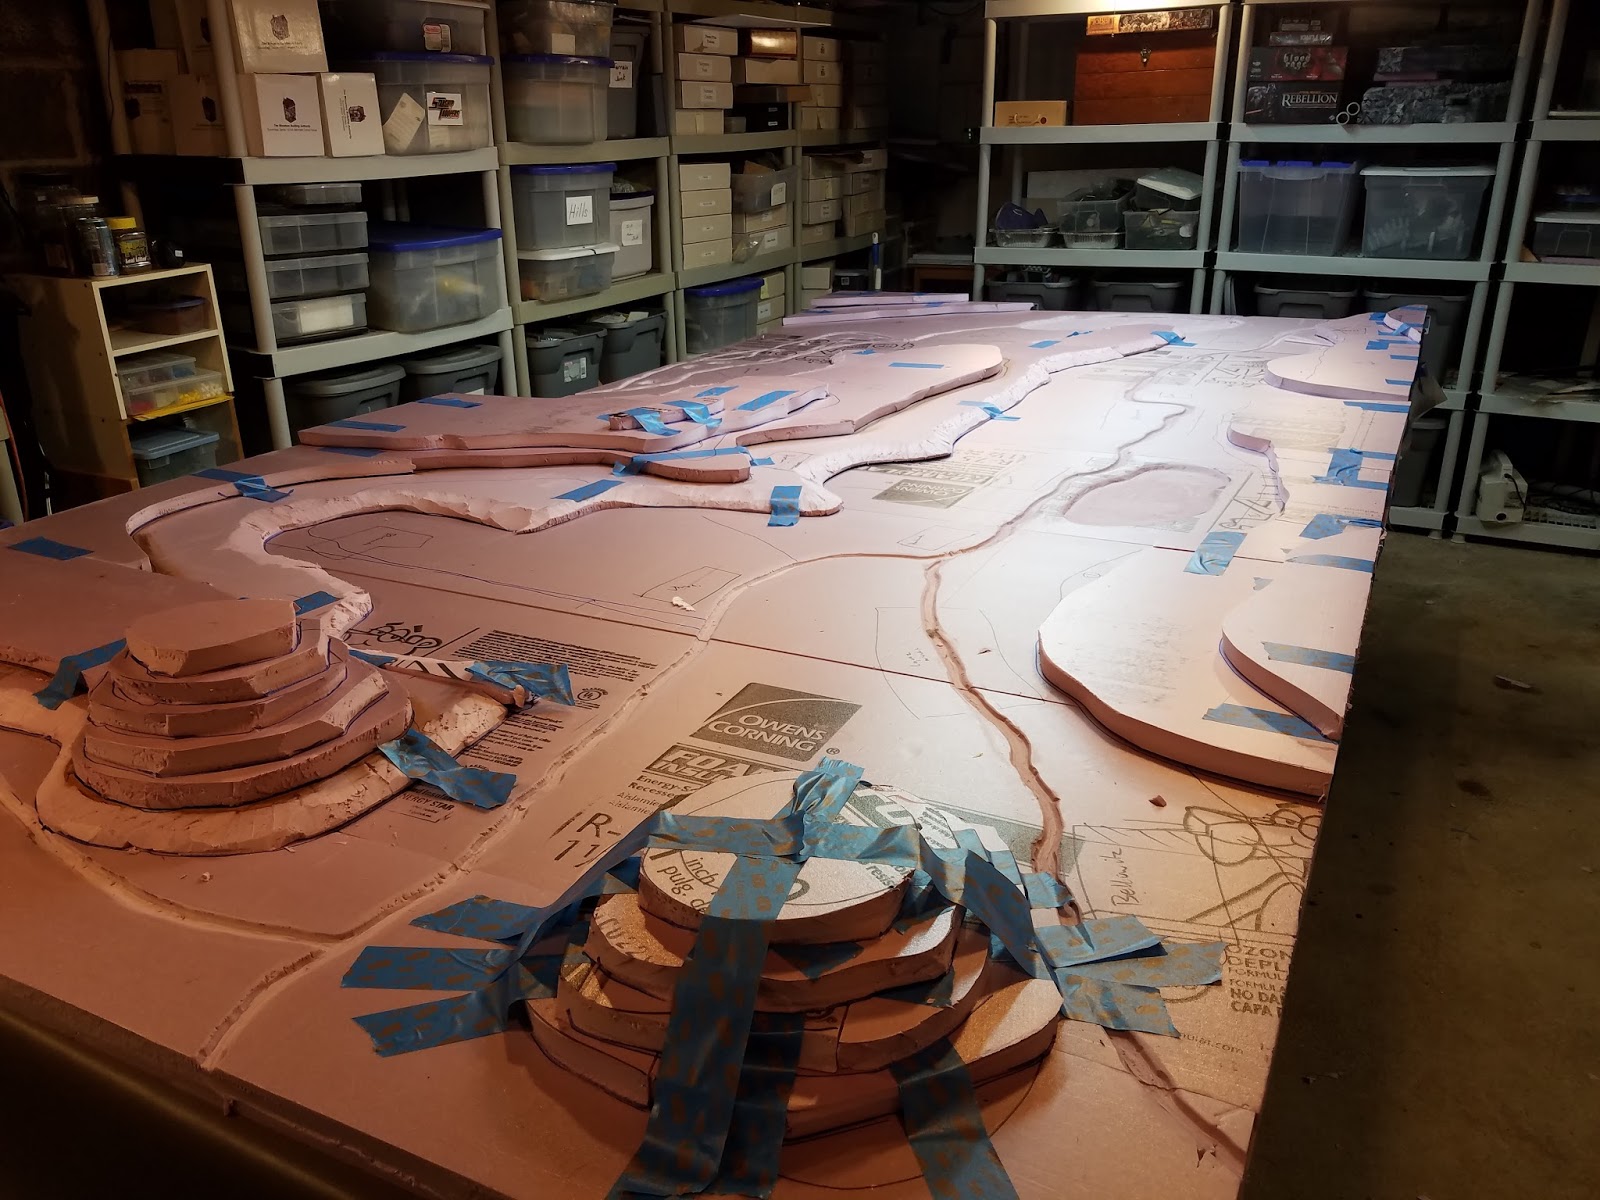
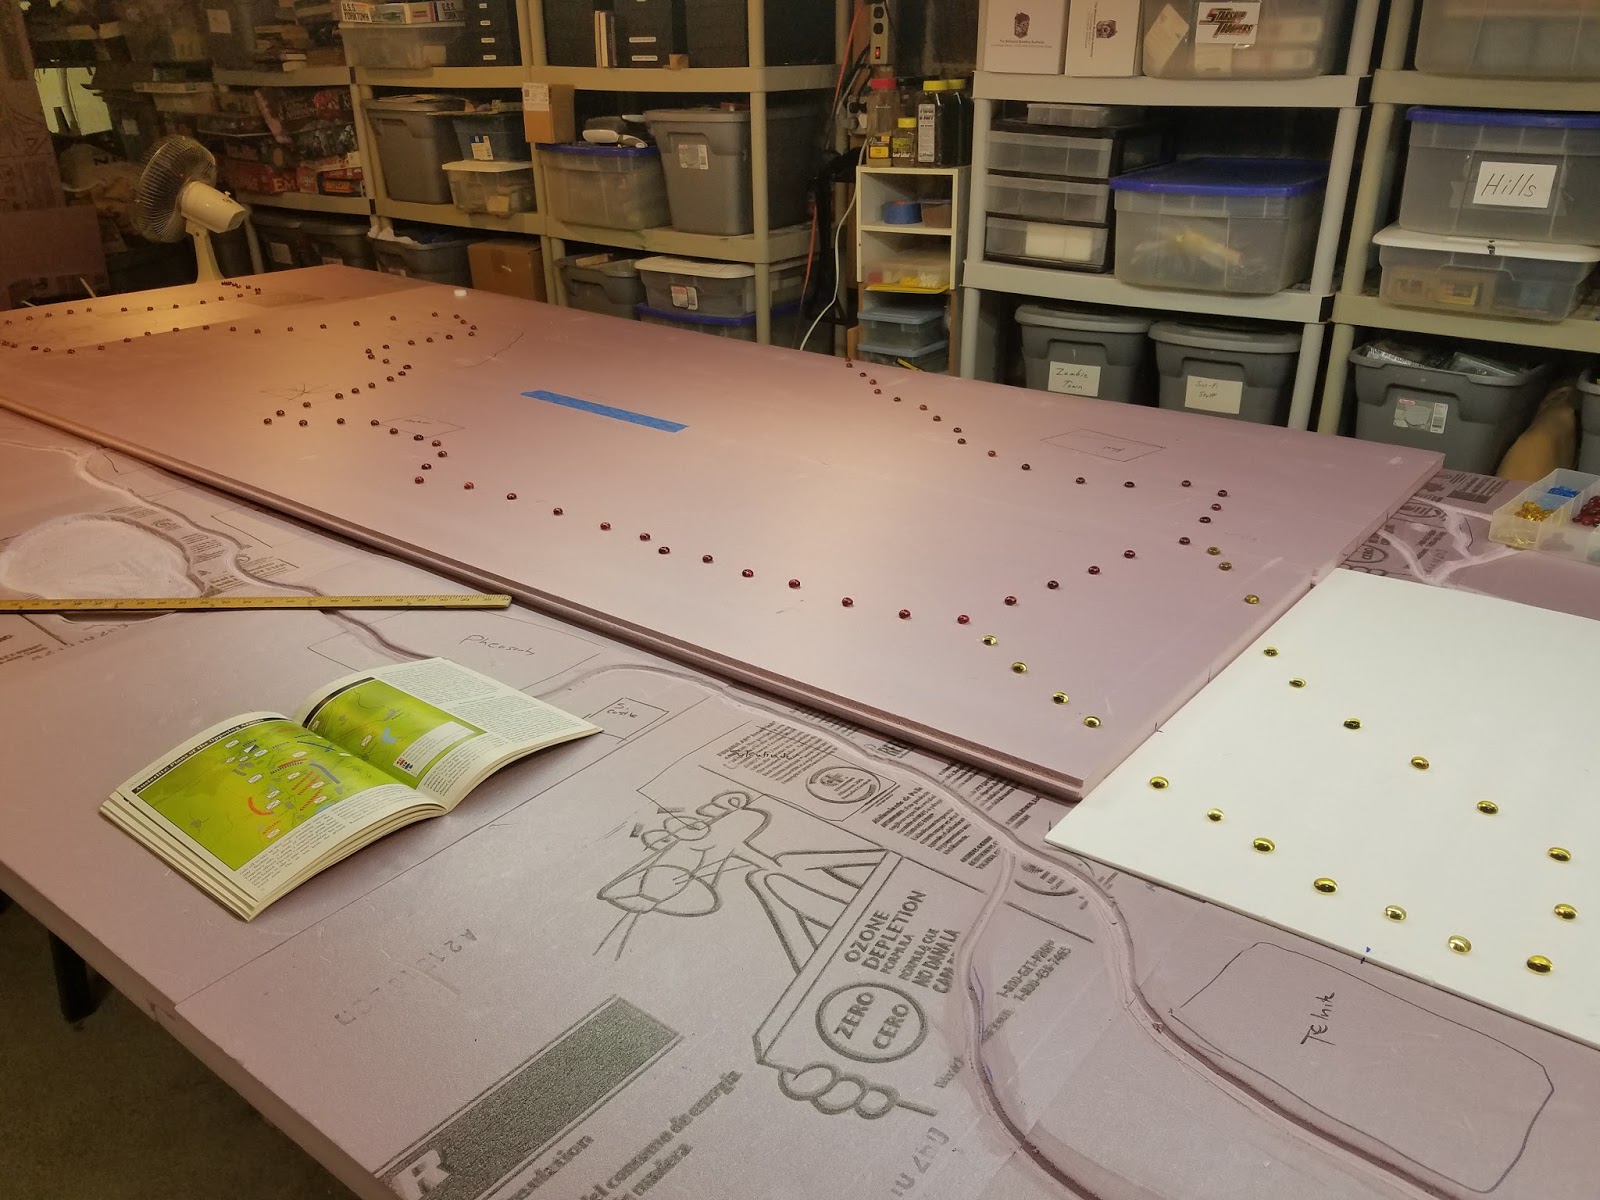
Laying down the next level of Foam to build up all the elevations, Pratzen Heights, Santon Hill, Zurlan Hill etc.
That's it for now, Next we start carving/grinding hills. This will make a big mess of the basement.
Check back for more updates next week.
The Project Austerlitz Team, Alan, Bob, Lou and me(Jeff).